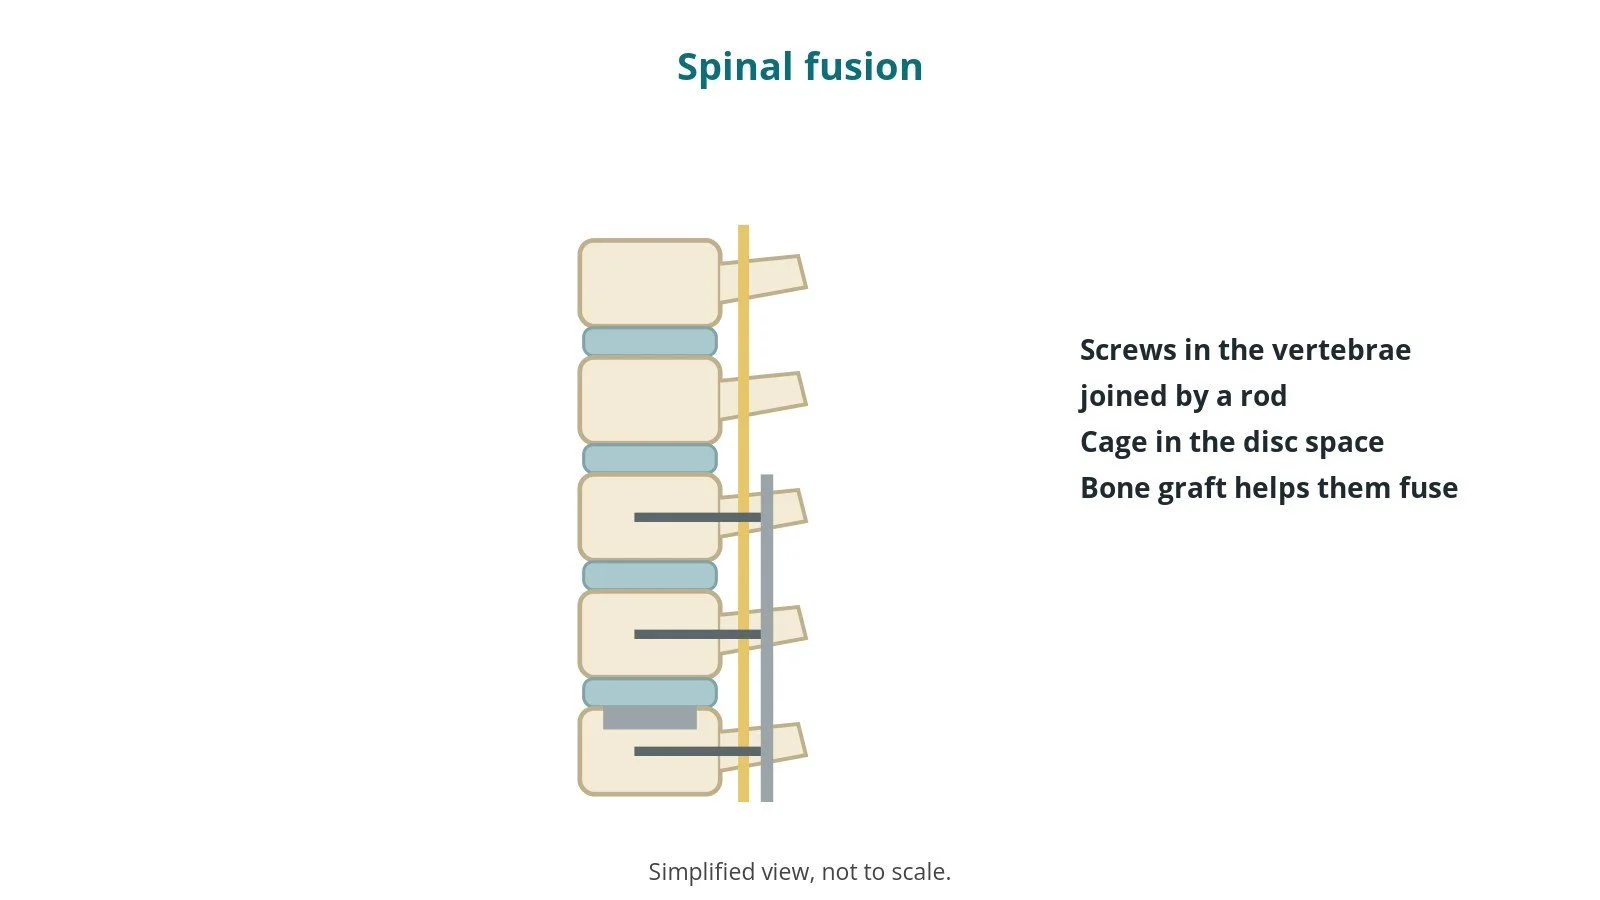
Spinal fusion: an OR 101 guide
Reviewed by Rodnie Oro, cath lab charge nurse · Last reviewed: October 2026 · Education only, not medical advice
Spinal fusion in one minute
What it is: surgery to join two or more spinal bones (vertebrae) with screws, rods and bone graft so they heal into one.
Who it is for: people with spinal instability, deformity, slipped vertebrae or some fractures, where other treatments have not helped.
Main risks: nerve injury, infection, bleeding, the bones not fusing, problems at nearby levels.
Usually: under general anaesthetic, 2–5 hours, home in 2–5 days.
On this page: What is spinal fusion? · Who is it for? · When is it done? · Step by step · Recovery · Risks · Kit list · First time in theatre? · FAQ
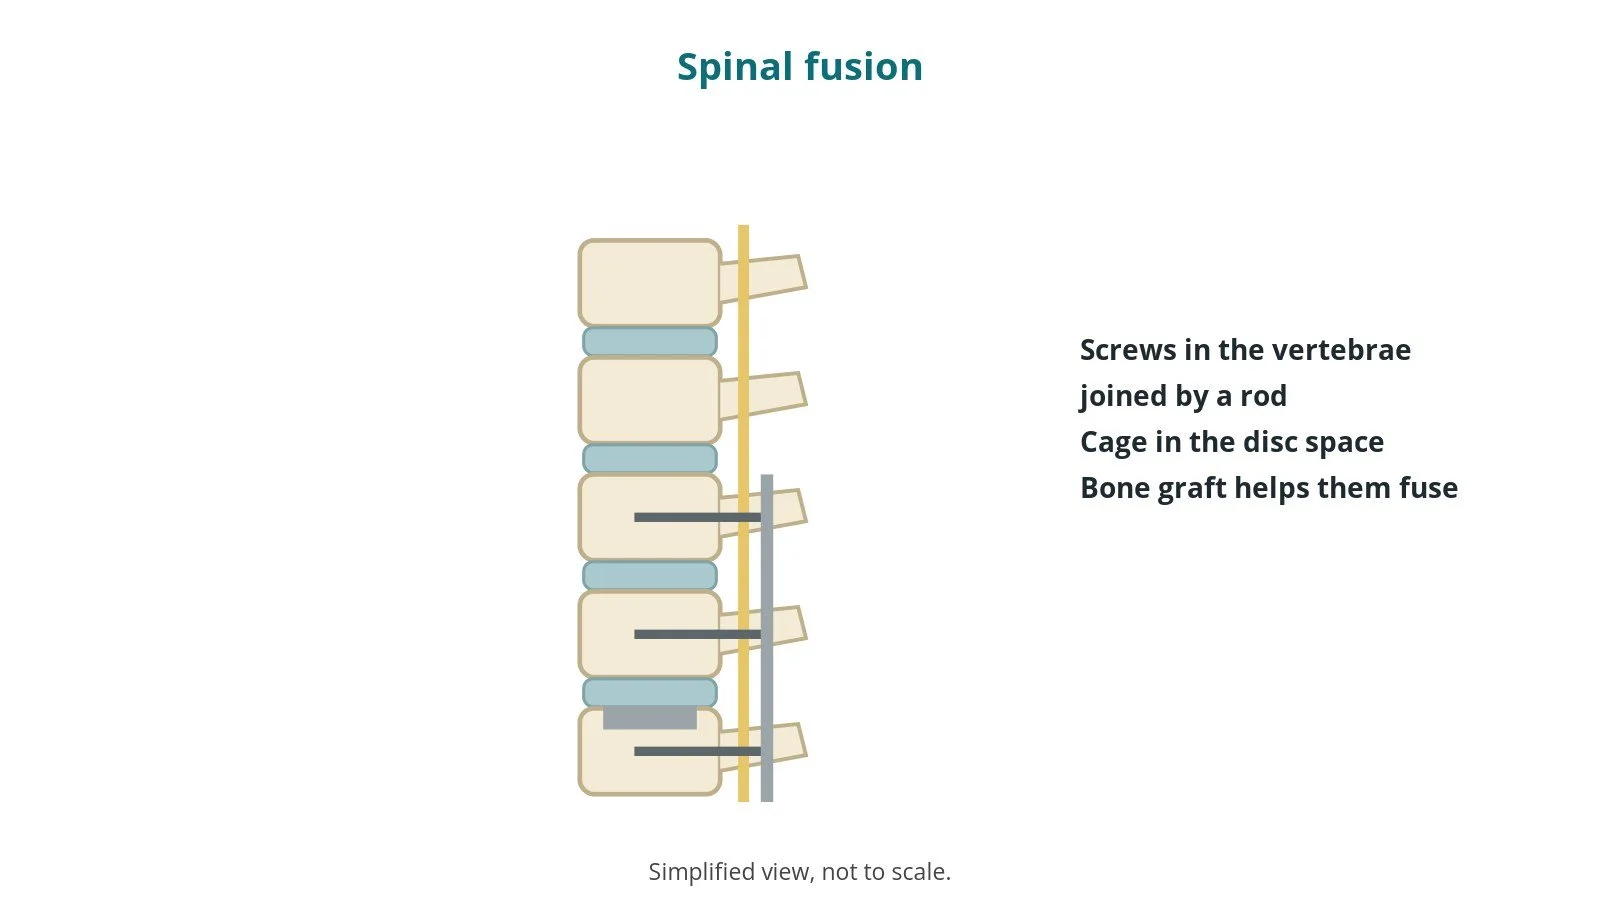
What is spinal fusion?
The spine is made of bones (vertebrae) separated by discs, with nerves running through the middle. Spinal fusion stops movement at a painful or unstable level by making the bones heal together.
- screws are placed into the vertebrae and joined with rods
- bone graft (from the patient, a donor, or a substitute) is placed to help fusion
- a cage may be placed where the disc was, per surgeon
The approach can be from the back (most common), front or side, per surgeon. X-ray or navigation guides screw placement.
New to the acronyms? See the Cath Lab Abbreviations A–Z.
Who is it for?
It may be considered for people with:
- spondylolisthesis (a vertebra slipped forward)
- spinal instability or some fractures
- scoliosis or other deformity
- some cases of disc disease, when other treatments have failed
The decision is made by your surgical team, who will talk through the reasons, the alternatives and the risks with you.
When is it done?
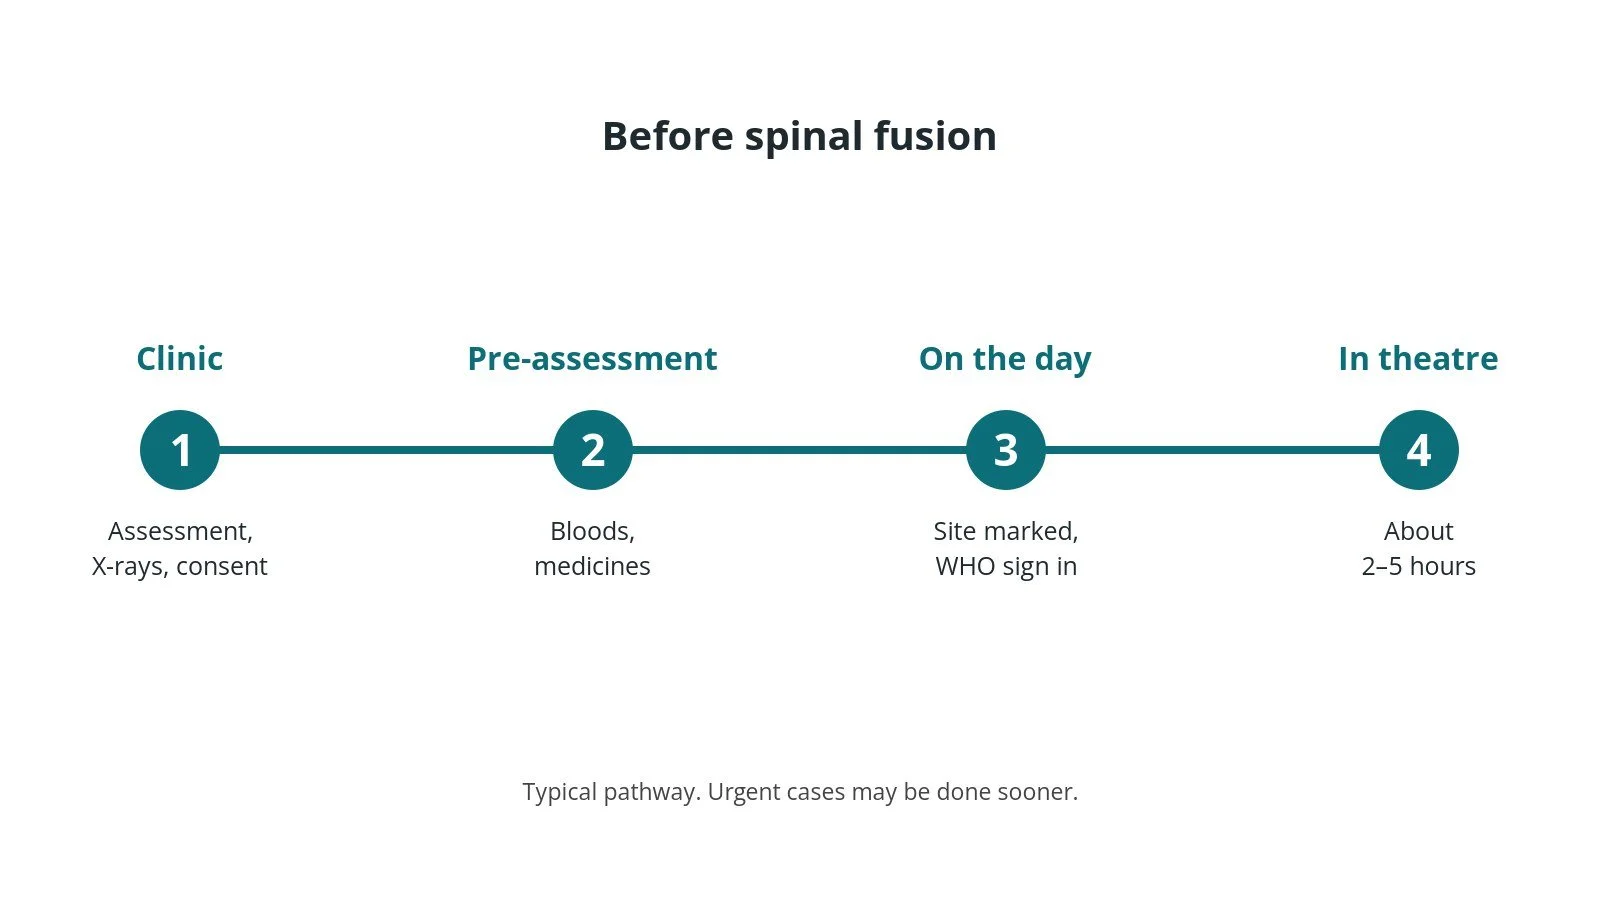
Most operations are planned; some are urgent. Before it, you usually have:
- an examination and X-rays, and sometimes a CT or MRI scan
- blood tests and, for bigger operations, an ECG
- a review of your medicines, especially blood thinners, as per centre protocol
- fasting instructions
- a chance to ask questions and give consent
Step by step
1. Getting ready
Team brief and WHO checklist first, including the implant check and confirming the site and side marking. The anaesthetic team and ODP give the anaesthetic (general, often with nerve monitoring, as per centre protocol); antibiotics and blood-clot prevention are given as per centre protocol. The circulating practitioner checks positioning and pressure areas, the diathermy plate, warming, and radiation protection if X-ray is used. The scrub practitioner checks implant and instrument trays are complete and sterile, and does the first count. Theatre traffic is kept to a minimum, especially in laminar-flow theatres. The patient is turned prone onto a spinal frame with careful padding of face, eyes and pressure points.
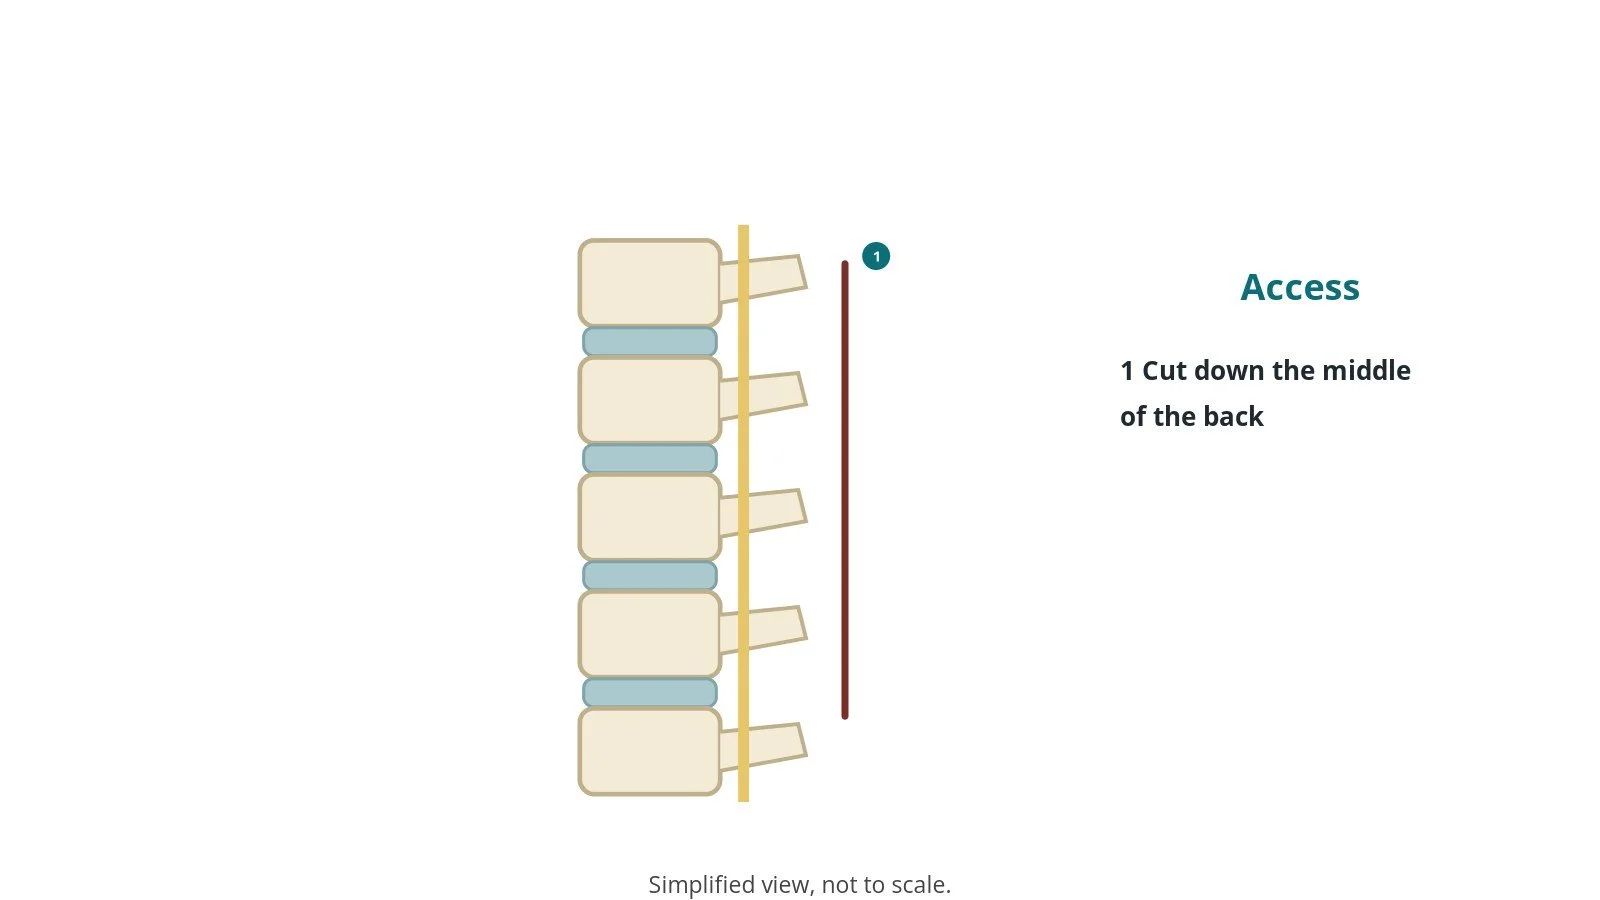
2. Access
A cut is made down the middle of the back over the levels to be fused, and the muscles moved aside. Some surgeons use smaller cuts and tubes, per surgeon.
3. Fusing the spine
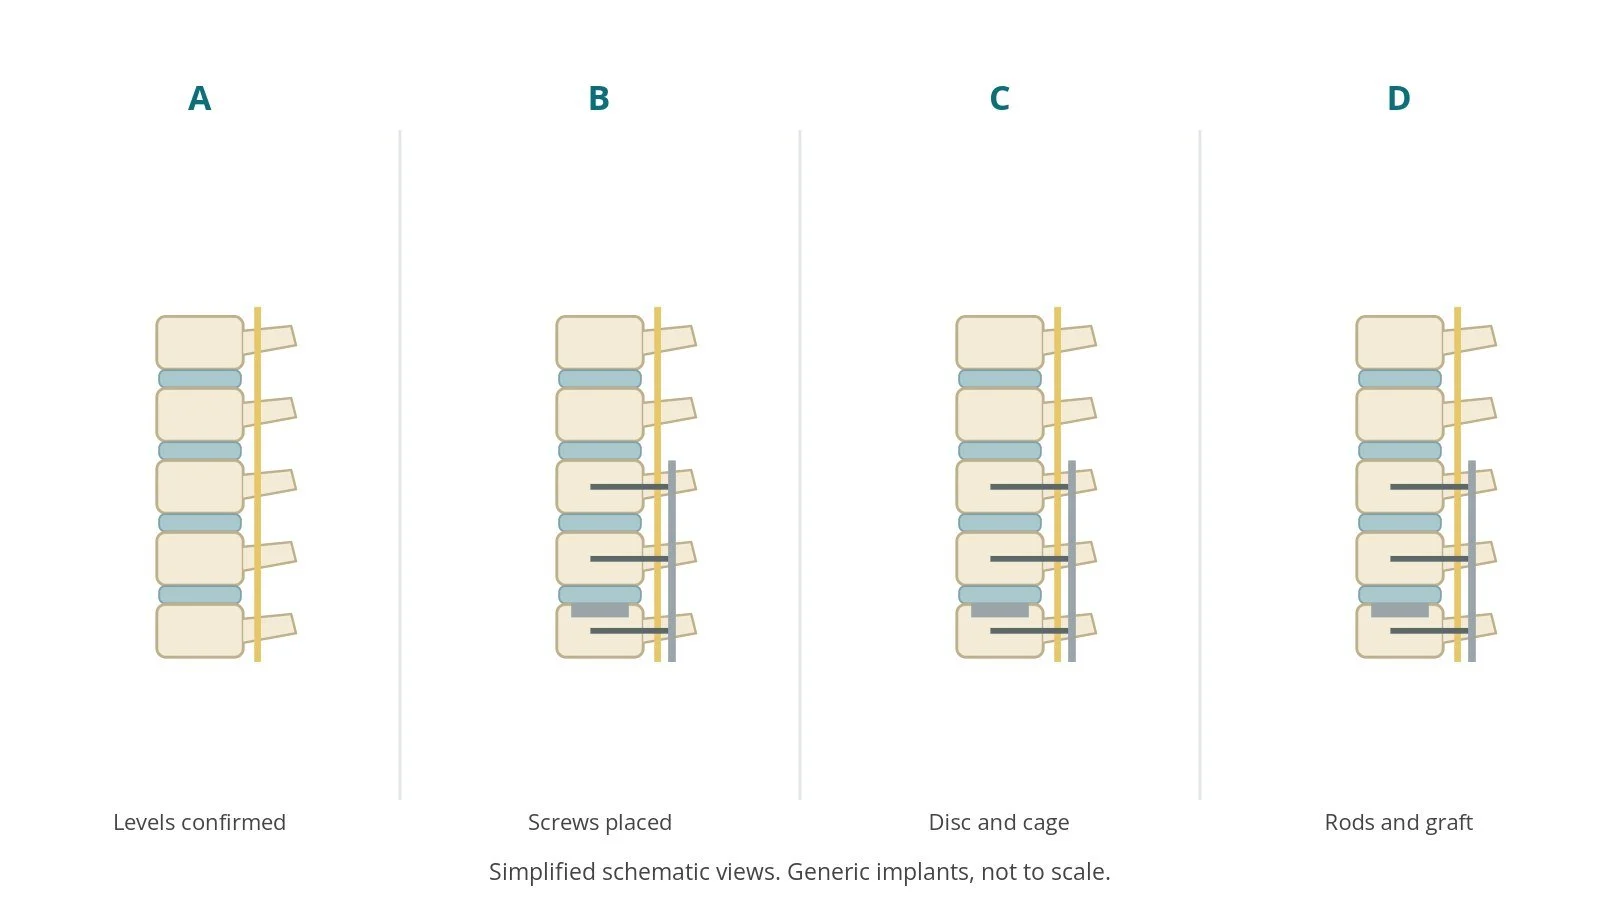
- A. Levels confirmed. The correct levels are confirmed with X-ray.
- B. Screws placed. Screws are placed into the vertebrae with X-ray or navigation, sizes per device and operator.
- C. Disc and cage. If planned, the disc is removed and a cage with bone graft is inserted.
- D. Rods and graft. Rods are fixed to the screws and bone graft is placed.
4. Finishing
A drain may be placed, per surgeon. The muscles and skin are closed in layers, and the patient is turned back carefully. Final counts are confirmed, implant details recorded, and the patient goes to recovery with a full handover, including limb checks (circulation and nerves), as per centre protocol.
Recovery and aftercare
- First hours: in recovery, then a ward; pain relief and checks of leg movement and feeling.
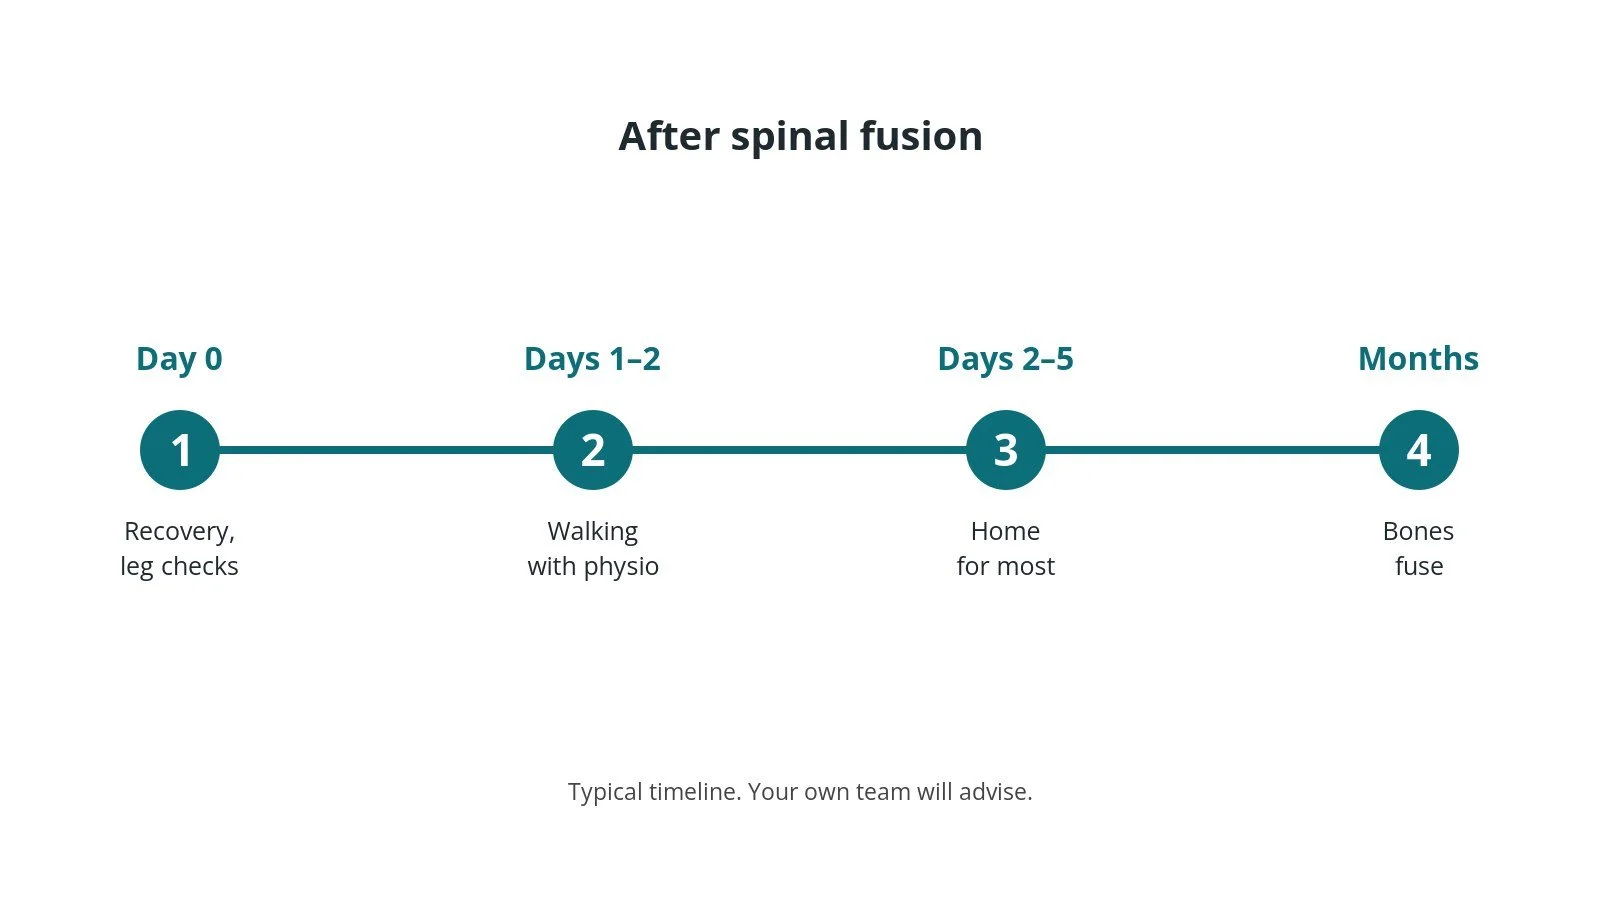
- Getting up: physiotherapists help you walk, often the next day.
- Going home: often 2–5 days.
- Activity: avoid bending, lifting and twisting for several weeks, as advised.
- Fusion: the bones take months to fuse fully.
- Follow-up: X-rays and clinic review, as per centre protocol.
Call 999 if you have chest pain or sudden breathlessness. Contact your team if you have increasing pain, a cold, numb or very swollen limb, calf pain, fever, or a wound that becomes red, hot or leaky.
Risks and complications
Your team will explain the risks that apply to you. Possible problems include:
- nerve injury causing pain, numbness or weakness (uncommon)
- wound infection
- bleeding
- a tear in the lining around the nerves (dural tear)
- the bones not fusing, or screws loosening
- problems at the levels next to the fusion over time
- blood clots in the legs or lungs
Theatre kit list (printable)
Example kit list
Every theatre has its own protocol, and sizes and doses vary.
- spinal instrument trays
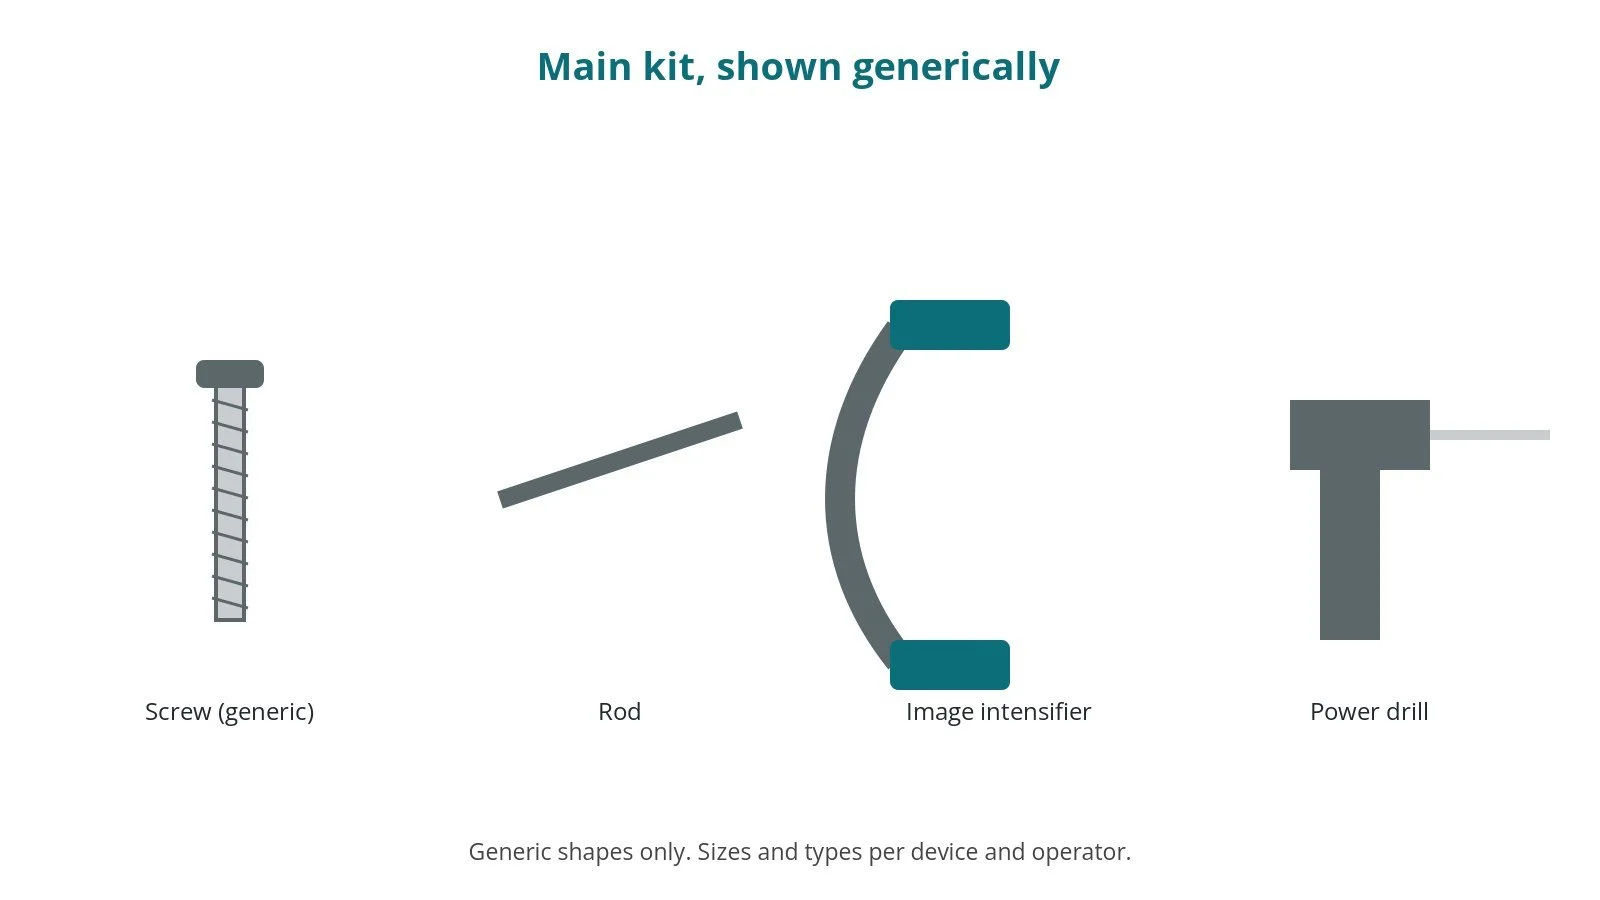
- pedicle screws, rods and caps, sizes per device and operator
- cages and bone graft or substitute, per surgeon
- image intensifier or navigation system and radiation protection
- nerve monitoring equipment, per centre
- power drill and high-speed burr
- spinal frame and padding
- drain, closure sutures and dressings
Procedural steps
- Team brief, WHO sign in; level and side check; implant check; anaesthesia; nerve monitoring
- Prone positioning on frame; padding; prep and drape; count
- Midline incision; level check on X-ray
- Screws placed and checked
- Disc and cage if planned; rods; graft
- Final images; drain; closure; counts; implant log; careful turn; sign out and handover
First time in theatre?
💡 First-time tip
- Implant check. Read back the implant type, side and size before opening, and record it in the implant log.
- Site and side. Check the marking at sign in and again before the cut.
- Counts matter. Swabs, needles, instruments and small implant parts are counted; speak up if one is missing.
- Radiation safety. Wear lead and a dosimeter when X-ray is used, and keep your distance.
- Prone checks. Check eyes, face, chest and pressure points are padded and free after turning.
FAQ
Will I lose movement?
Fusing one or two levels usually makes little difference to overall movement.
How long until it fuses?
Several months; your team will monitor with X-rays.
Will the metal be removed?
Usually not.
Related guides
Sources
All checked on 14 October 2026. Each page's own date is shown where it gives one.
- NICE. Low back pain and sciatica in over 16s (NG59). nice.org.uk/guidance/ng59
- StatPearls (NCBI Bookshelf), search: spinal fusion. ncbi.nlm.nih.gov/books
- StatPearls (NCBI Bookshelf), search: lumbar spinal fusion. ncbi.nlm.nih.gov/books
- World Health Organization. Surgical Safety Checklist. who.int
Disclaimer
Education only. This page is for general education for healthcare students, theatre staff and curious readers. It isn't medical advice and doesn't replace advice from your own doctor, surgical team or local unit protocols. Equipment and medicines are described generically. No product or manufacturer is recommended. If you think someone is having a medical emergency, call 999.
Disclosure: I work in the medical device industry. This page is independent education and isn't sponsored or reviewed by any company.
All diagrams on this page are original illustrations created for rodnieoro.com.