Carpal tunnel release: an OR 101 guide
Reviewed by Rodnie Oro, cath lab charge nurse · Last reviewed: October 2026 · Education only, not medical advice
Carpal tunnel release in one minute
What it is: a short operation to cut the tight ligament over the carpal tunnel at the wrist and free the median nerve.
Who it is for: people with carpal tunnel syndrome (tingling, numbness or weakness in the hand) that has not settled.
Main risks: tender scar, infection, stiffness, symptoms not fully settling, nerve injury (rare).
Usually: under local anaesthetic, 15–30 minutes, home the same day.
On this page: What is carpal tunnel release? · Who is it for? · When is it done? · Step by step · Recovery · Risks · Kit list · First time in theatre? · FAQ
What is carpal tunnel release?
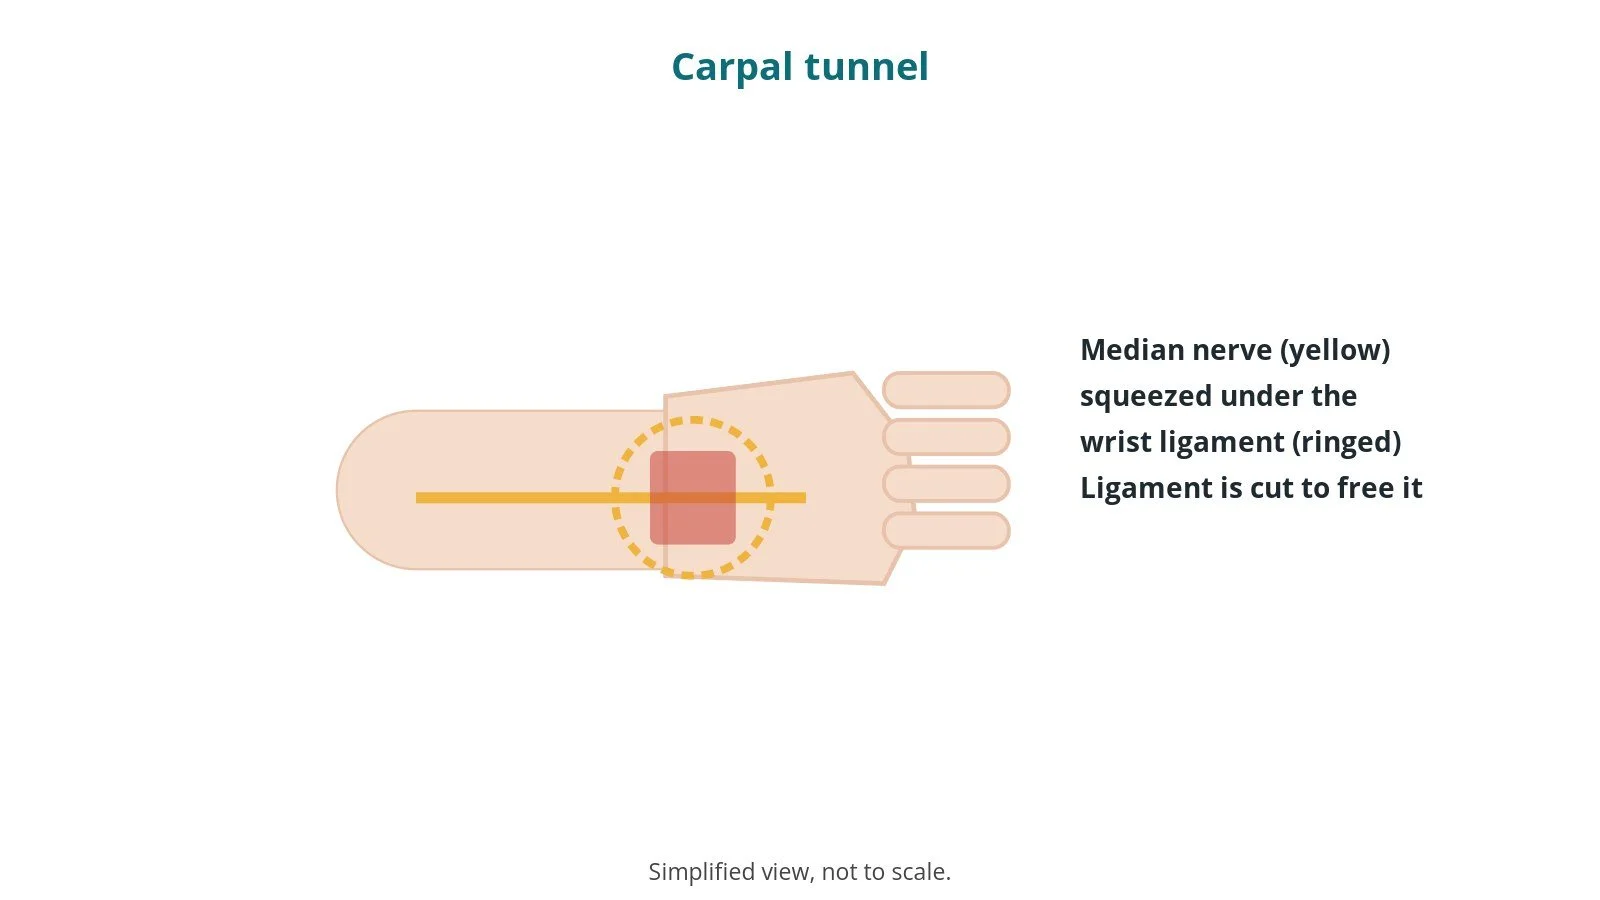
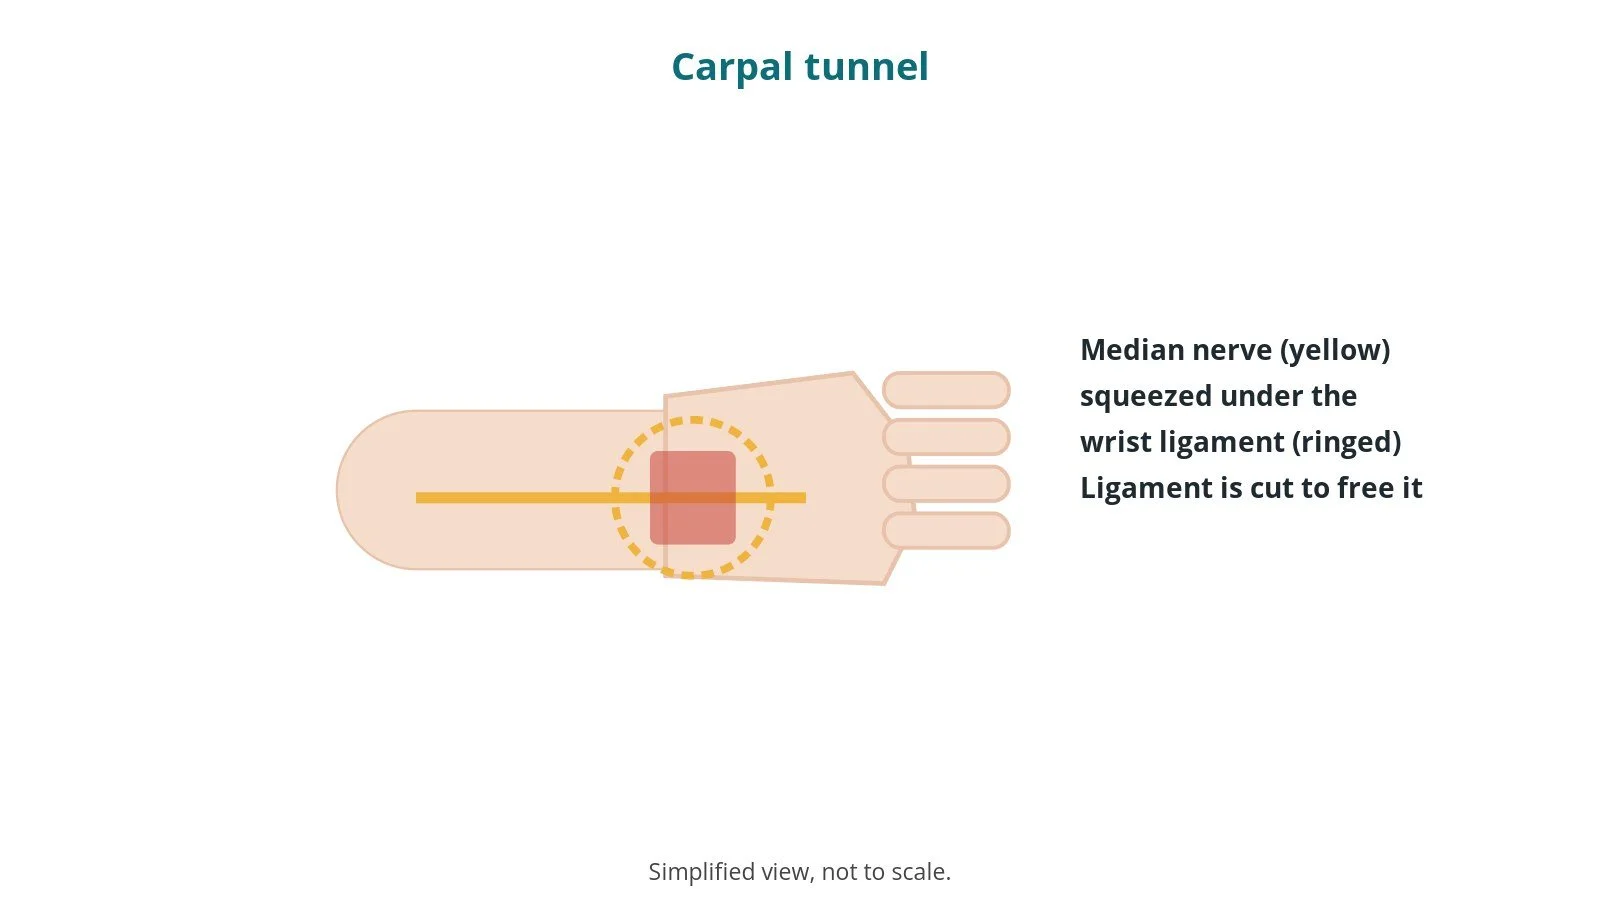
The carpal tunnel is a narrow passage at the wrist. The median nerve and tendons pass through it, under a tough band called the transverse carpal ligament.
When the nerve is squeezed it causes tingling and numbness in the thumb and fingers, often worse at night. In carpal tunnel release the surgeon cuts the ligament to make more room:
- open release: a small cut in the palm
- endoscopic release: a camera through a smaller cut, per surgeon
The ligament heals in a looser position, taking pressure off the nerve.
New to the acronyms? See the Cath Lab Abbreviations A–Z.
Who is it for?
It may be considered for people with:
- carpal tunnel syndrome not helped by splints or injections
- symptoms with weakness or muscle wasting
- nerve tests showing significant compression
The decision is made by your surgical team, who will talk through the reasons, the alternatives and the risks with you.
When is it done?
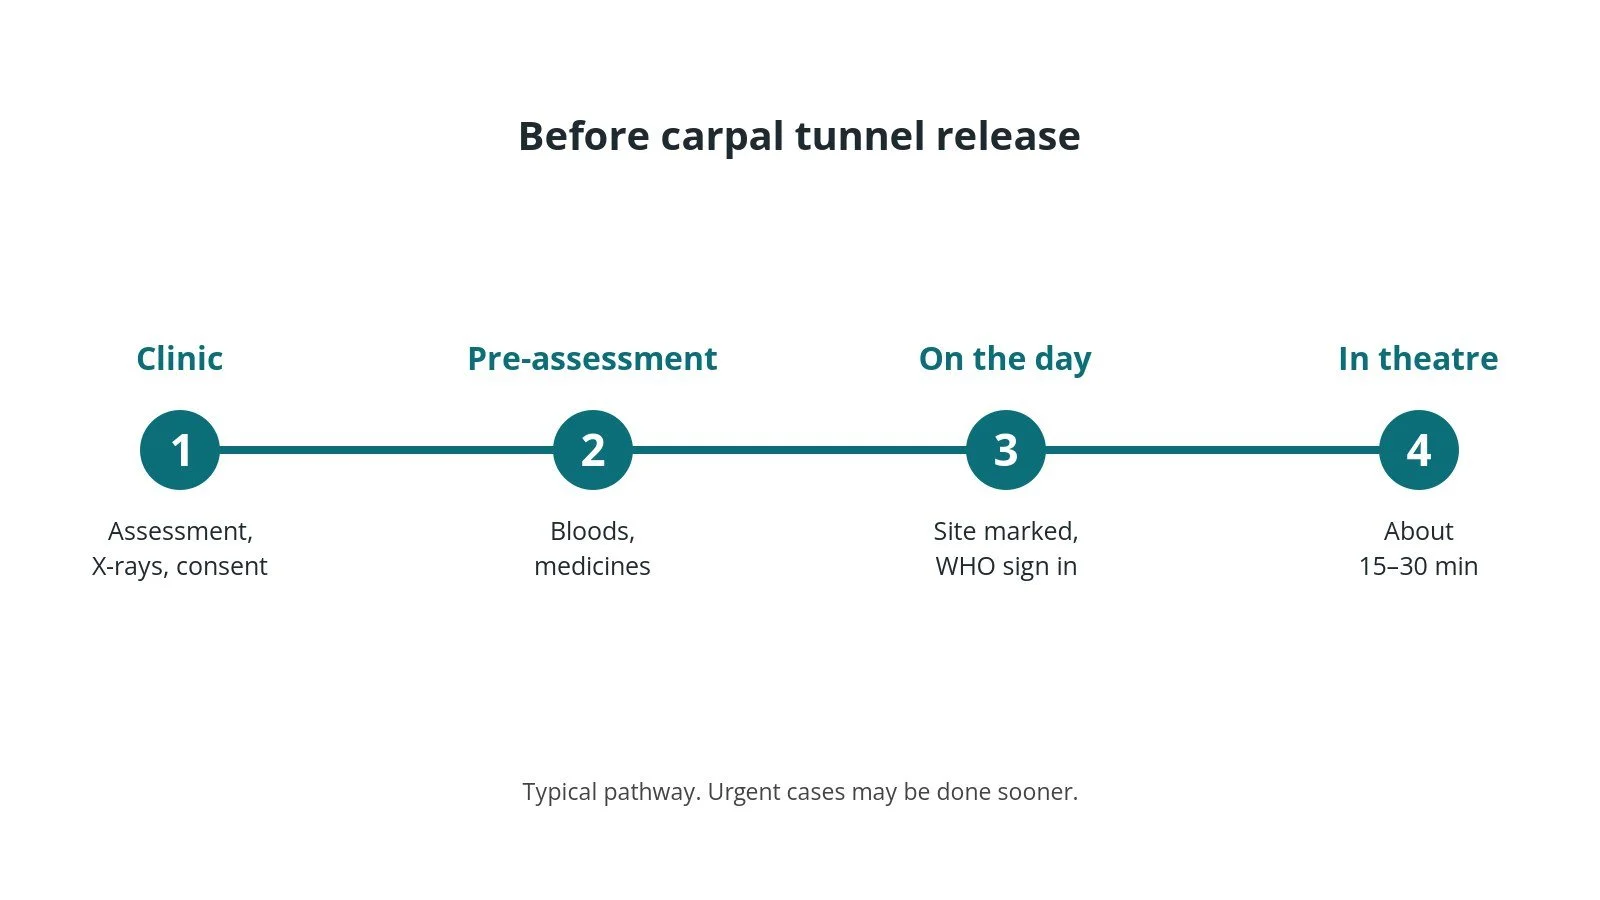
Most operations are planned; some are urgent. Before it, you usually have:
- an examination, and sometimes nerve conduction tests
- a review of your medicines, especially blood thinners, as per centre protocol
- a chance to ask questions and give consent
Step by step
1. Getting ready
Team brief and WHO checklist first, including the implant check and confirming the site and side marking. The anaesthetic team and ODP give the anaesthetic (usually local anaesthetic, sometimes with a regional block, as per centre protocol); antibiotics and blood-clot prevention are given as per centre protocol. The circulating practitioner checks positioning and pressure areas, the diathermy plate, warming, the tourniquet if used, and radiation protection if X-ray is used. The scrub practitioner checks implant and instrument trays are complete and sterile, and does the first count. Theatre traffic is kept to a minimum, especially in laminar-flow theatres. The arm rests on a hand table.
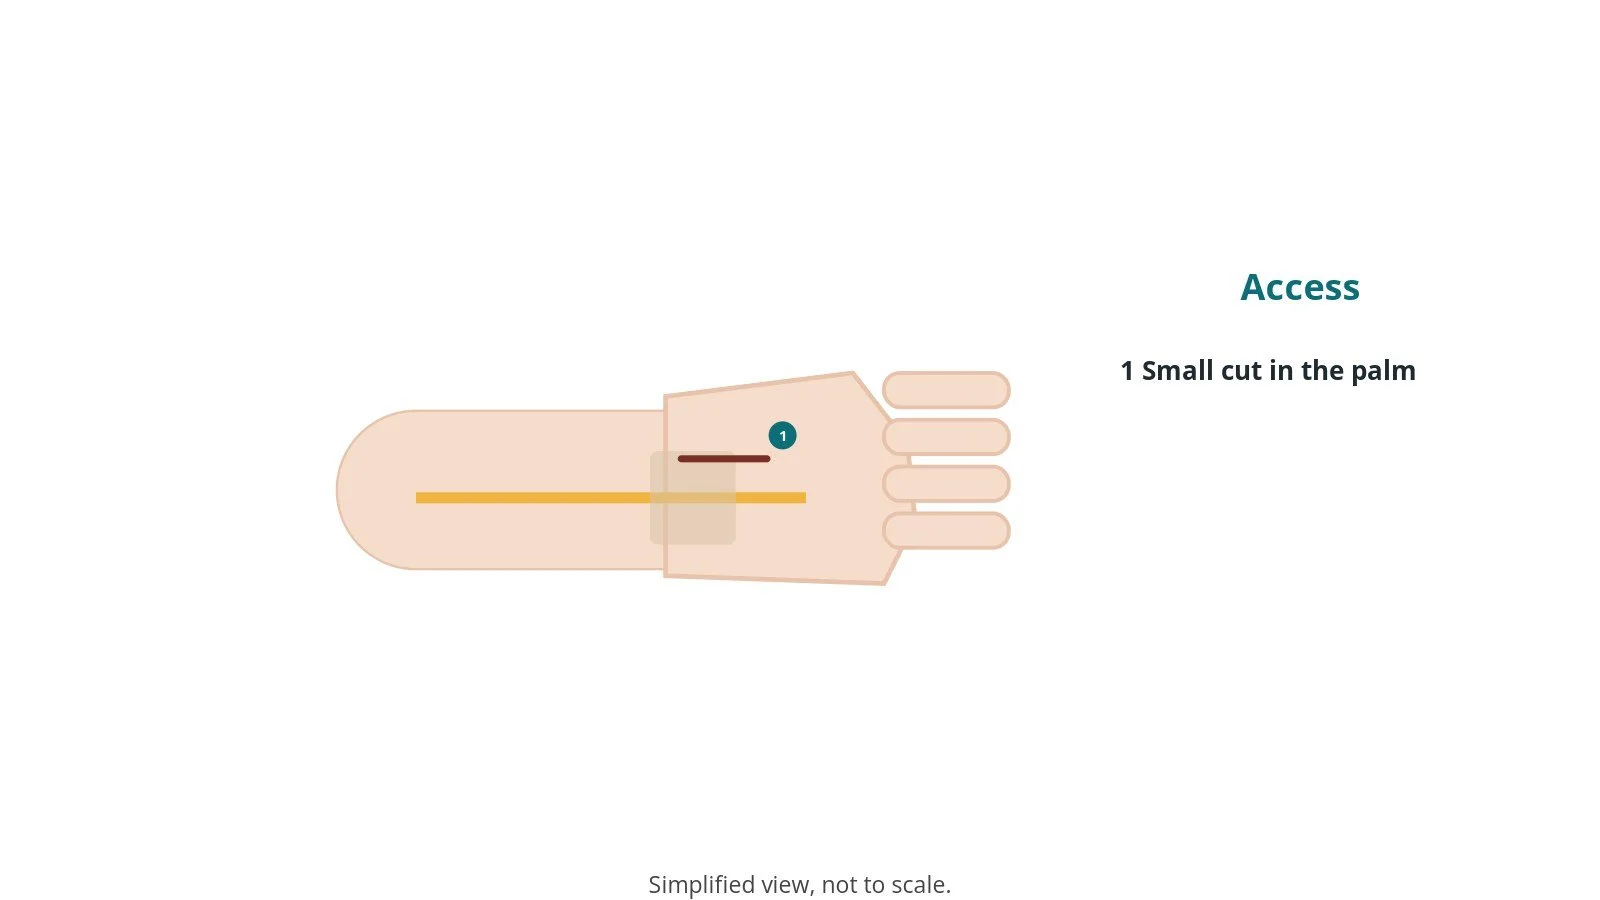
2. Access
A small cut is made in the palm, in line with the ring finger, per surgeon.
3. Releasing the nerve
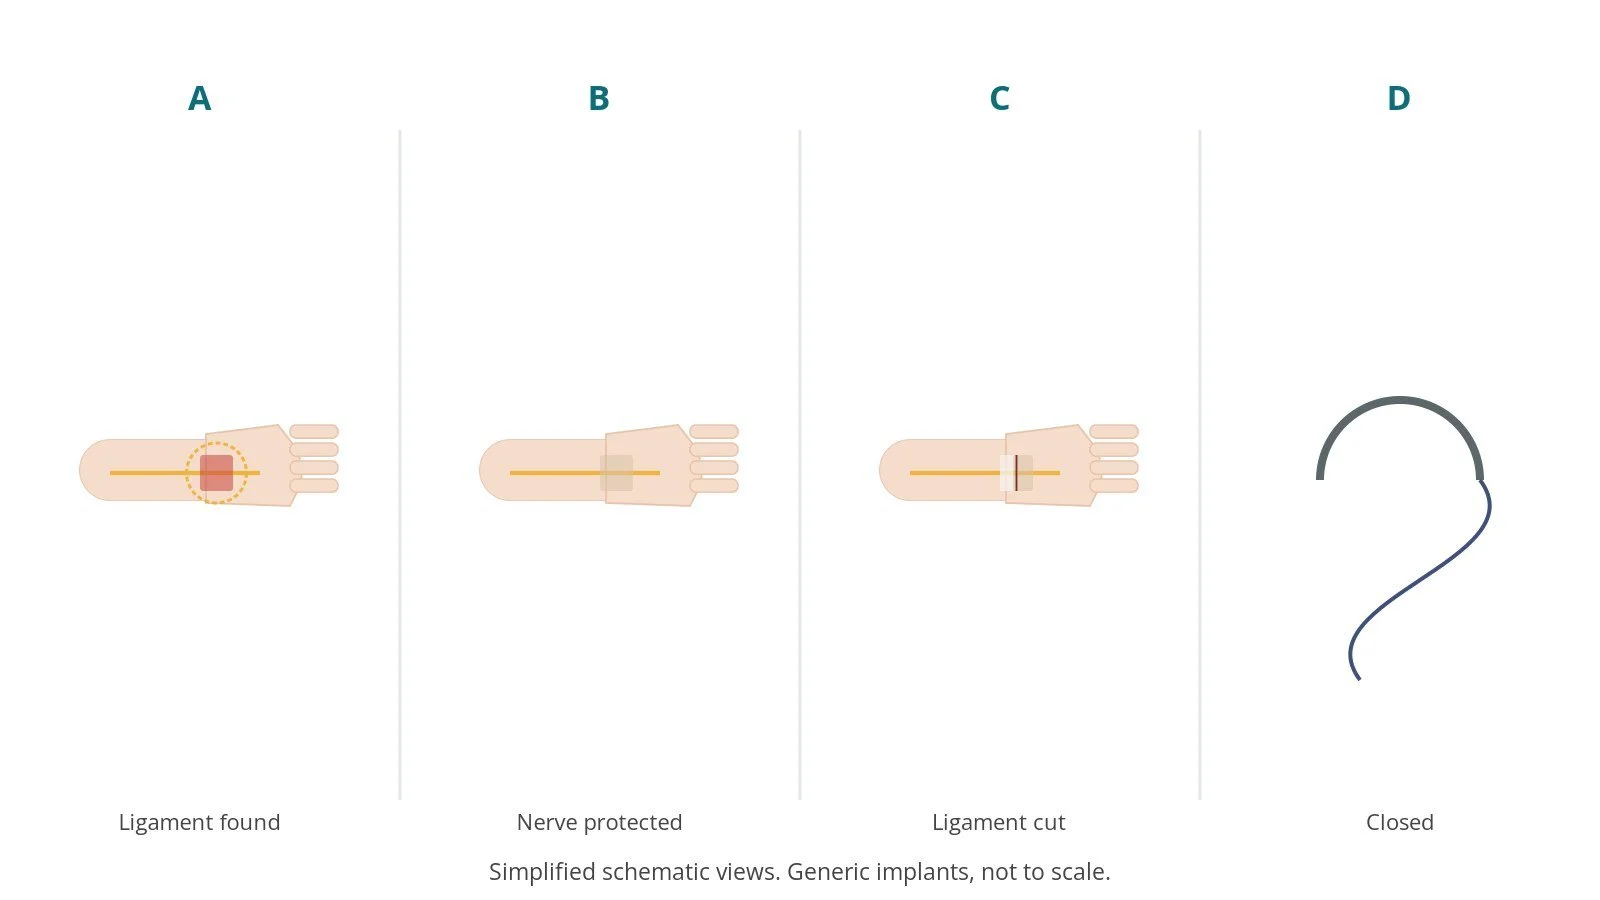
- A. Ligament found. The skin and fat are opened to reach the ligament.
- B. Nerve protected. The nerve is protected under the ligament.
- C. Ligament cut. The ligament is divided along its full length.
- D. Closed. The skin is closed with a few stitches.
4. Finishing
A soft bulky dressing is applied. Final counts are confirmed, implant details recorded, and the patient goes to recovery with a full handover, including limb checks (circulation and nerves), as per centre protocol.
Recovery and aftercare
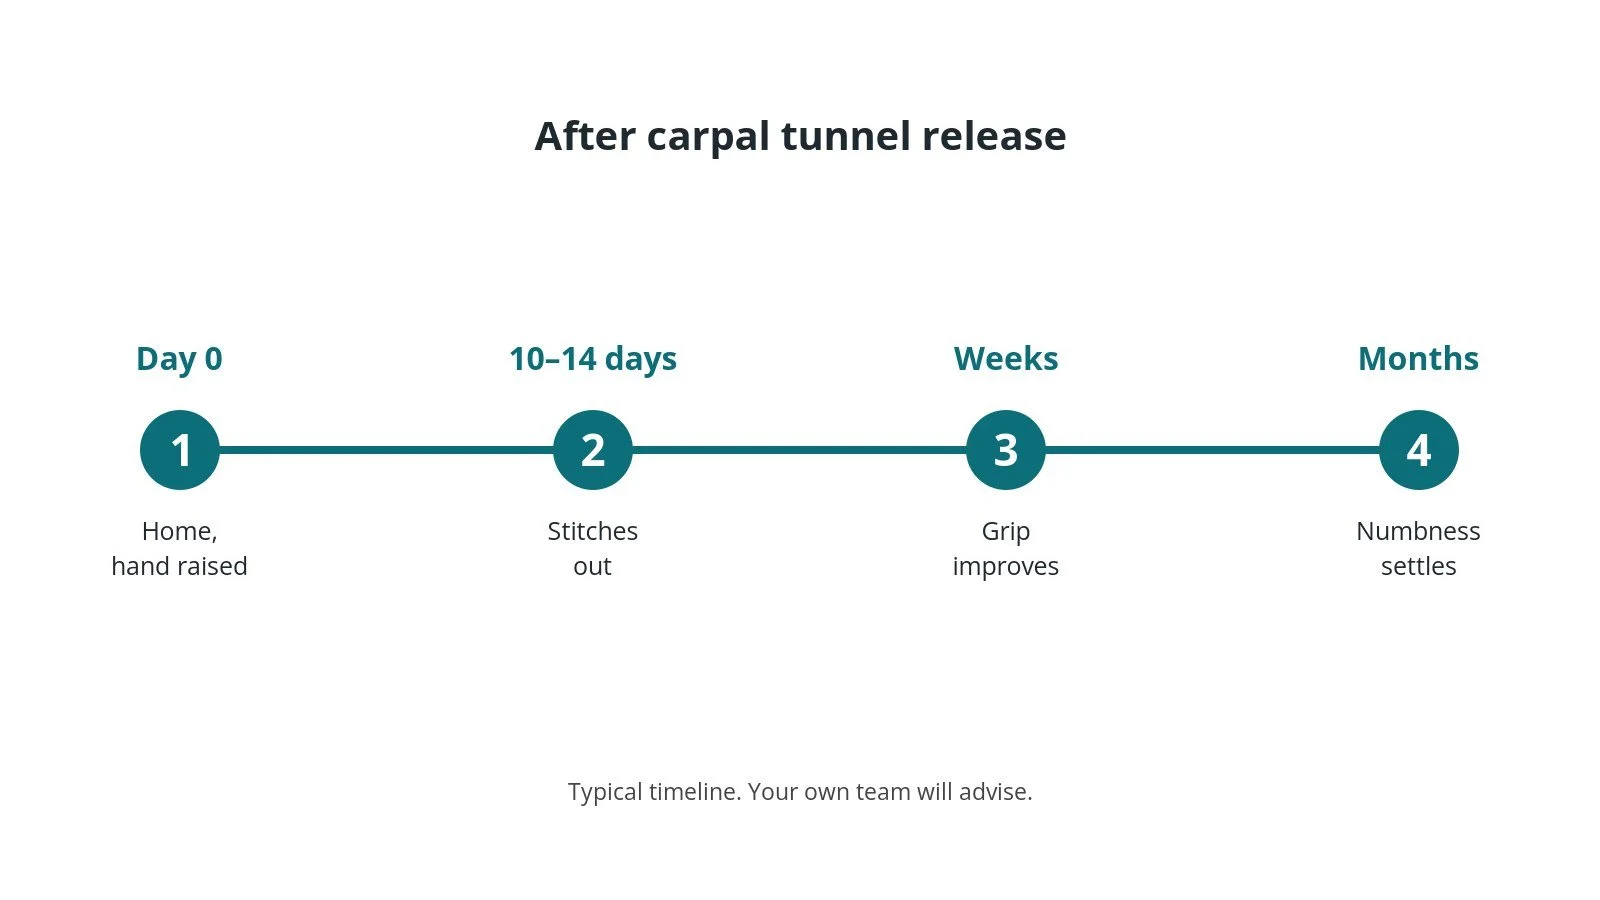
- Going home: the same day.
- Hand up: keep the hand raised for a few days; move the fingers gently.
- Stitches: usually removed after 10–14 days.
- Use: light use quickly; avoid heavy gripping for a few weeks.
- Symptoms: night tingling often improves quickly; numbness can take longer.
- Follow-up: as per centre protocol.
Call 999 if you have chest pain or sudden breathlessness. Contact your team if you have increasing pain, a cold, numb or very swollen limb, calf pain, fever, or a wound that becomes red, hot or leaky.
Risks and complications
Your team will explain the risks that apply to you. Possible problems include:
- tender scar or pillar pain in the palm
- wound infection
- stiffness
- symptoms not fully settling or coming back
- nerve injury (rare)
- complex regional pain syndrome (rare)
Theatre kit list (printable)
Example kit list
Every theatre has its own protocol, and sizes and doses vary.
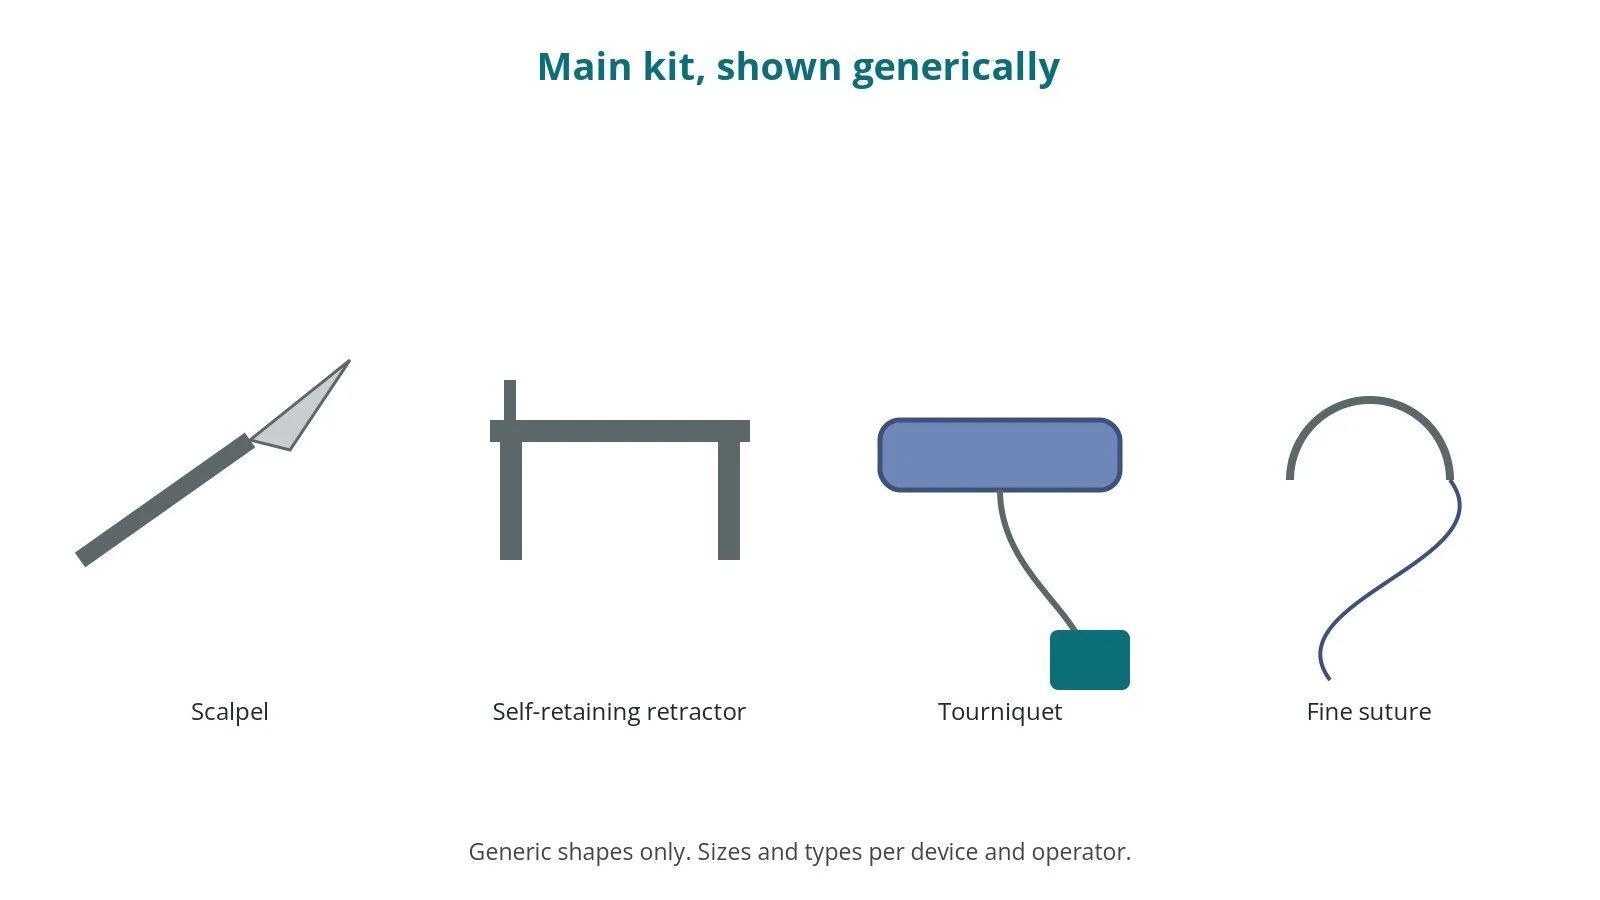
- hand instrument set
- hand table
- tourniquet if used, per surgeon
- local anaesthetic, as per centre protocol
- fine skin sutures
- bulky hand dressing
Procedural steps
- Team brief, WHO sign in; side marked; local anaesthetic
- Arm on hand table; tourniquet if used; prep and drape; count
- Palm incision
- Ligament exposed; nerve protected
- Ligament divided
- Closure; dressing; counts; sign out
First time in theatre?
💡 First-time tip
- Site and side. Check the marking at sign in and again before the cut.
- Counts matter. Swabs, needles, instruments and small implant parts are counted; speak up if one is missing.
- Tourniquet time. Note when the tourniquet goes up and call out times as per centre protocol.
- Awake patient. The patient is often awake; talk calmly and keep chatter in theatre professional.
- Hand table. Make sure the hand table is secure and the arm well supported.
FAQ
Will I be awake?
Usually, with the hand numbed.
When can I drive?
When you can grip the wheel safely; often 1–2 weeks.
Will it come back?
It is uncommon after full release.
Related guides
Sources
All checked on 14 October 2026. Each page's own date is shown where it gives one.
- NHS. Carpal tunnel syndrome. nhs.uk/conditions/carpal-tunnel-syndrome
- StatPearls (NCBI Bookshelf), search: carpal tunnel release. ncbi.nlm.nih.gov/books
- British Society for Surgery of the Hand. bssh.ac.uk
- World Health Organization. Surgical Safety Checklist. who.int
Disclaimer
Education only. This page is for general education for healthcare students, theatre staff and curious readers. It isn't medical advice and doesn't replace advice from your own doctor, surgical team or local unit protocols. Equipment and medicines are described generically. No product or manufacturer is recommended. If you think someone is having a medical emergency, call 999.
Disclosure: I work in the medical device industry. This page is independent education and isn't sponsored or reviewed by any company.
All diagrams on this page are original illustrations created for rodnieoro.com.