Skin lesion and lipoma excision: an OR 101 guide
Reviewed by Rodnie Oro, cath lab charge nurse · Last reviewed: October 2026 · Education only, not medical advice
Skin lesion excision in one minute
What it is: surgery to remove a skin lesion (for diagnosis or treatment) or a lipoma (a soft fatty lump under the skin).
Who it is for: people with a suspicious, changing or troublesome skin lesion, or a lipoma that is growing, painful or in the way.
Main risks: bleeding, infection, scarring, the wound opening, numbness, and sometimes further surgery if the lab advises.
Usually: a day case, often under local anaesthetic; sometimes general anaesthetic for larger or deeper lumps.
On this page: What is skin lesion or lipoma excision? · Who is it for? · When is it done? · Step by step · Recovery · Risks · Kit list · First time in theatre? · FAQ
What is skin lesion or lipoma excision?
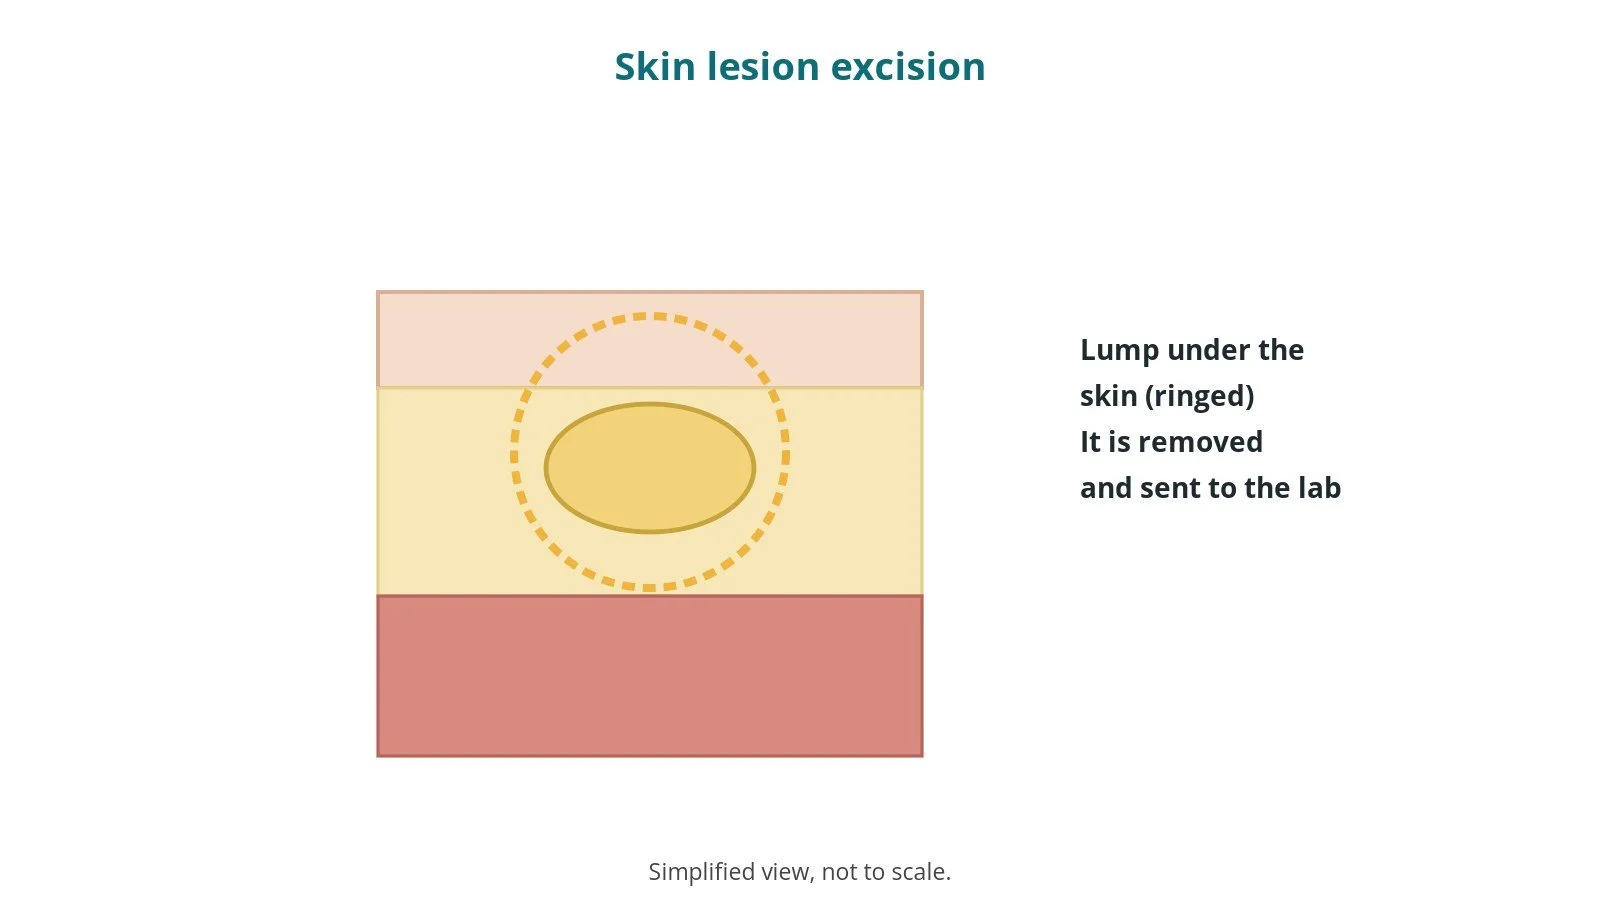
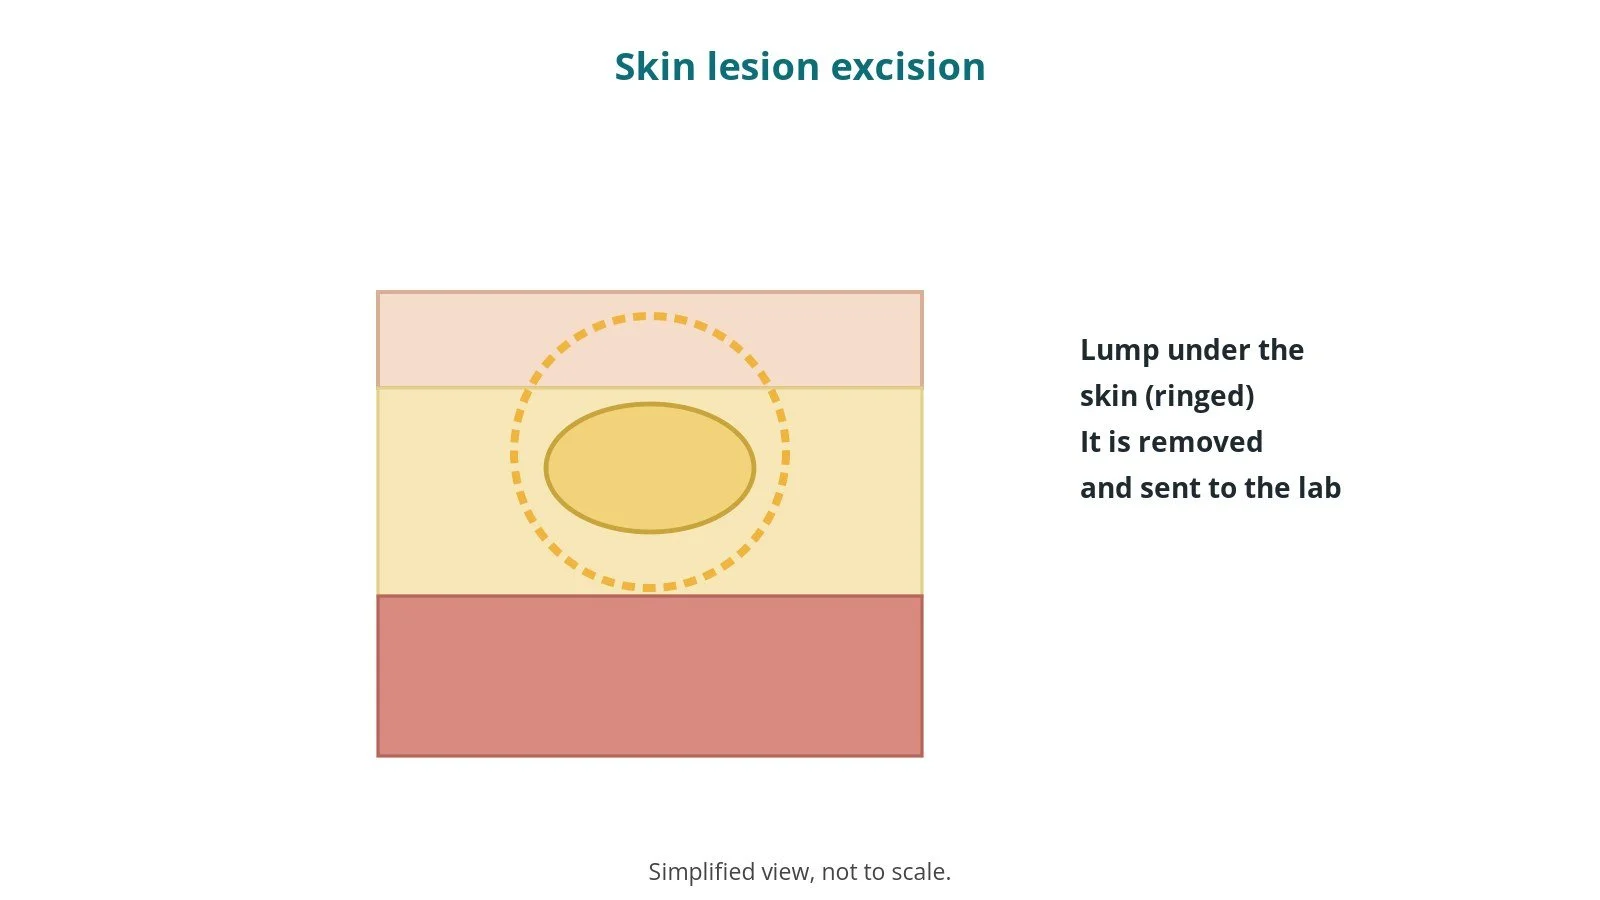
A skin lesion is any spot, mole or growth on the skin. A lipoma is a soft, harmless lump of fat under the skin.
In an excision the surgeon:
- marks the lesion and the planned cut, often as an ellipse (oval) so the skin closes neatly
- numbs the area with local anaesthetic, as per centre protocol
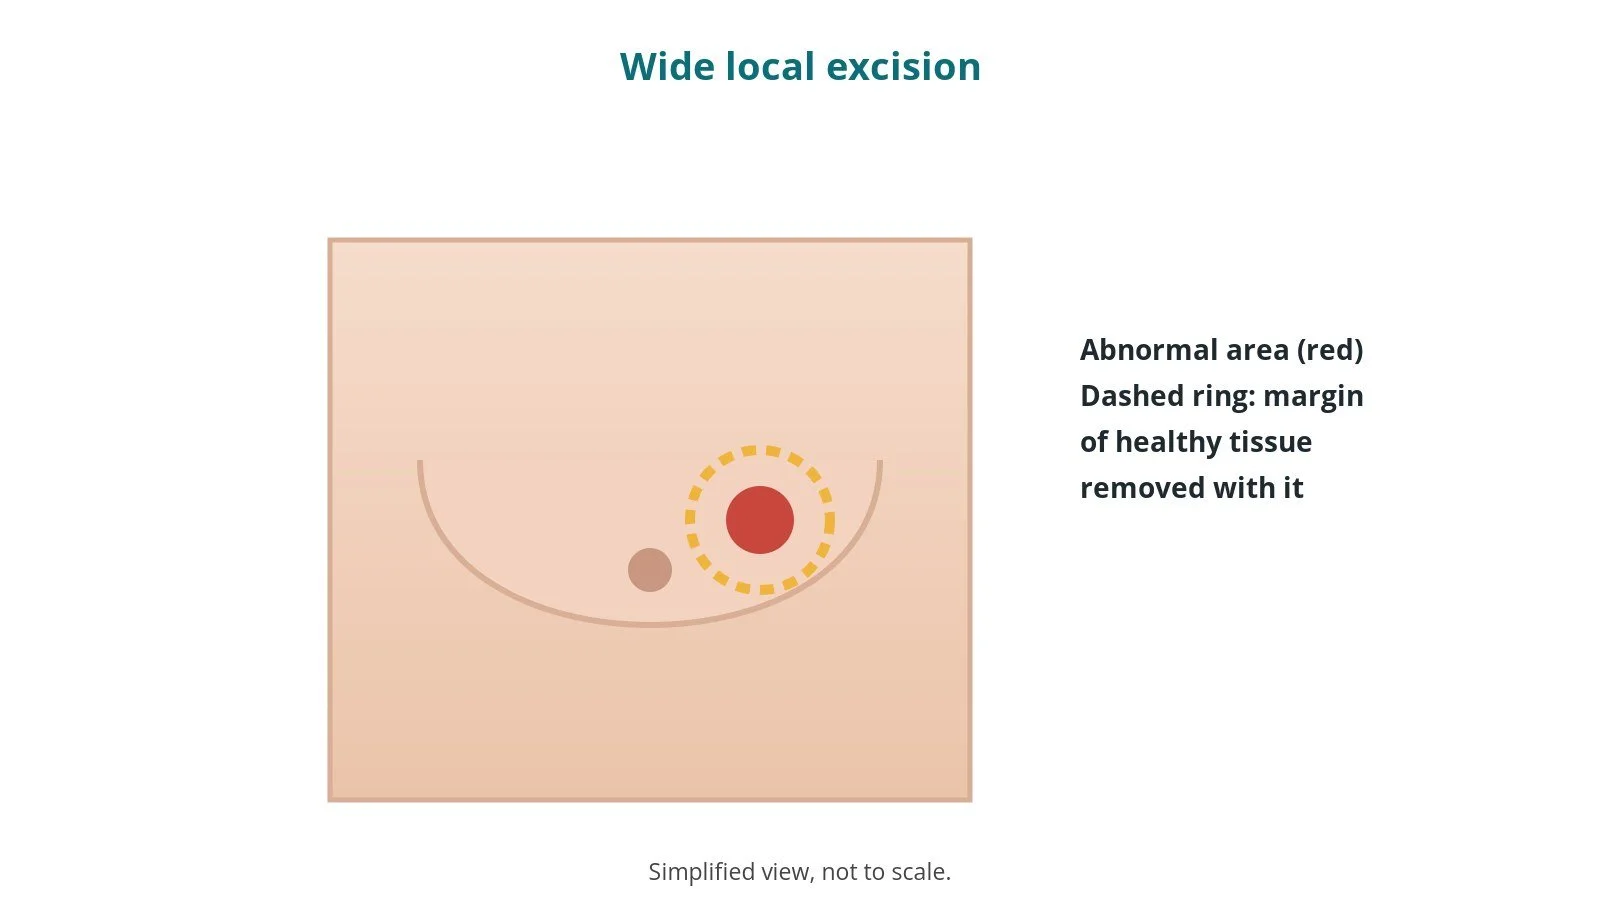
- removes the lesion with a margin of normal skin, or frees and removes the lipoma
- may mark the specimen (for example with a stitch) so the lab knows which way it lay
- closes the skin with stitches, glue or strips
Everything removed is sent to the lab. The size of the margin and the closure method follow the surgeon.
New to the acronyms? See the Cath Lab Abbreviations A–Z.
Who is it for?
It may be considered for people with:
- a skin lesion that may be cancerous or needs a diagnosis
- a lesion that bleeds, catches or is troublesome
- a lipoma that is growing, painful or in the way
The decision is made by your surgical or dermatology team, who will talk through the reasons, the alternatives and the risks with you.
When is it done?
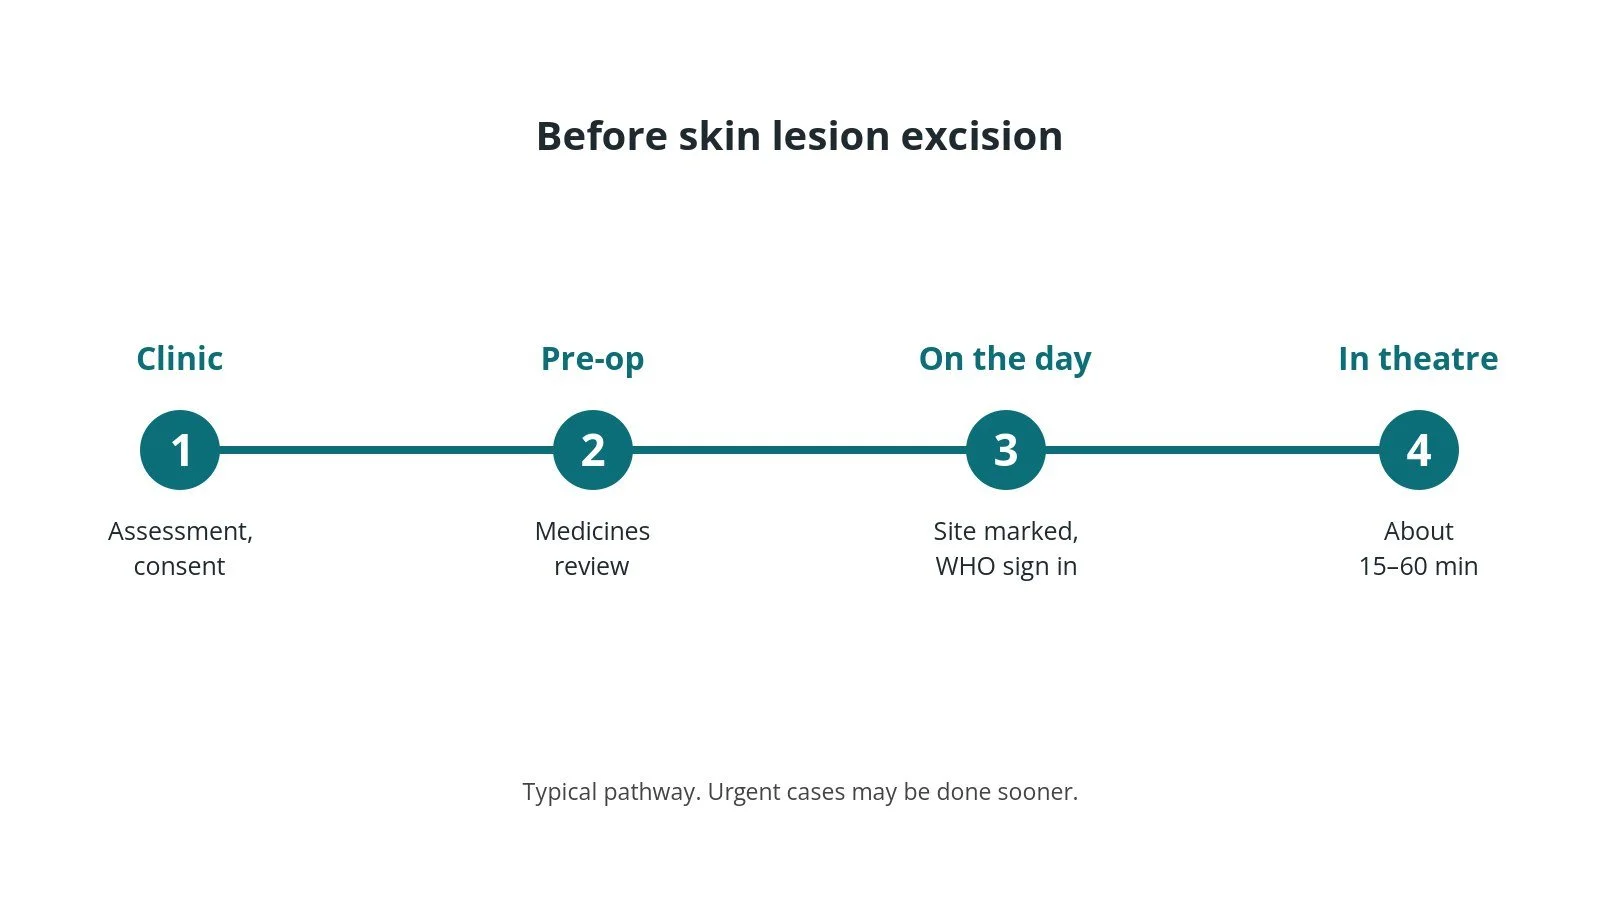
Most operations are planned; some are urgent. Before it, you usually have:
- an examination of the lesion, and sometimes photographs (with consent) or a scan for deeper lumps
- a review of your medicines, especially blood thinners, as per centre protocol
- a chance to ask questions and give consent
Step by step
1. Getting ready
Team brief and WHO checklist first, including the site marking, and which lesion when there is more than one. The anaesthetic team and ODP give the anaesthetic (often local anaesthetic only; sometimes general, as per centre protocol); other medicines are given only as per centre protocol. The circulating practitioner checks positioning, pressure areas, the diathermy plate and warming. The scrub practitioner sets up the instrument trolley and does the first count. On local anaesthetic lists the ODP or a named team member stays with the patient, monitors as required and knows how to call for help. The local anaesthetic drug, strength and maximum safe amount are checked with the surgeon (and anaesthetist if present) before drawing up, as per centre protocol. The specimen pot is labelled before the lesion leaves the field.
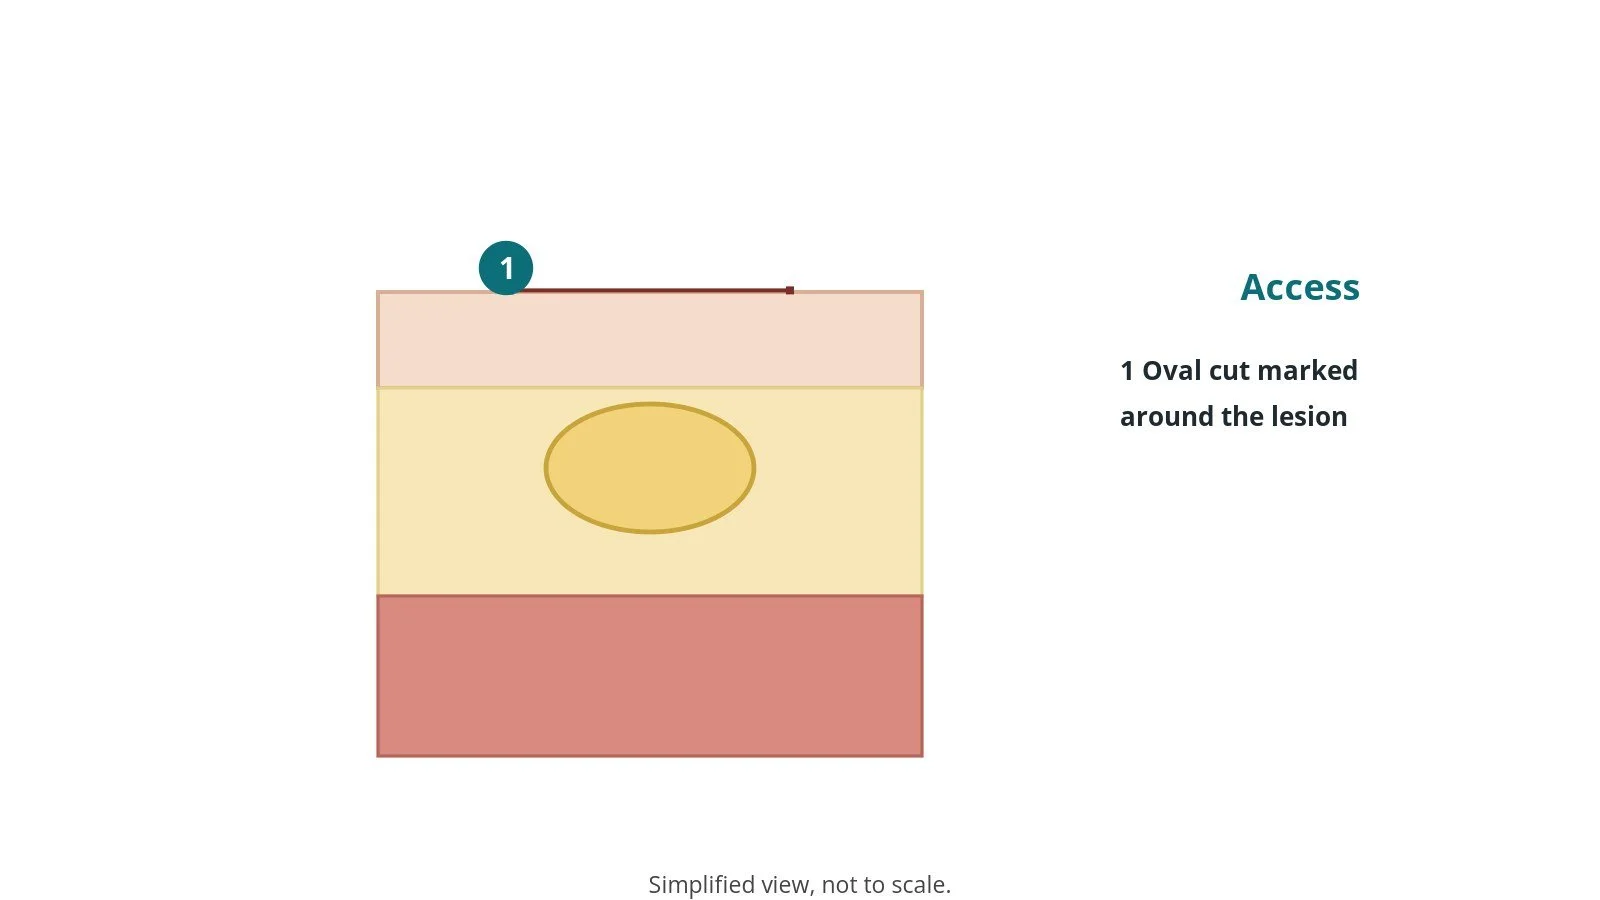
2. Access
An oval (ellipse) cut around the lesion, or a line over the lipoma, at the marked site.
3. Removing the lesion
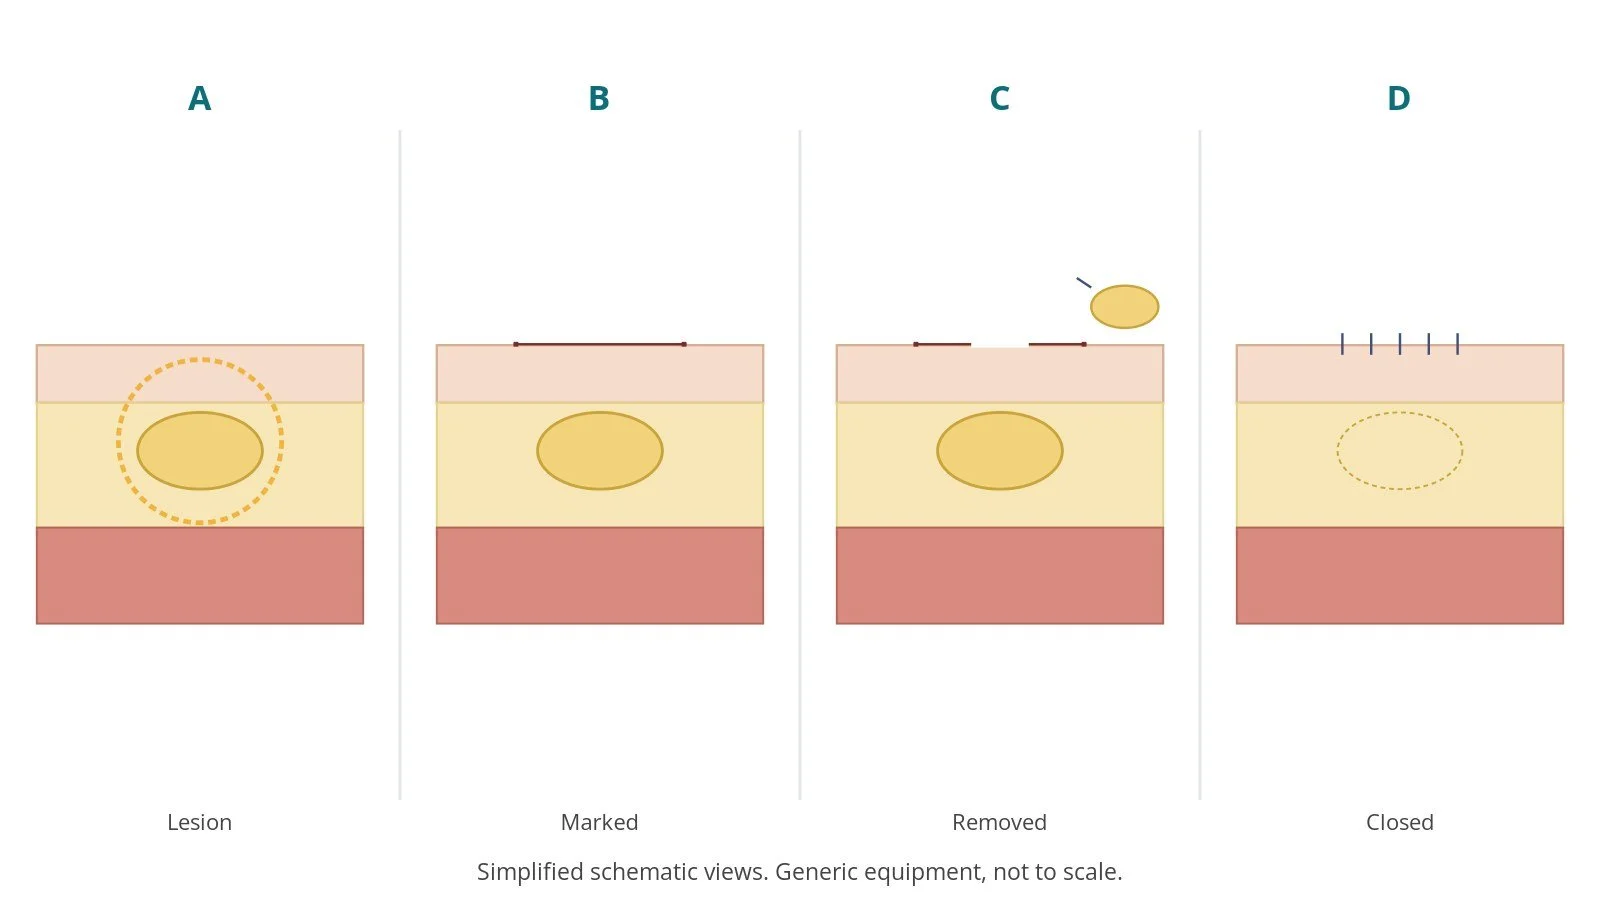
- A. Lesion. The site is confirmed and marked.
- B. Marked. Local anaesthetic is given and the cut marked.
- C. Removed. The lesion or lipoma is removed; the specimen may be marked for orientation.
- D. Closed. Bleeding is controlled and the skin closed.
The specimen goes straight into the labelled pot; nothing removed is thrown away until the surgeon confirms.
4. Finishing
The skin is closed and dressed. Final counts of needles and blades are confirmed, the specimen label is checked against the patient and site, and the patient goes to recovery or home with wound advice.
Recovery and aftercare
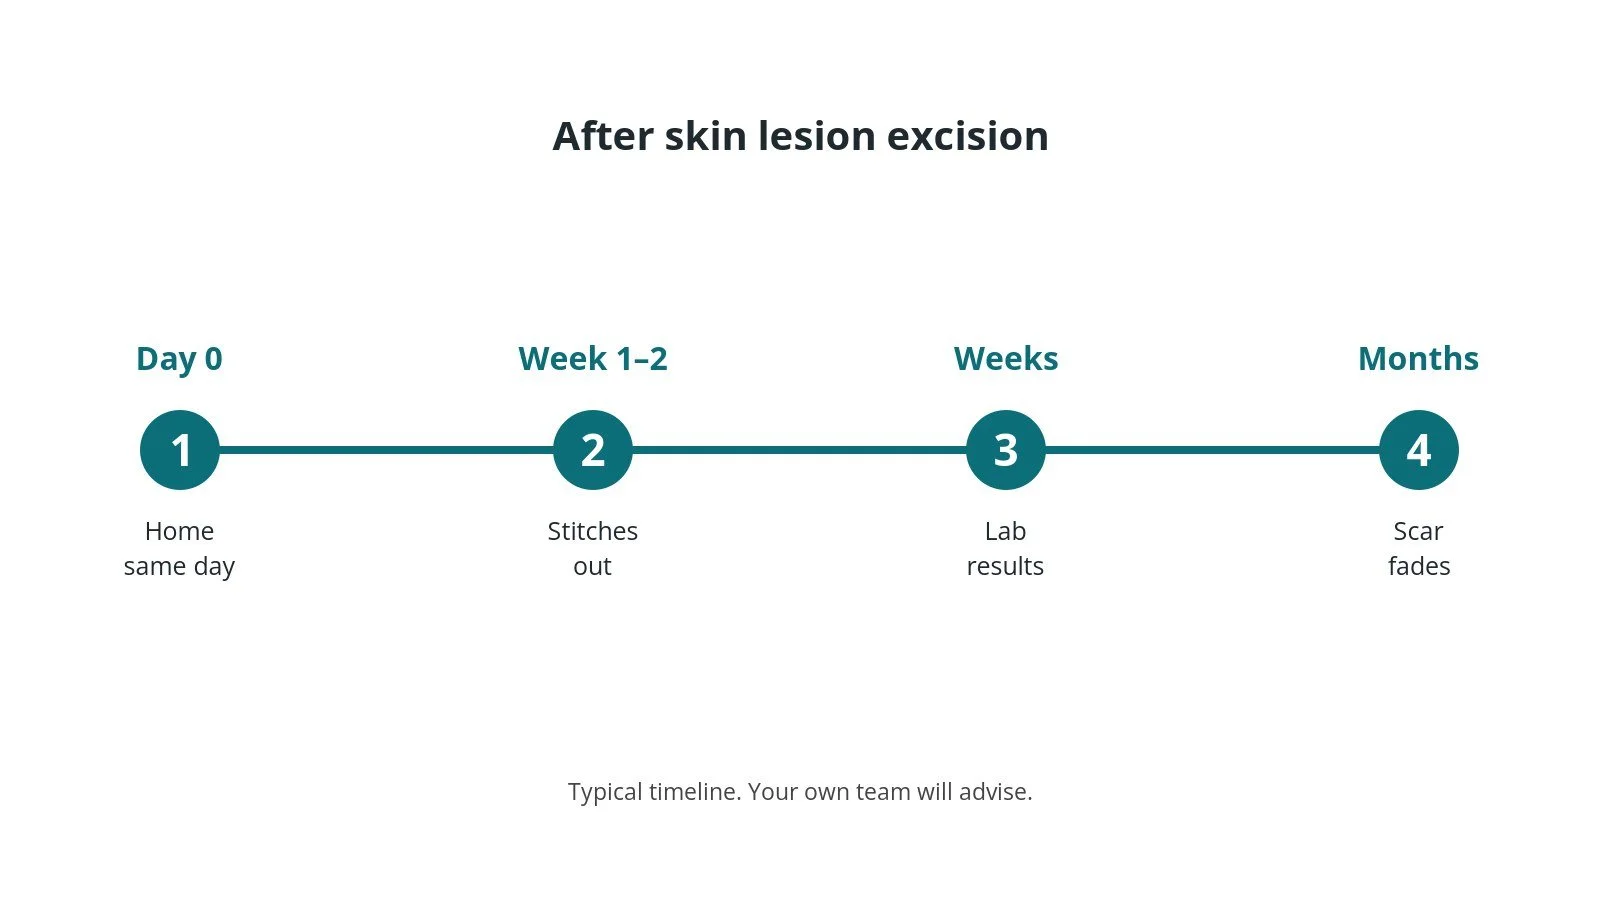
- Same day: usually home the same day.
- Wound: keep it clean and dry as advised.
- Stitches: removed after about 1–2 weeks if not dissolvable, depending on the site.
- Pain: usually mild; simple pain relief is enough for most.
- Results: the lab report is discussed with you; sometimes more surgery is advised.
- Scar: fades over months.
Call 999 if you have severe bleeding or breathlessness. Contact your team or GP if the wound becomes red, hot, swollen or leaky, or you have a fever.
Risks and complications
Your team will explain the risks that apply to you. Possible problems include:
- bleeding or bruising
- wound infection
- the wound opening
- scarring, sometimes raised
- numbness around the scar
- the lesion coming back
- further surgery if the lab advises a wider margin
Theatre kit list (printable)
Example kit list
Every theatre has its own protocol, and sizes and doses vary.
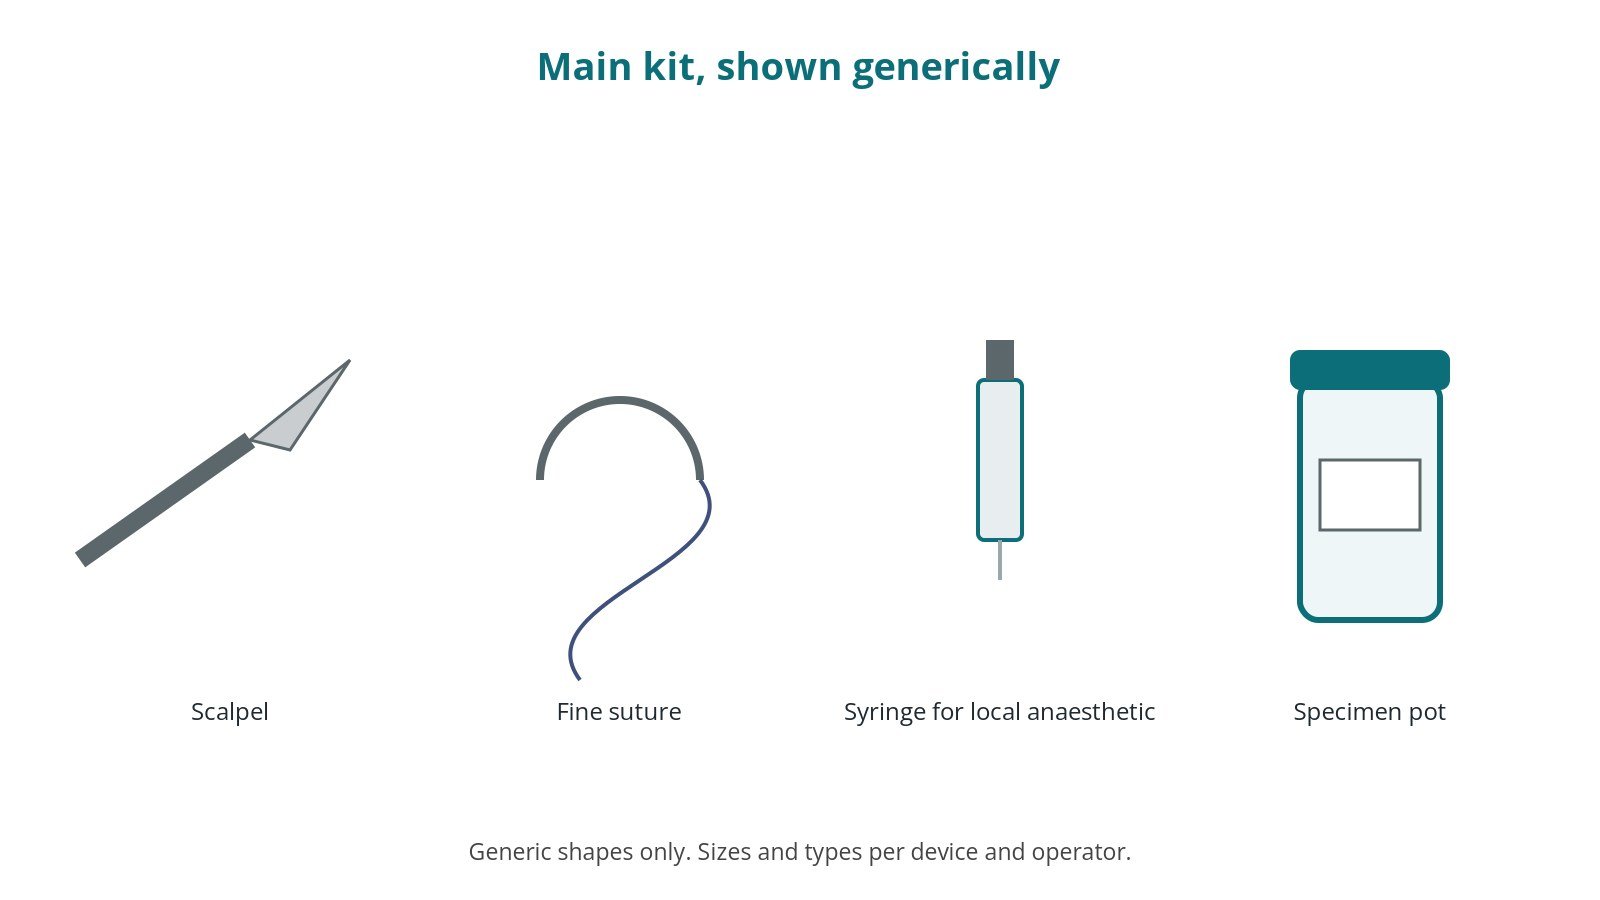
- minor operations set, sized to the lesion
- local anaesthetic, needles and syringes, as per centre protocol
- marking pen
- scalpel and blades
- diathermy if used: confirm return plate or bipolar, per surgeon
- skin closure: sutures, glue or strips, per surgeon
- specimen pots, labels and request forms
- dressings and wound advice leaflet
Procedural steps
- Team brief, WHO sign in; consent and site marking checked (which lesion)
- Positioning with pressure areas protected; prep (dry if diathermy is used); count
- Local anaesthetic checked and given, as per centre protocol
- Lesion or lipoma excised; specimen marked if needed
- Haemostasis; specimen into labelled pot; closure
- Dressing; needle and blade counts; specimen label checked; sign out and advice
First time in theatre?
💡 First-time tip
- Right lesion. Several lesions can be marked; confirm which one, which side and the consent at time out.
- Specimen labels. Label the pot before the specimen leaves the field, and keep any orientation stitch intact.
- Do not discard. Never throw away a skin ellipse or lipoma until the surgeon confirms.
- Small cases still count. Count needles and blades, and handle sharps safely; needle-stick risk is high on small lists.
- Dry prep. If diathermy is used with spirit-based prep, make sure the prep is dry first.
FAQ
Will I be awake?
Usually; the area is numbed with local anaesthetic.
Will it leave a scar?
Yes, usually a fine line that fades.
When will I get the results?
Your team will tell you how and when.
Related guides
Sources
All checked on 14 October 2026. Each page's own date is shown where it gives one.
- NHS. Lipoma. nhs.uk/conditions/lipoma
- NHS. Melanoma skin cancer. nhs.uk/conditions/melanoma-skin-cancer
- StatPearls (NCBI Bookshelf), search: skin lesion excision. ncbi.nlm.nih.gov/books
- British Association of Plastic, Reconstructive and Aesthetic Surgeons. www.bapras.org.uk
- World Health Organization. Surgical Safety Checklist. who.int
Disclaimer
Education only. This page is for general education for healthcare students, theatre staff and curious readers. It isn't medical advice and doesn't replace advice from your own doctor, surgical team or local unit protocols. Equipment and medicines are described generically. No product or manufacturer is recommended. If you think someone is having a medical emergency, call 999.
Disclosure: I work in the medical device industry. This page is independent education and isn't sponsored or reviewed by any company.
All diagrams on this page are original illustrations created for rodnieoro.com.