Skin grafting: an OR 101 guide
Reviewed by Rodnie Oro, cath lab charge nurse · Last reviewed: October 2026 · Education only, not medical advice
Skin grafting in one minute
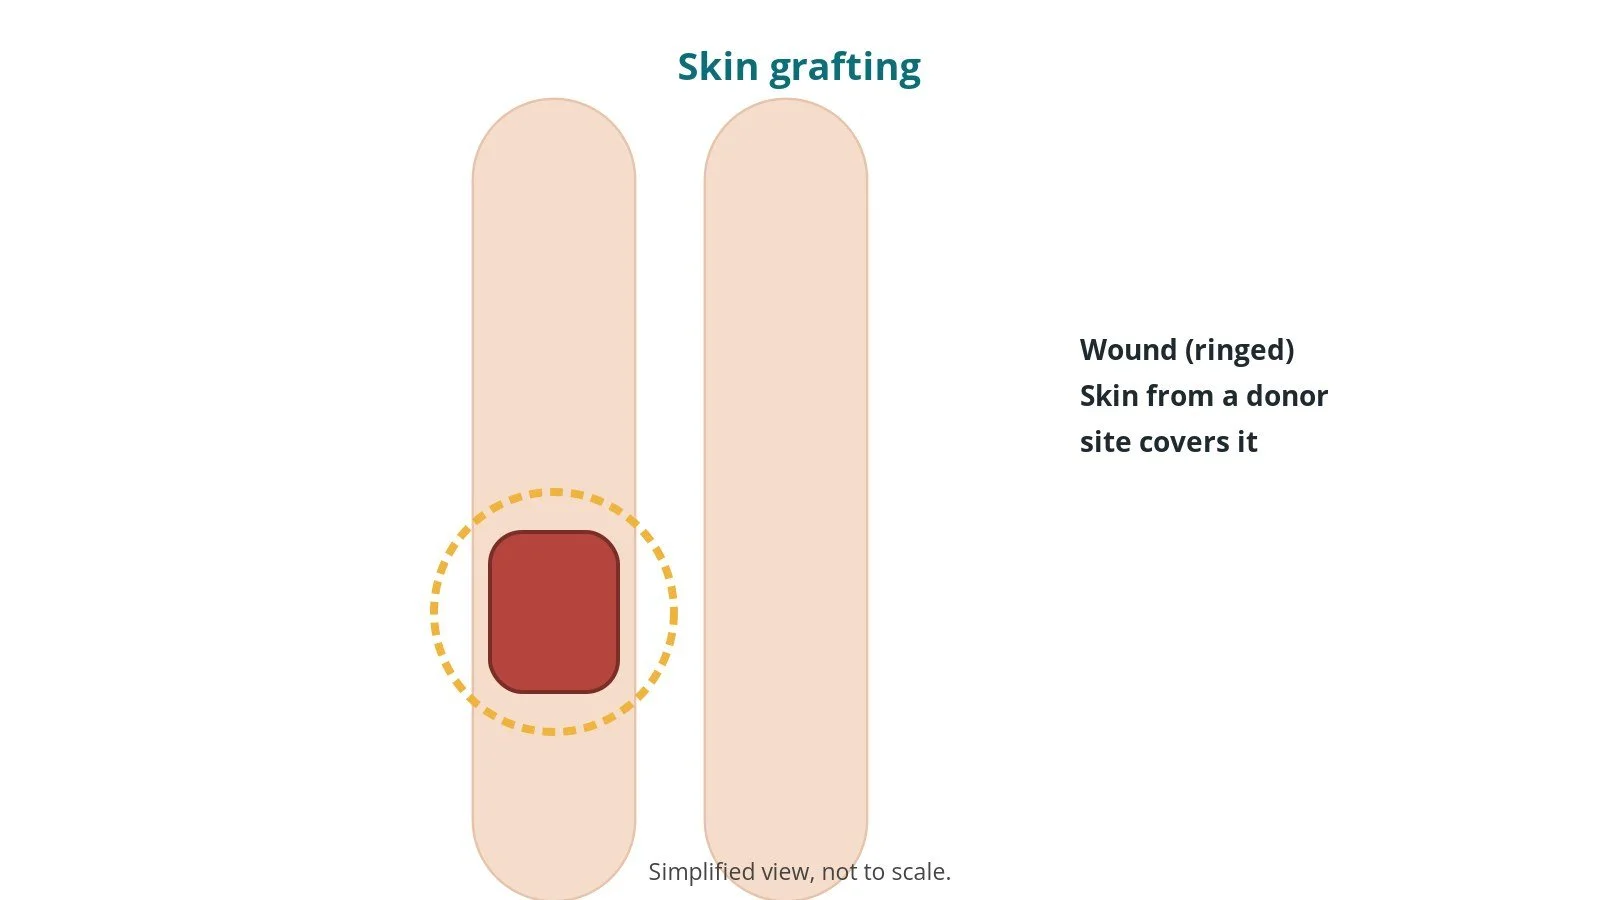
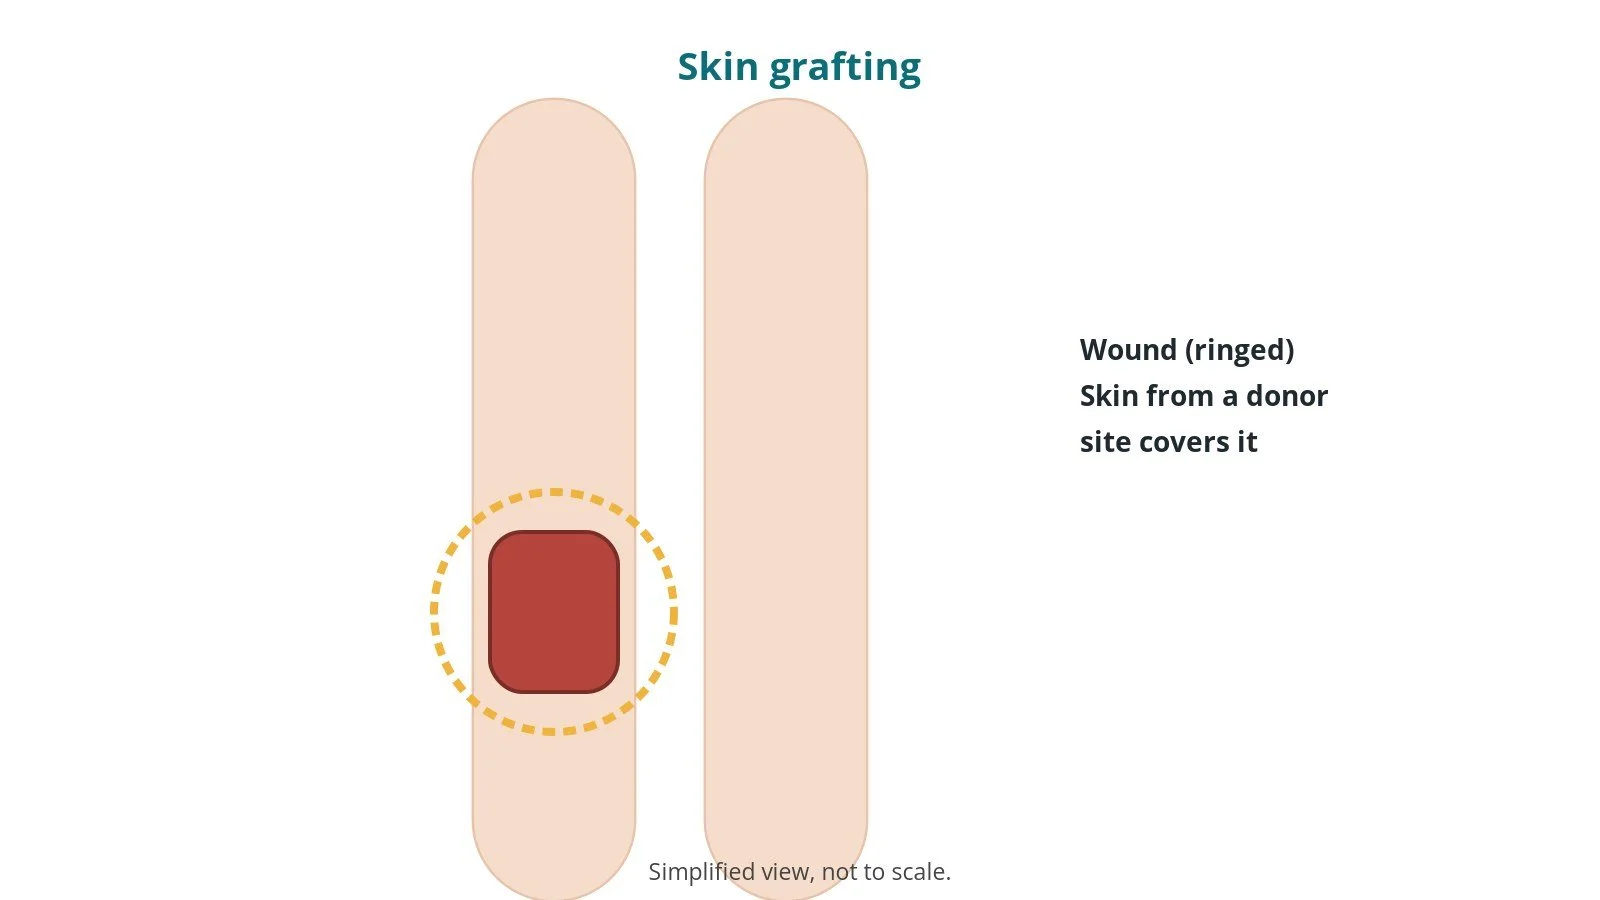
What it is: surgery to take healthy skin from one area (donor site) and move it to cover a wound.
Who it is for: people with burns, large wounds, skin cancer removal or injuries that cannot be closed directly.
Main risks: graft not taking, infection, bleeding under the graft, donor site pain, scarring.
Usually: under general, regional or local anaesthetic, 30 minutes to several hours.
On this page: What is skin grafting? · Who is it for? · When is it done? · Step by step · Recovery · Risks · Kit list · First time in theatre? · FAQ
What is skin grafting?
A skin graft is a sheet of skin moved to cover a wound. It needs a good blood supply underneath to survive (take).
- Split-thickness graft: a thin layer taken with a dermatome, often from the thigh; the donor site heals like a graze. It may be meshed to cover a larger area.
- Full-thickness graft: the whole skin layer, often from behind the ear, neck or groin; the donor site is stitched closed.
The graft is fixed with stitches, clips or glue and held still with a dressing.
New to the acronyms? See the Cath Lab Abbreviations A–Z.
Who is it for?
It may be considered for people with:
- burns
- wounds after injury or infection
- after removal of skin cancer
- ulcers that have not healed, after preparation
The decision is made by your plastic surgery team, who will talk through the reasons, the alternatives and the risks with you.
When is it done?
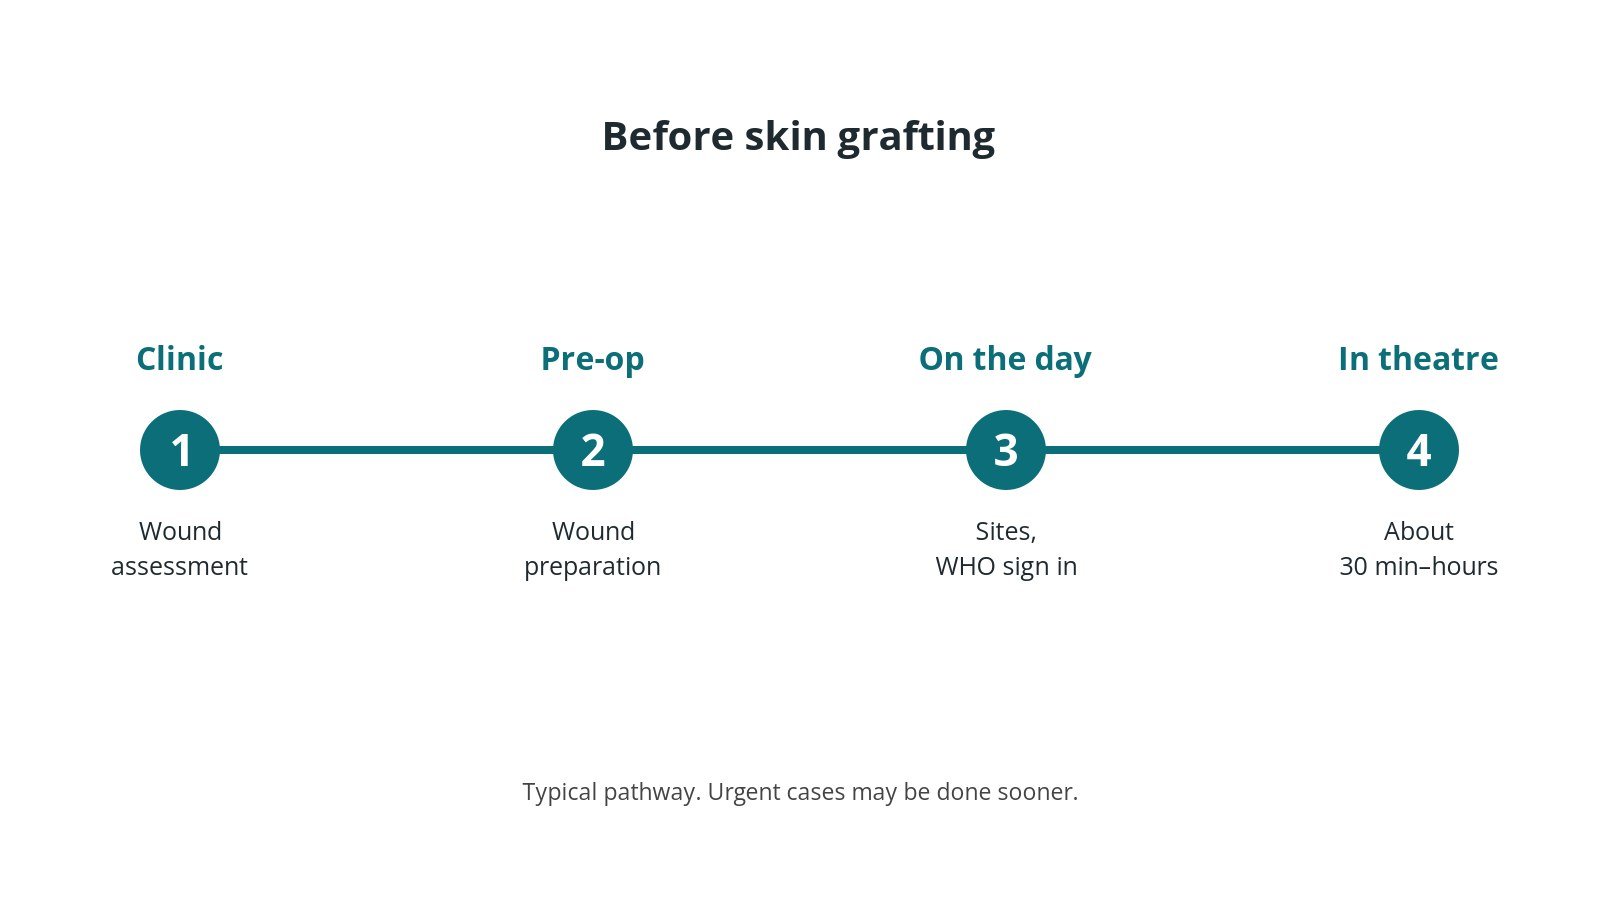
Most operations are planned; some are urgent. Before it, you usually have:
- an assessment of the wound and donor site
- sometimes wound preparation, such as negative-pressure therapy
- a review of medicines, as per centre protocol
- a chance to ask questions and give consent
Step by step
1. Getting ready
Team brief and WHO checklist first, including the wound and donor sites. The anaesthetic team and ODP give the anaesthetic (general, regional or local, as per centre protocol); antibiotics and blood-clot prevention are given as per centre protocol. The circulating practitioner checks positioning, pressure areas, the diathermy plate and warming. The scrub practitioner sets up the instrument trolley and does the first count. The dermatome is checked and set, per device and operator, and both the wound and donor site are prepped.
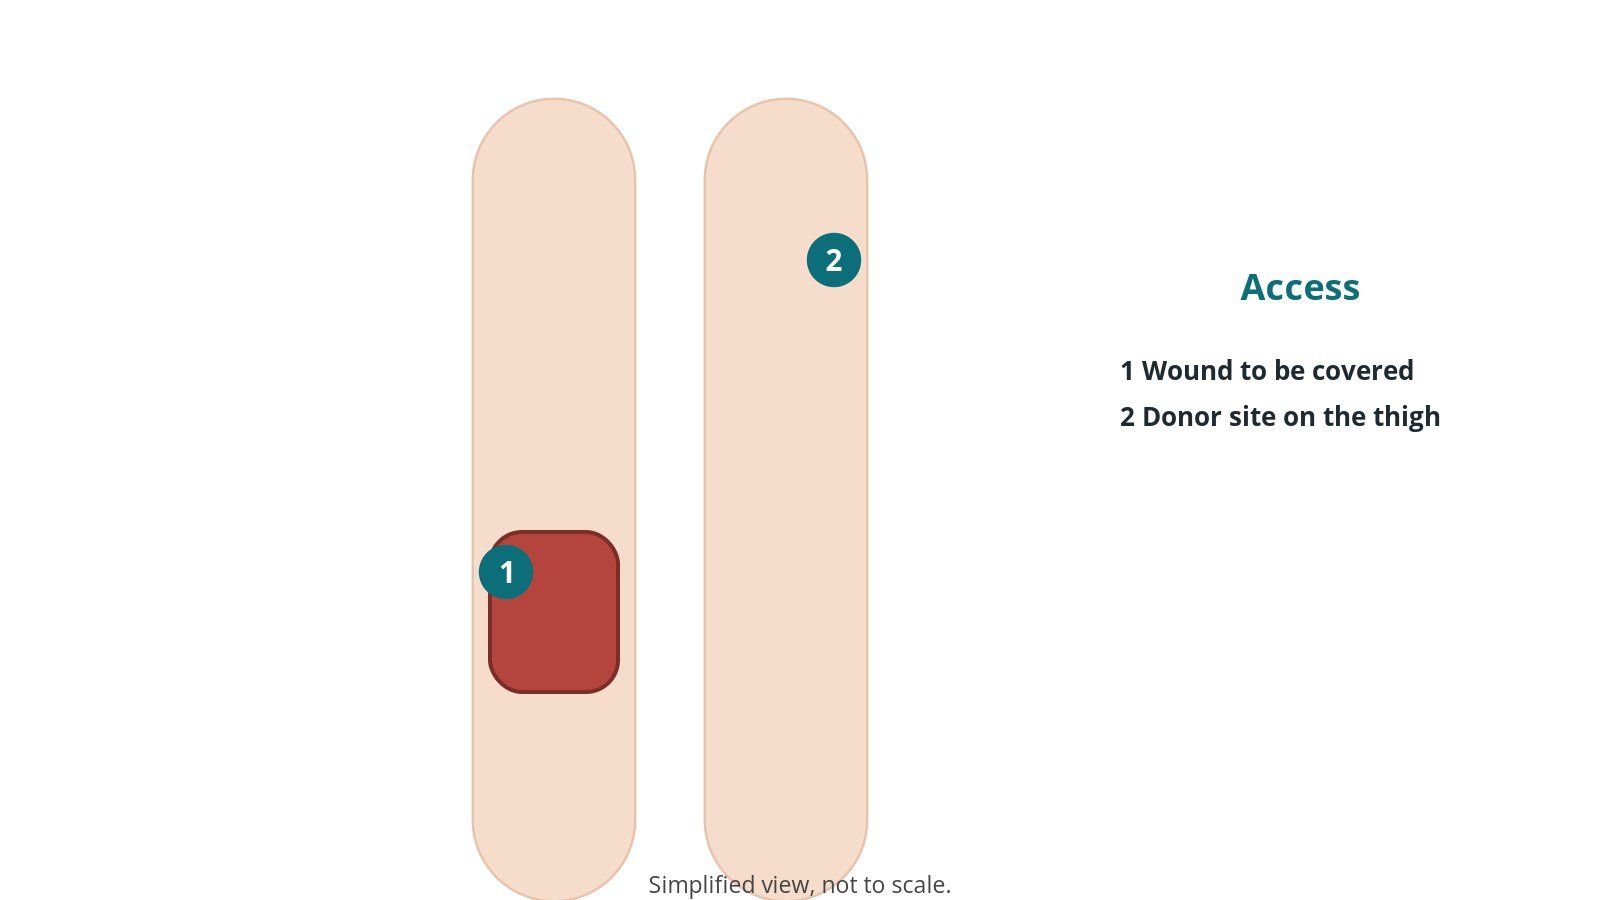
2. Access
The wound is prepared, and skin is taken from the donor site, often the thigh.
3. Taking and placing the graft
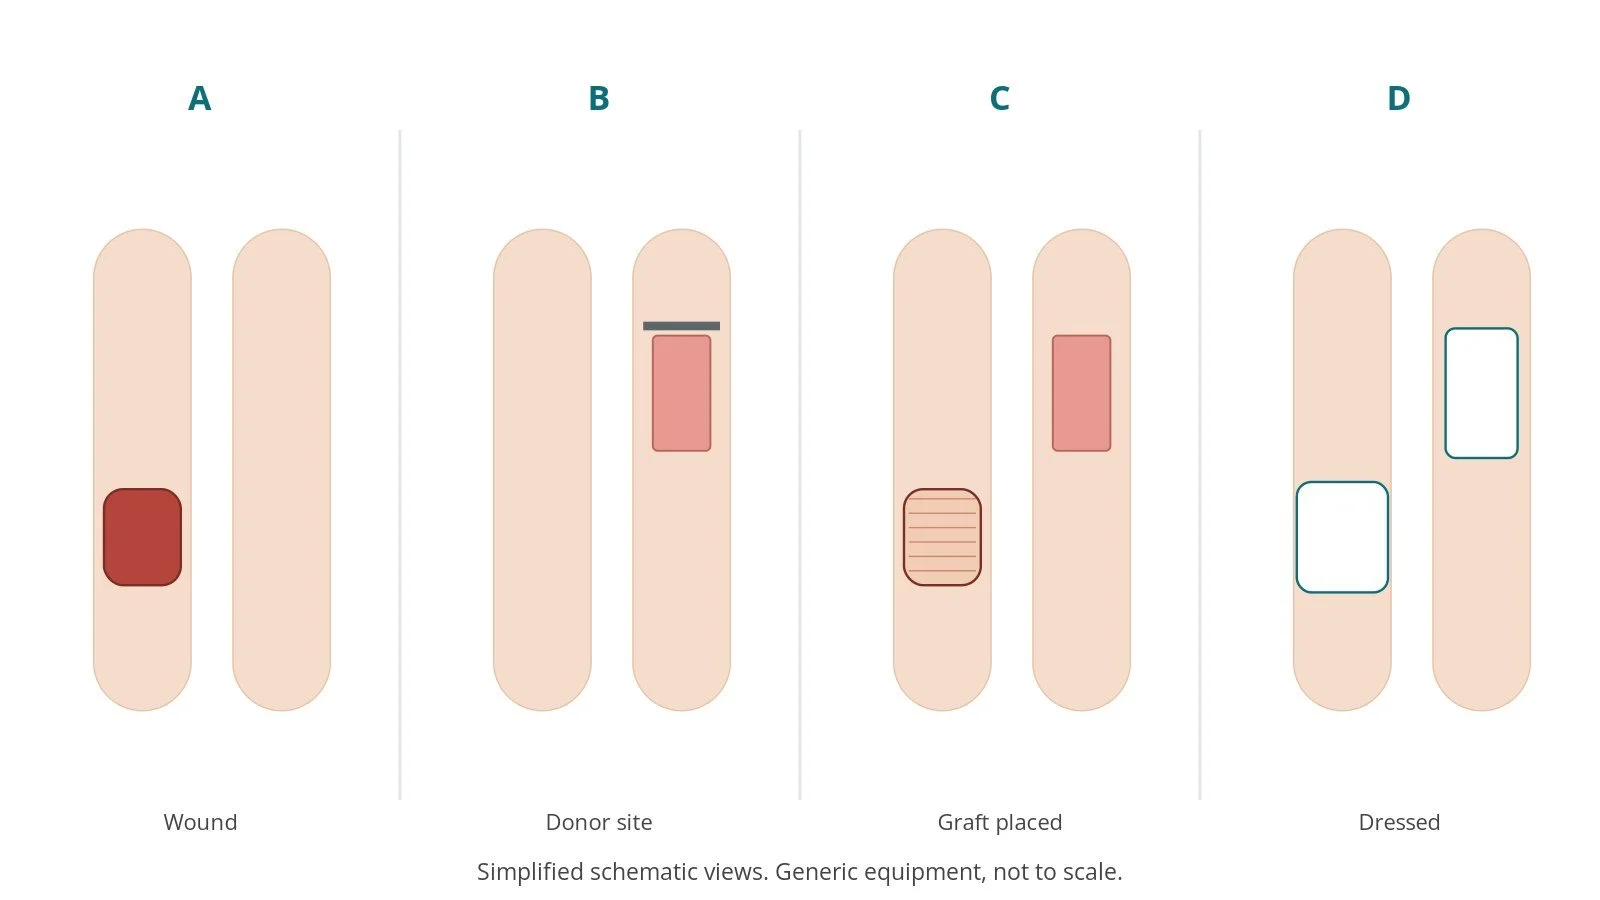
- A. Wound. The wound is cleaned and prepared.
- B. Donor site. A thin layer of skin is taken with a dermatome.
- C. Graft placed. The graft is meshed if needed and fixed over the wound.
- D. Dressed. Both sites are dressed to keep the graft still.
The graft is kept moist and handled gently; the scrub practitioner keeps track of which side is which.
4. Finishing
The graft is fixed and covered with a dressing that holds it still; the donor site is dressed. Final counts are confirmed and the patient goes to recovery with a full handover including dressing plans.
Recovery and aftercare
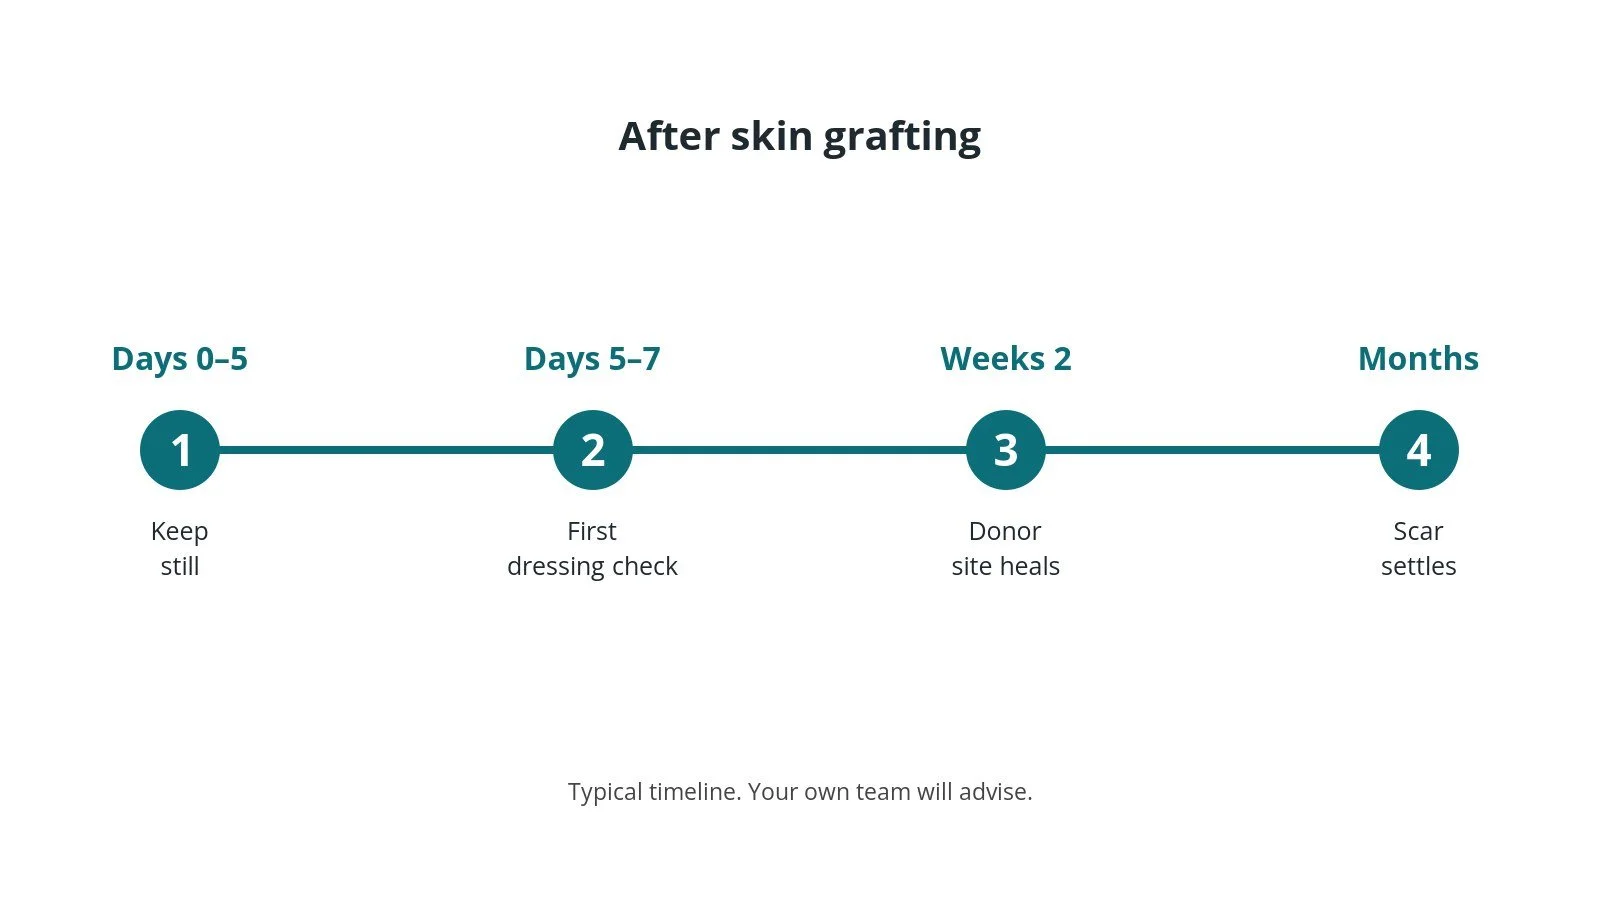
- First days: keep the grafted area still and raised as advised.
- First dressing check: often after about 5–7 days.
- Donor site: sore like a graze; heals in about 2 weeks.
- Moisturise: once healed, as advised.
- Sun protection: protect grafts from the sun.
- Scars: settle over months.
Call 999 if you have chest pain or sudden breathlessness. Contact your team if a wound becomes red, hot, swollen or leaky, a flap or graft changes colour, or you have a fever.
Risks and complications
Your team will explain the risks that apply to you. Possible problems include:
- graft not taking, partly or fully
- infection
- bleeding or fluid under the graft
- donor site pain or slow healing
- colour or texture difference
- tightening (contracture)
Theatre kit list (printable)
Example kit list
Every theatre has its own protocol, and sizes and doses vary.
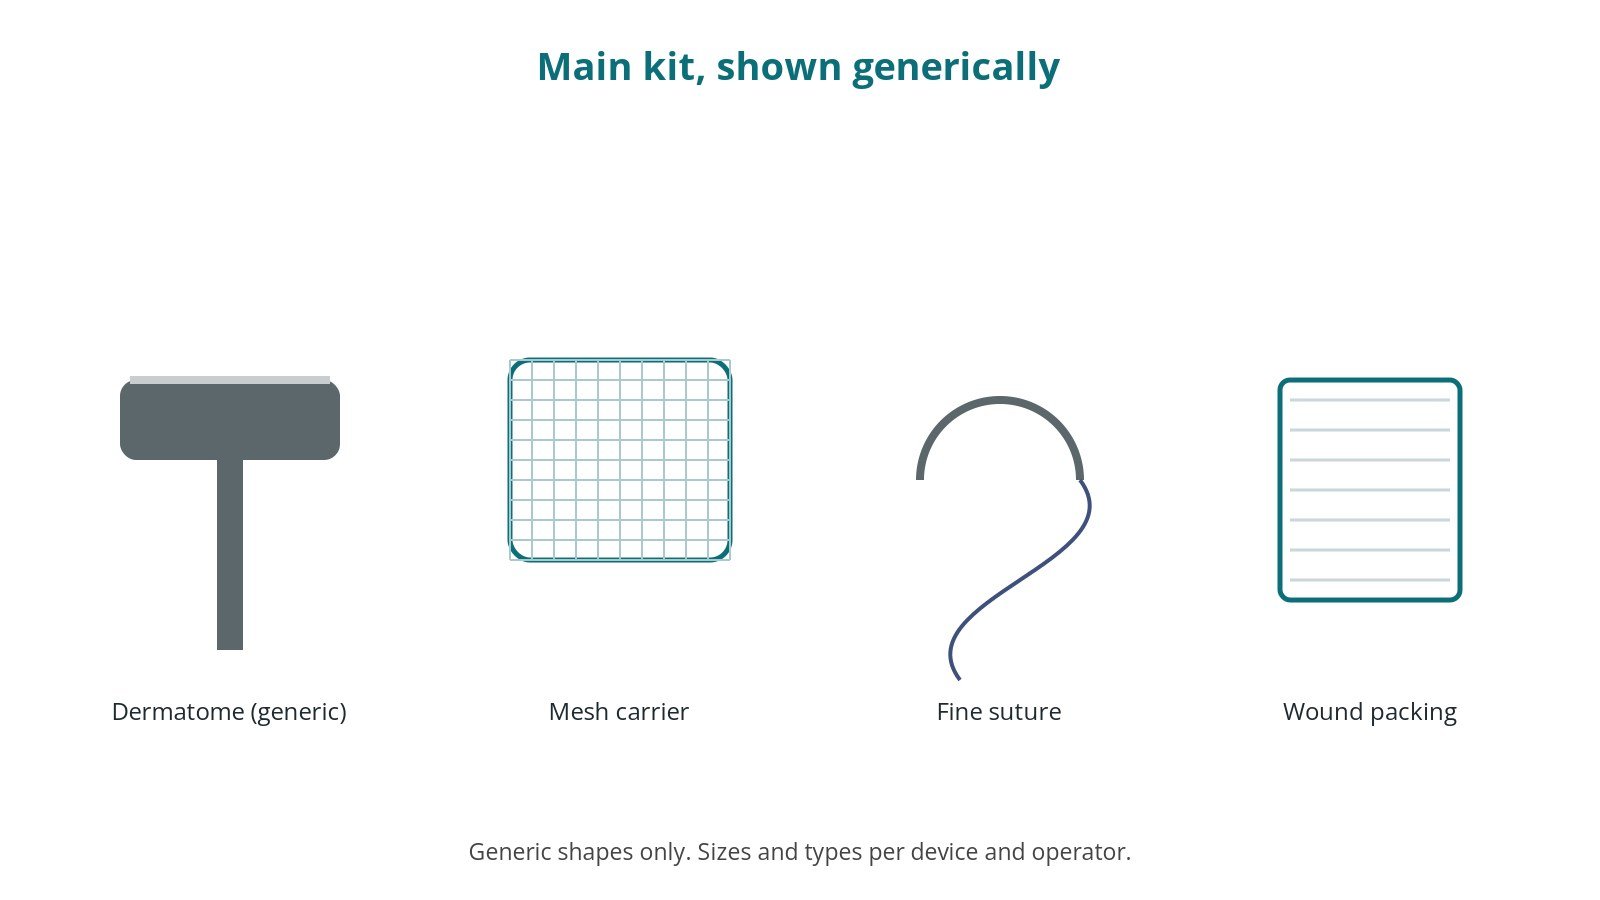
- dermatome, settings per device and operator
- skin graft mesher and carrier, per surgeon
- plastic surgery instrument set
- fixation: sutures, clips or glue, per surgeon
- dressings, including negative-pressure dressings, per surgeon
- donor site dressing
Procedural steps
- Team brief, WHO sign in; sites confirmed; anaesthesia
- Positioning; prep both sites; count
- Wound prepared
- Graft taken with dermatome; meshed if needed
- Graft fixed over wound
- Dressings to both sites; counts; sign out and handover
First time in theatre?
💡 First-time tip
- Know your role. Scrub, circulating, anaesthetic and ODP each have their own checks; ask at the team brief.
- Counts matter. Swabs, needles and instruments are counted before, during and at closure; speak up if one is missing.
- Keep it moist. Keep the graft on a moist swab and never let it dry out or be thrown away by mistake.
- Dermatome. Check settings and blade before use.
- Two sites. Prep, dress and hand over both the wound and donor site.
FAQ
Does the donor site hurt?
Often more than the graft site, like a graze.
How long until it heals?
Usually 1–3 weeks.
Will it look like normal skin?
It improves over months but may differ in colour or texture.
Related guides
Sources
All checked on 14 October 2026. Each page's own date is shown where it gives one.
- StatPearls (NCBI Bookshelf), search: split thickness skin graft. ncbi.nlm.nih.gov/books
- StatPearls (NCBI Bookshelf), search: full thickness skin graft. ncbi.nlm.nih.gov/books
- British Association of Plastic, Reconstructive and Aesthetic Surgeons. www.bapras.org.uk
- World Health Organization. Surgical Safety Checklist. who.int
Disclaimer
Education only. This page is for general education for healthcare students, theatre staff and curious readers. It isn't medical advice and doesn't replace advice from your own doctor, surgical team or local unit protocols. Equipment and medicines are described generically. No product or manufacturer is recommended. If you think someone is having a medical emergency, call 999.
Disclosure: I work in the medical device industry. This page is independent education and isn't sponsored or reviewed by any company.
All diagrams on this page are original illustrations created for rodnieoro.com.