Partial mastectomy and wide local excision (WLE): an OR 101 guide
Reviewed by Rodnie Oro, cath lab charge nurse · Last reviewed: October 2026 · Education only, not medical advice
Wide local excision in one minute
What it is: breast-conserving surgery to remove a cancer or abnormal area with a margin of healthy tissue, keeping the rest of the breast.
Who it is for: people with breast cancer or a suspicious area suitable for removal without removing the whole breast.
Main risks: bleeding, infection, fluid collection, needing further surgery if margins are not clear, change in breast shape.
Usually: under general anaesthetic, about 1–2 hours, often home the same day.
On this page: What is a wide local excision? · Who is it for? · When is it done? · Step by step · Recovery · Risks · Kit list · First time in theatre? · FAQ
What is a wide local excision?
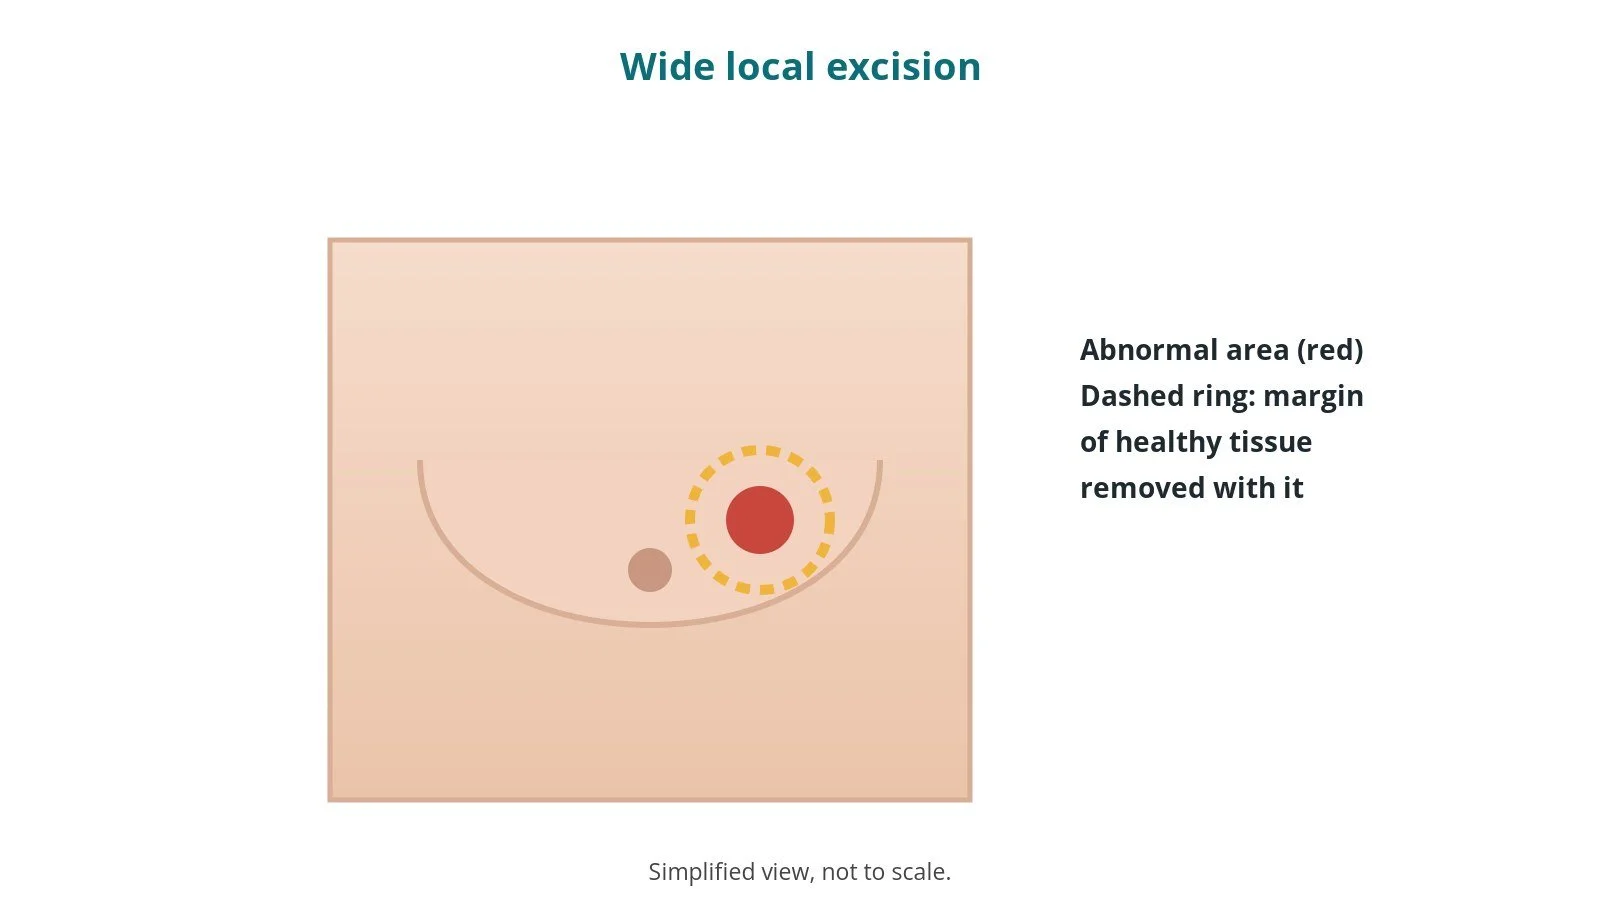
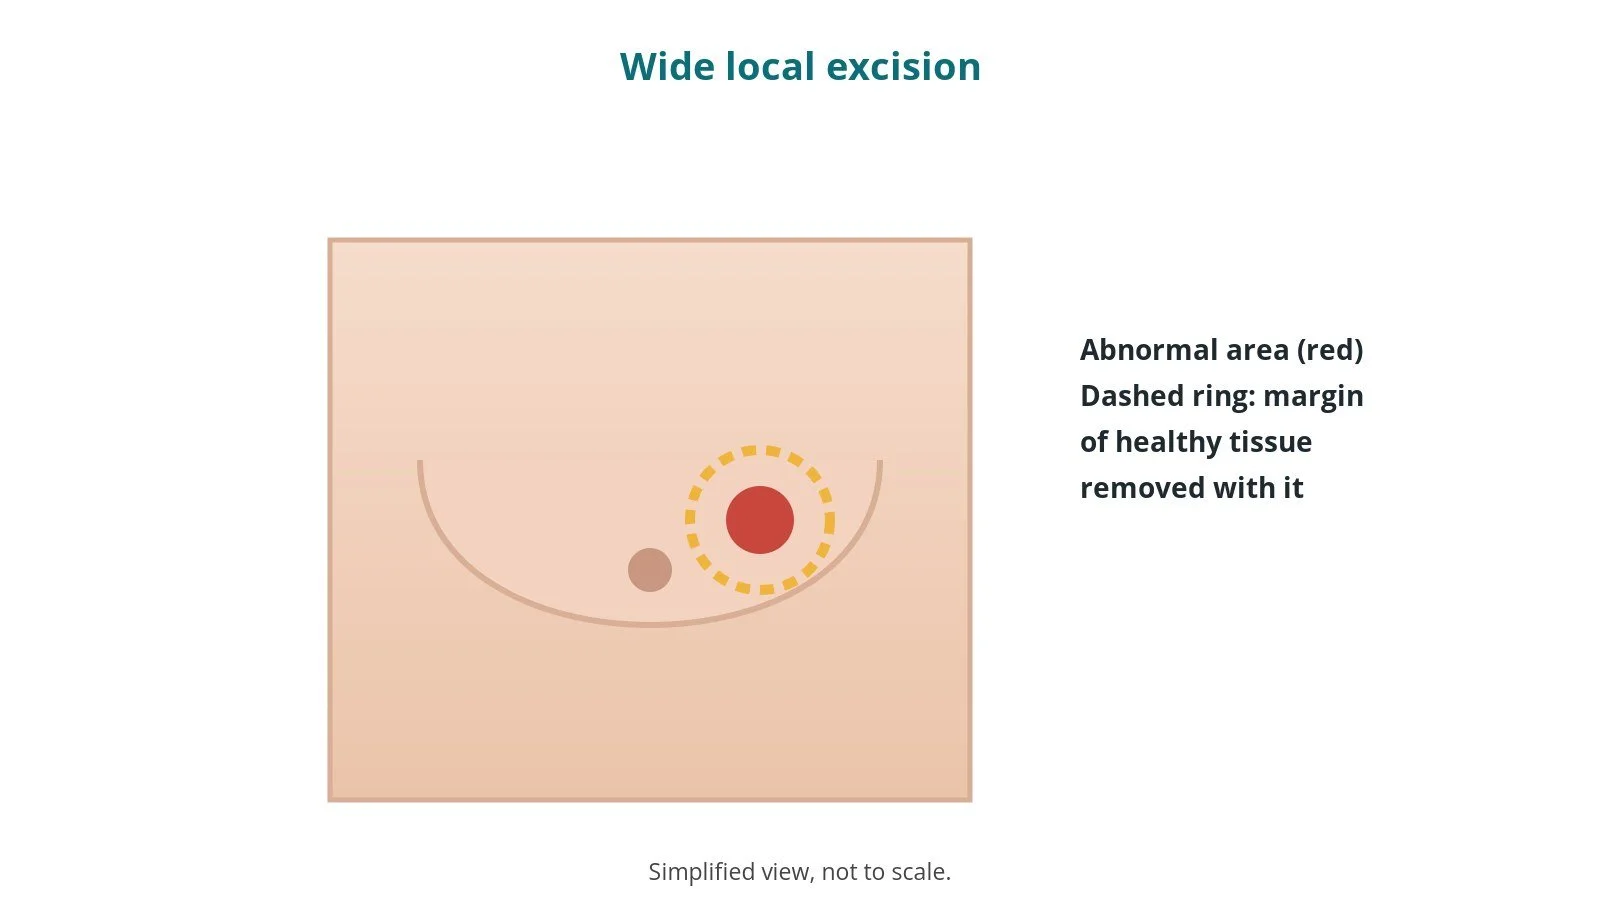
A wide local excision (WLE), also called a partial mastectomy or lumpectomy, removes the abnormal area plus a rim of normal tissue (the margin).
- if the area cannot be felt, it is first marked with a wire, a small marker or a tracer, per centre
- lymph nodes in the armpit may be checked at the same time (sentinel node biopsy)
- the specimen is often X-rayed in or near theatre to confirm the target is removed
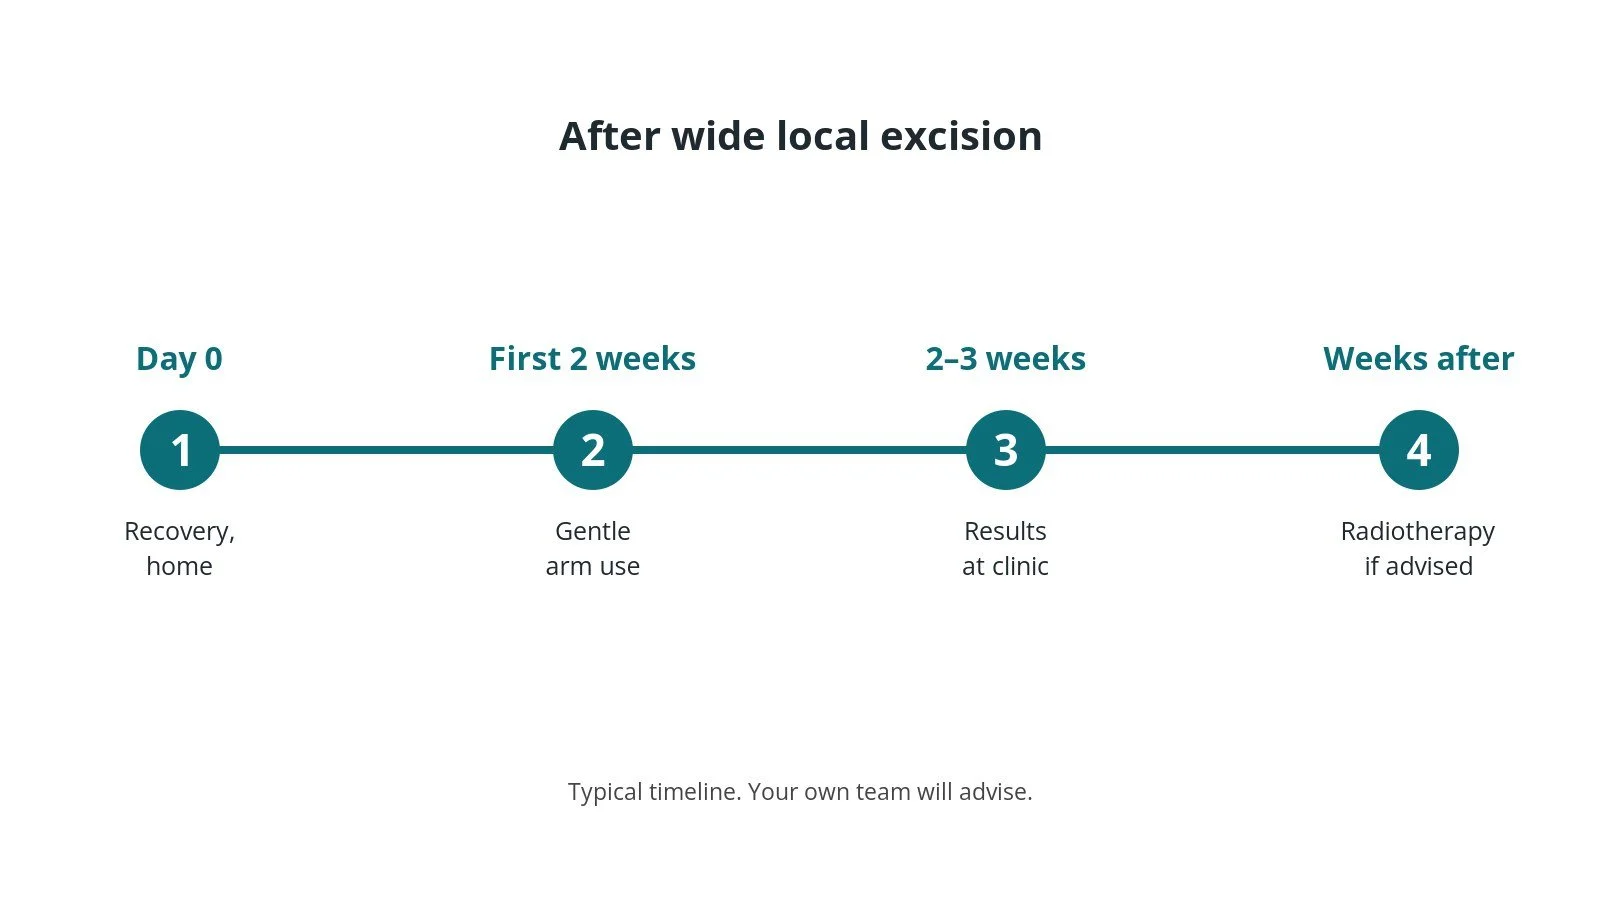
Radiotherapy usually follows. If the margins are not clear, a further operation may be needed.
New to the acronyms? See the Cath Lab Abbreviations A–Z.
Who is it for?
It may be considered for people with:
- early breast cancer suitable for breast-conserving surgery
- abnormal areas found on screening that need removal
- some benign lumps
The decision is made by your surgical team, who will talk through the reasons, the alternatives and the risks with you.
When is it done?
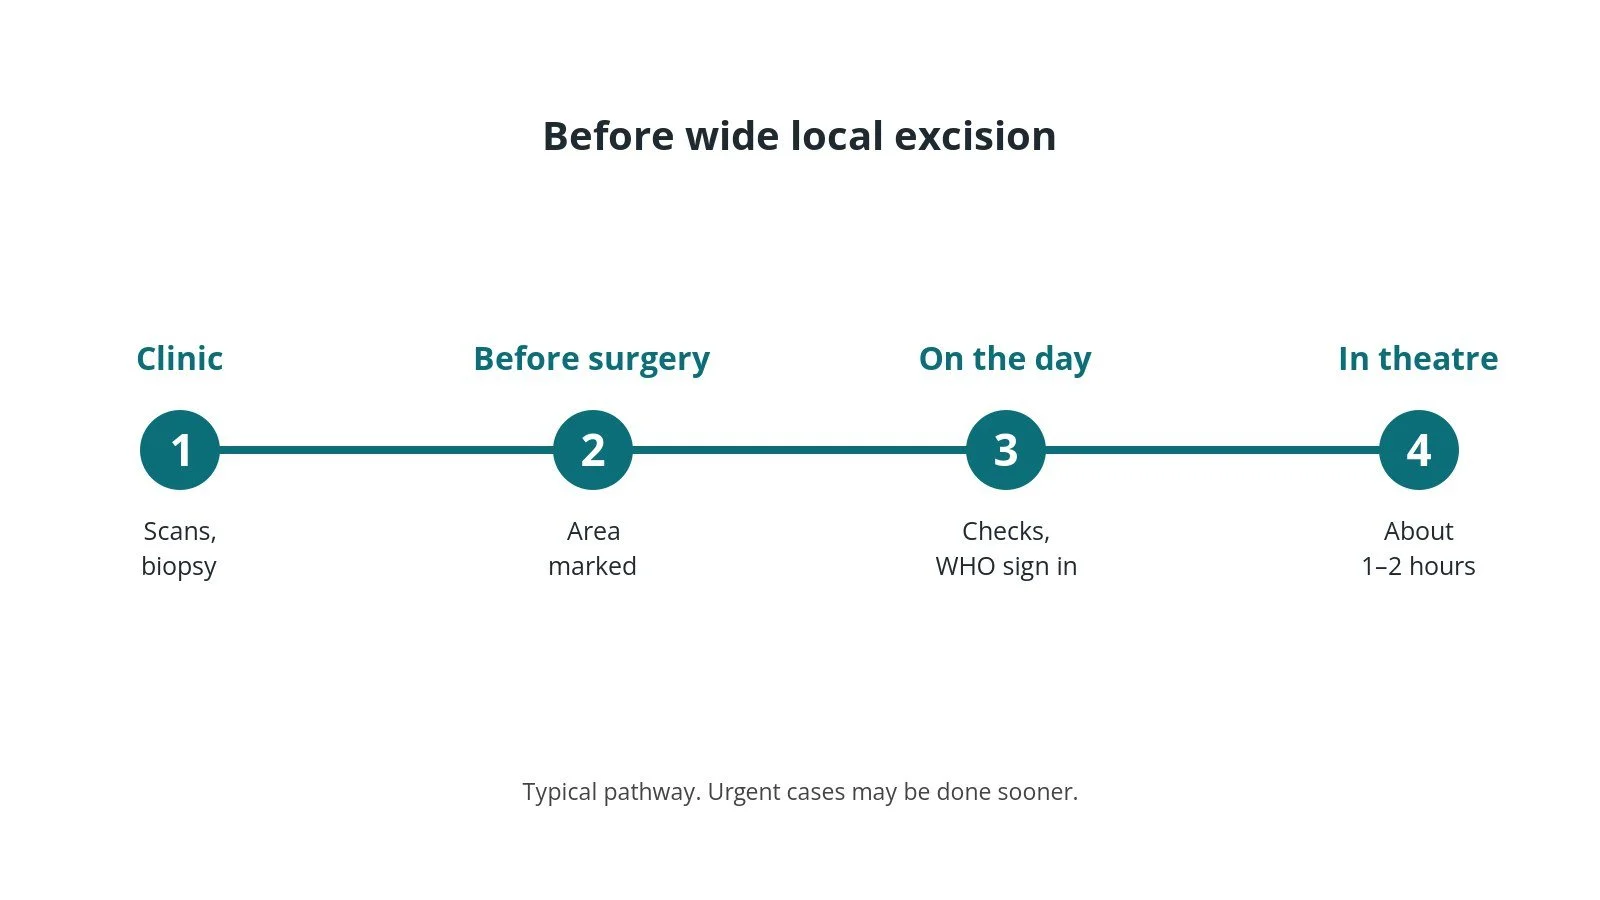
Most operations are planned; some are urgent. Before it, you usually have:
- mammogram, ultrasound and biopsy
- localisation of the area (marker, wire or tracer) before or on the day, as per centre protocol
- blood tests as needed
- a review of your medicines, as per centre protocol
- a chance to ask questions and give consent
Step by step
1. Getting ready
Team brief and WHO checklist first. The anaesthetic team and ODP give the anaesthetic (usually general); antibiotics and blood-clot prevention are given as per centre protocol. The circulating practitioner checks positioning, pressure areas, the diathermy plate and warming. The scrub practitioner sets up the instrument trolley and does the first count. The arm is positioned on an arm board; localisation images are displayed and the side is checked.
2. Access
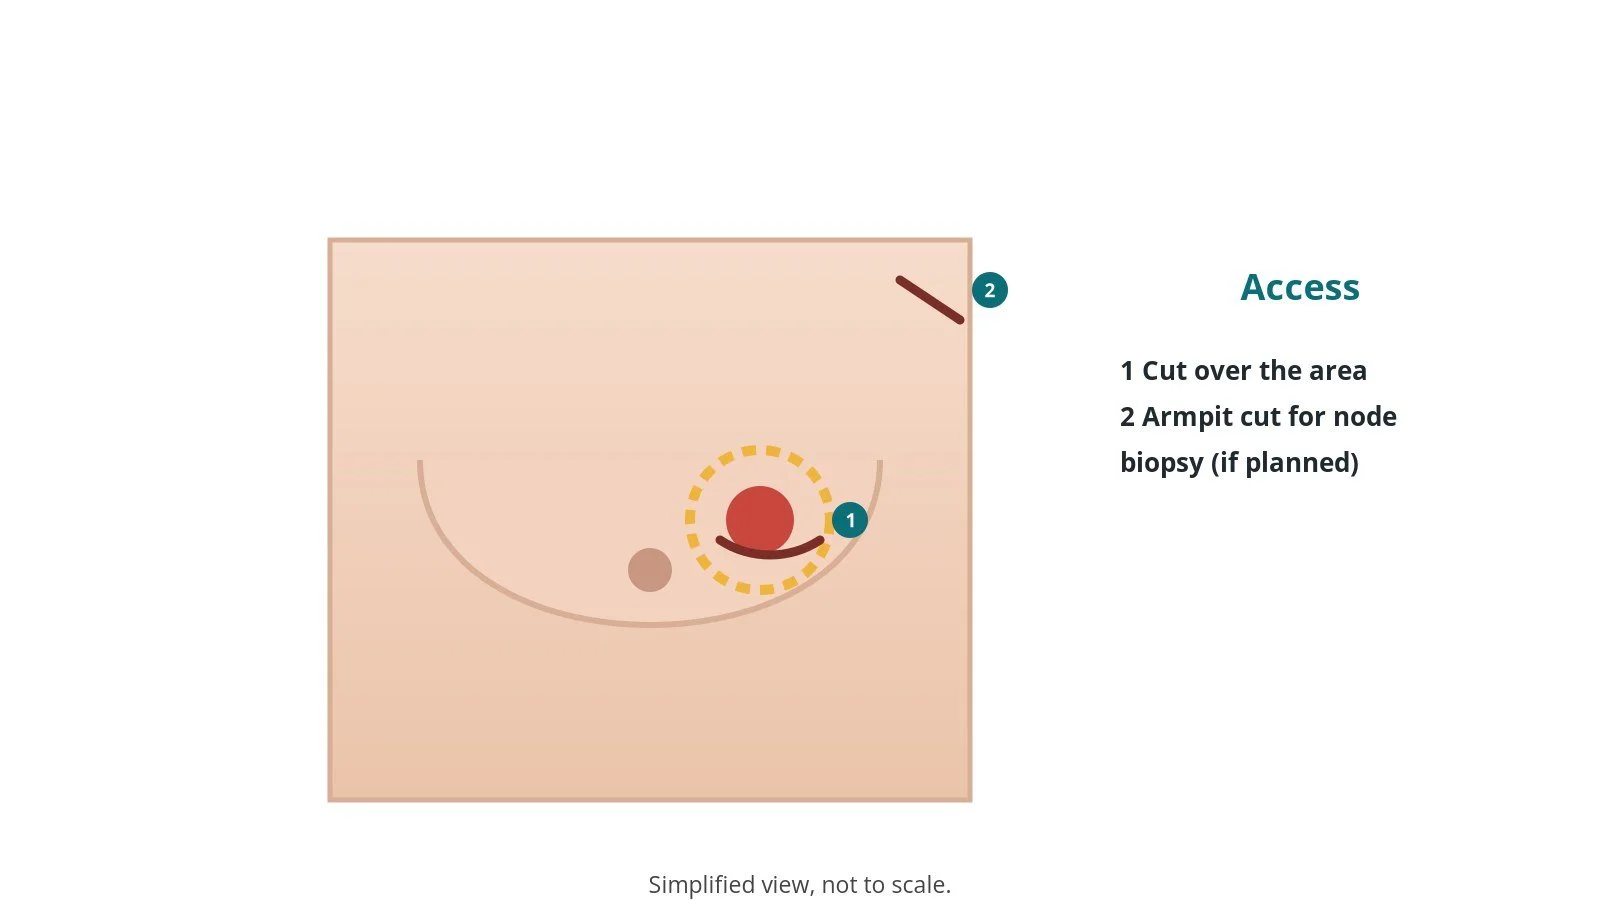
A cut is made over or near the area, often in a cosmetic position, per surgeon. A separate small cut in the armpit is used for sentinel node biopsy.
3. Removing the area
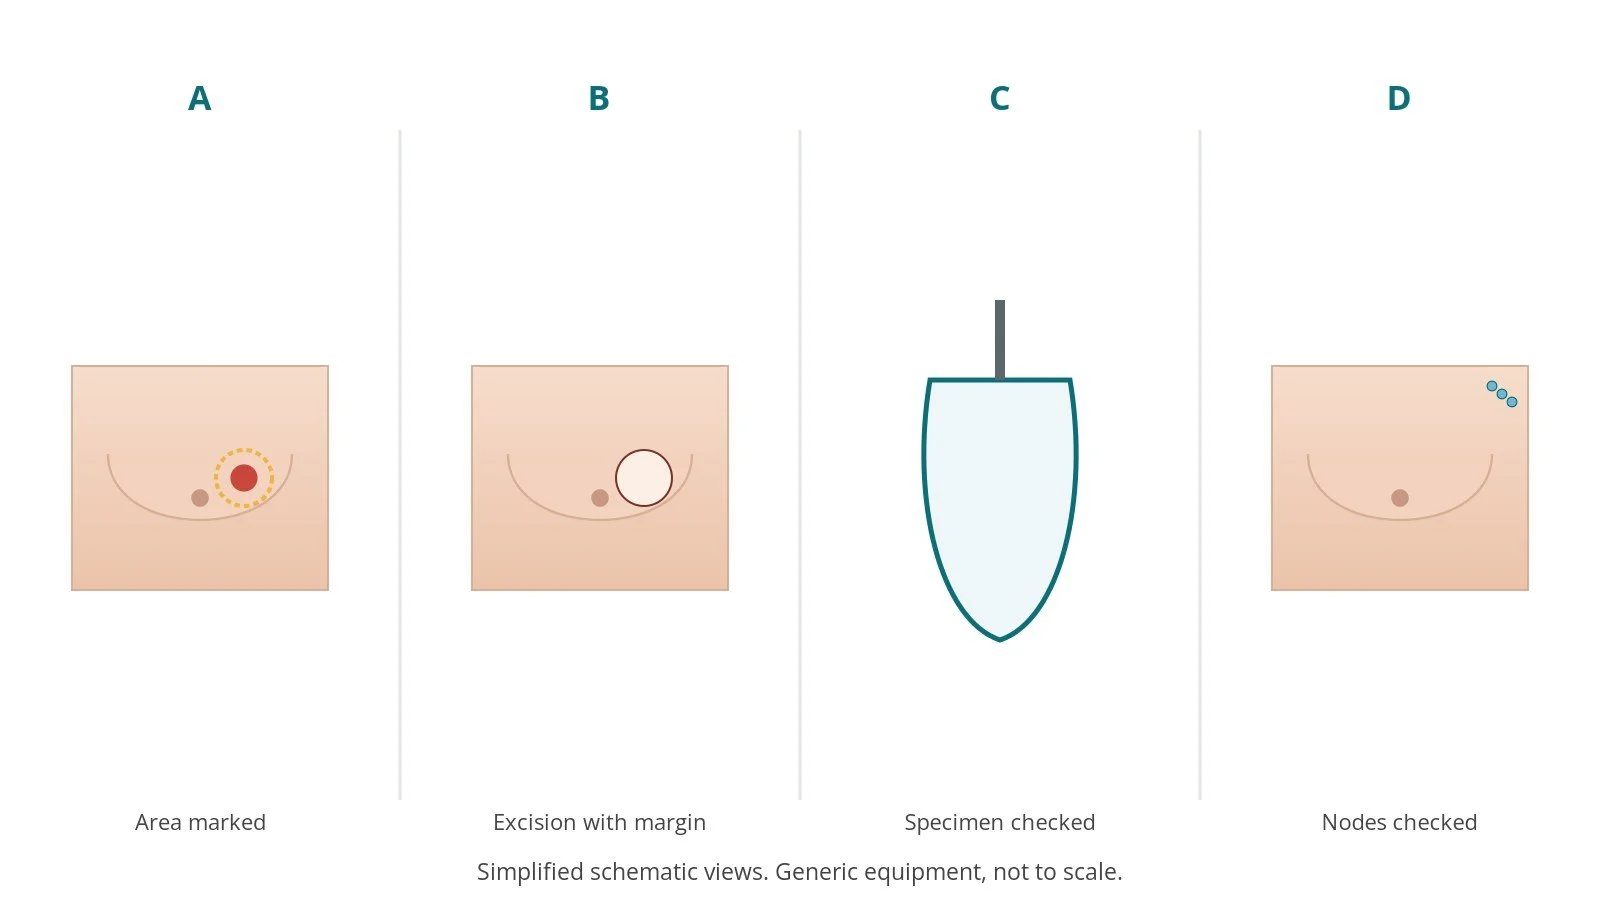
- A. Area marked. The target is located using the wire, marker or tracer.
- B. Excision with margin. The area is removed with a margin of healthy tissue, and orientated with sutures or clips.
- C. Specimen checked. The specimen is X-rayed to confirm the target is in it, as per centre protocol.
- D. Nodes checked. Sentinel nodes are found and removed, if planned.
4. Finishing
The cavity may be marked with clips for radiotherapy; tissue is reshaped if needed, and the skin closed with dissolving sutures or glue. Final counts are confirmed before closure, specimens labelled and checked, and the patient goes to recovery with a full handover.
Recovery and aftercare
- First hours: in recovery, then a ward or day unit; pain relief and anti-sickness medicine as needed.
- Going home: often the same day.
- Activity: walking early; avoid heavy lifting and strenuous arm use for about 2 weeks; ask your team.
- Bra: a supportive bra helps comfort.
- Results: the tissue results and next treatment are discussed at clinic.
- Wounds: keep them clean and dry as advised; sutures or clips may need removing.
- Follow-up: clinic review or a phone call, as per centre protocol.
Call 999 if you have severe pain, heavy bleeding, breathlessness or collapse. Contact your team or GP if you have a fever, worsening tummy pain or swelling, vomiting, or a wound that becomes red, hot or leaky.
Risks and complications
Your team will explain the risks that apply to you. Possible problems include:
- bleeding or bruising
- wound infection
- fluid collection (seroma)
- needing a further operation if margins are not clear
- change in breast shape or size
- arm numbness or swelling after node surgery
Theatre kit list (printable)
Example kit list
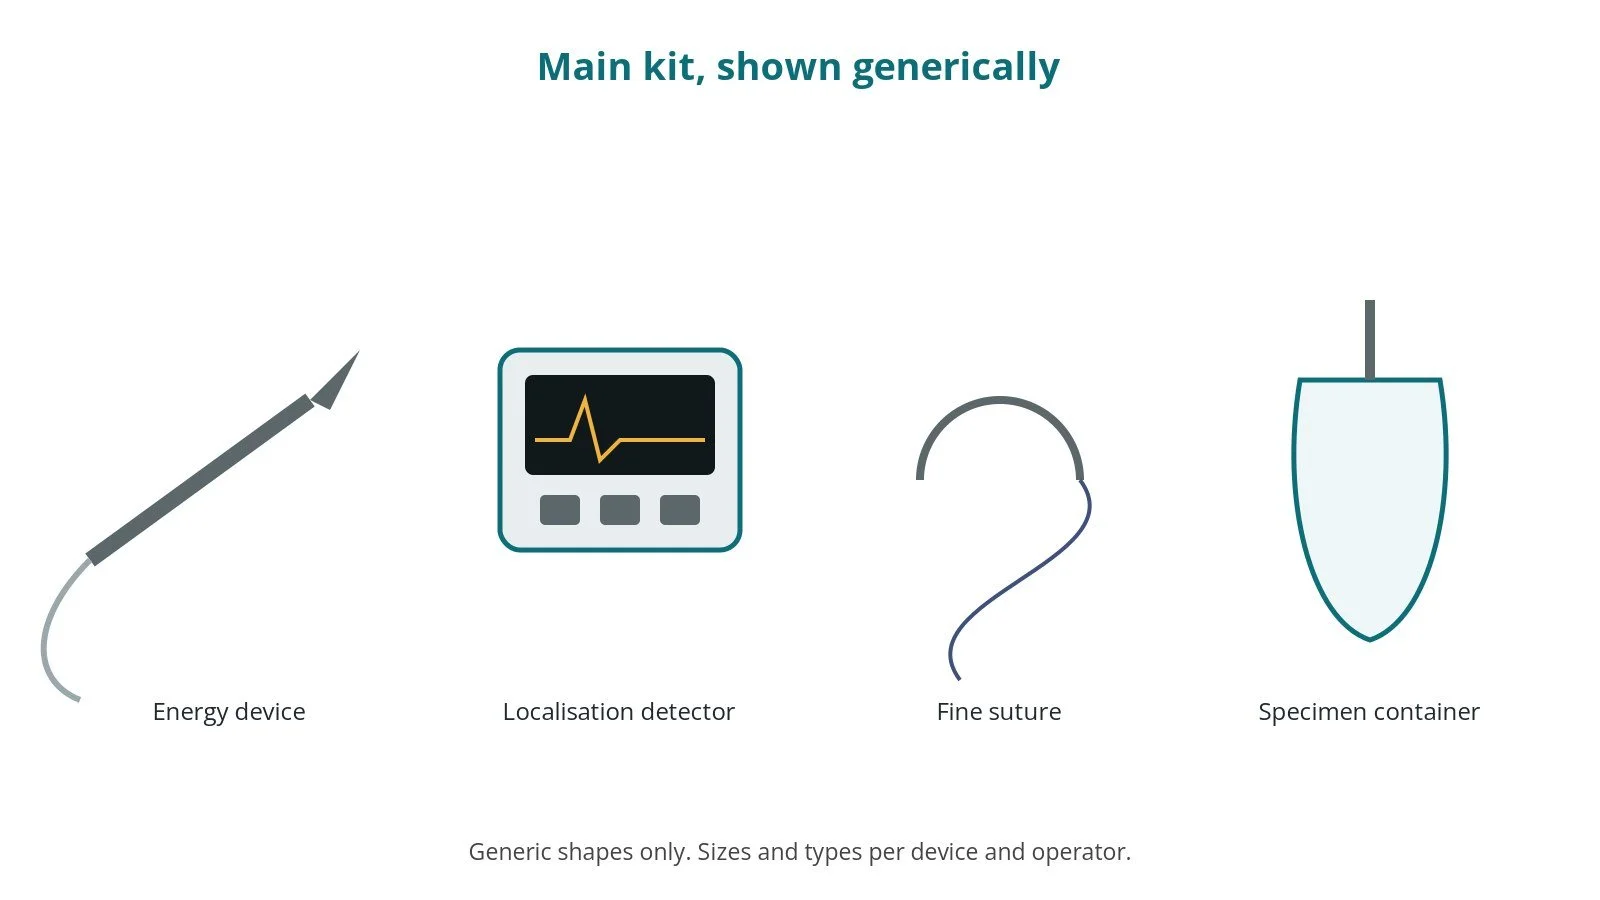
Every theatre has its own protocol, and sizes and doses vary.
- breast instrument set
- energy device, per surgeon
- localisation detector or probe, per centre
- orientation sutures or clips
- specimen X-ray container, as per centre protocol
- marker clips for the cavity, per surgeon
- fine sutures, glue and dressings
Procedural steps
- Team brief, WHO sign in; side checked; localisation images reviewed; anaesthesia
- Arm board; prep and drape; count
- Incision; target localised
- Excision with margin; specimen orientated
- Specimen X-ray; further margins if needed; node biopsy if planned
- Cavity clips; closure; counts; specimen check; sign out and handover
First time in theatre?
💡 First-time tip
- Know your role. Scrub, circulating, anaesthetic and ODP each have their own checks; ask at the team brief.
- Counts matter. Swabs, needles and instruments are counted before, during and at closure; speak up if one is missing.
- Correct side. Check the side and the localisation images at sign in and before the cut.
- Orientation. Specimen orientation sutures matter for margins; label them exactly as the surgeon states.
- Detector ready. Check the detector or probe is working before the start.
FAQ
Will I need radiotherapy?
Usually, after breast-conserving surgery. Your team will advise.
Will my breast look different?
There may be some change in shape; surgeons try to keep it as natural as possible.
What if the margins aren't clear?
A further operation to remove more tissue may be needed.
Related guides
Sources
All checked on 14 October 2026. Each page's own date is shown where it gives one.
- NHS. Breast cancer in women: treatment. nhs.uk/conditions/breast-cancer/treatment
- NICE. Early and locally advanced breast cancer (NG101). nice.org.uk/guidance/ng101
- StatPearls (NCBI Bookshelf), search: lumpectomy. ncbi.nlm.nih.gov/books
- World Health Organization. Surgical Safety Checklist. who.int
Disclaimer
Education only. This page is for general education for healthcare students, theatre staff and curious readers. It isn't medical advice and doesn't replace advice from your own doctor, surgical team or local unit protocols. Equipment and medicines are described generically. No product or manufacturer is recommended. If you think someone is having a medical emergency, call 999.
Disclosure: I work in the medical device industry. This page is independent education and isn't sponsored or reviewed by any company.
All diagrams on this page are original illustrations created for rodnieoro.com.