Major lower limb amputation: an OR 101 guide
Reviewed by Rodnie Oro, cath lab charge nurse · Last reviewed: October 2026 · Education only, not medical advice
Major amputation in one minute
What it is: surgery to remove part of the leg above the ankle: most often below the knee (BKA) or above the knee (AKA).
Who it is for: people with severe circulation problems, infection or gangrene that cannot be treated another way, or major injury.
Main risks: wound healing problems, infection, phantom limb pain, blood clots, heart and chest problems.
Usually: under general or regional anaesthetic, 1–2 hours, followed by weeks of rehabilitation.
On this page: What is a major amputation? · Who is it for? · When is it done? · Step by step · Recovery · Risks · Kit list · First time in theatre? · FAQ
What is a major amputation?
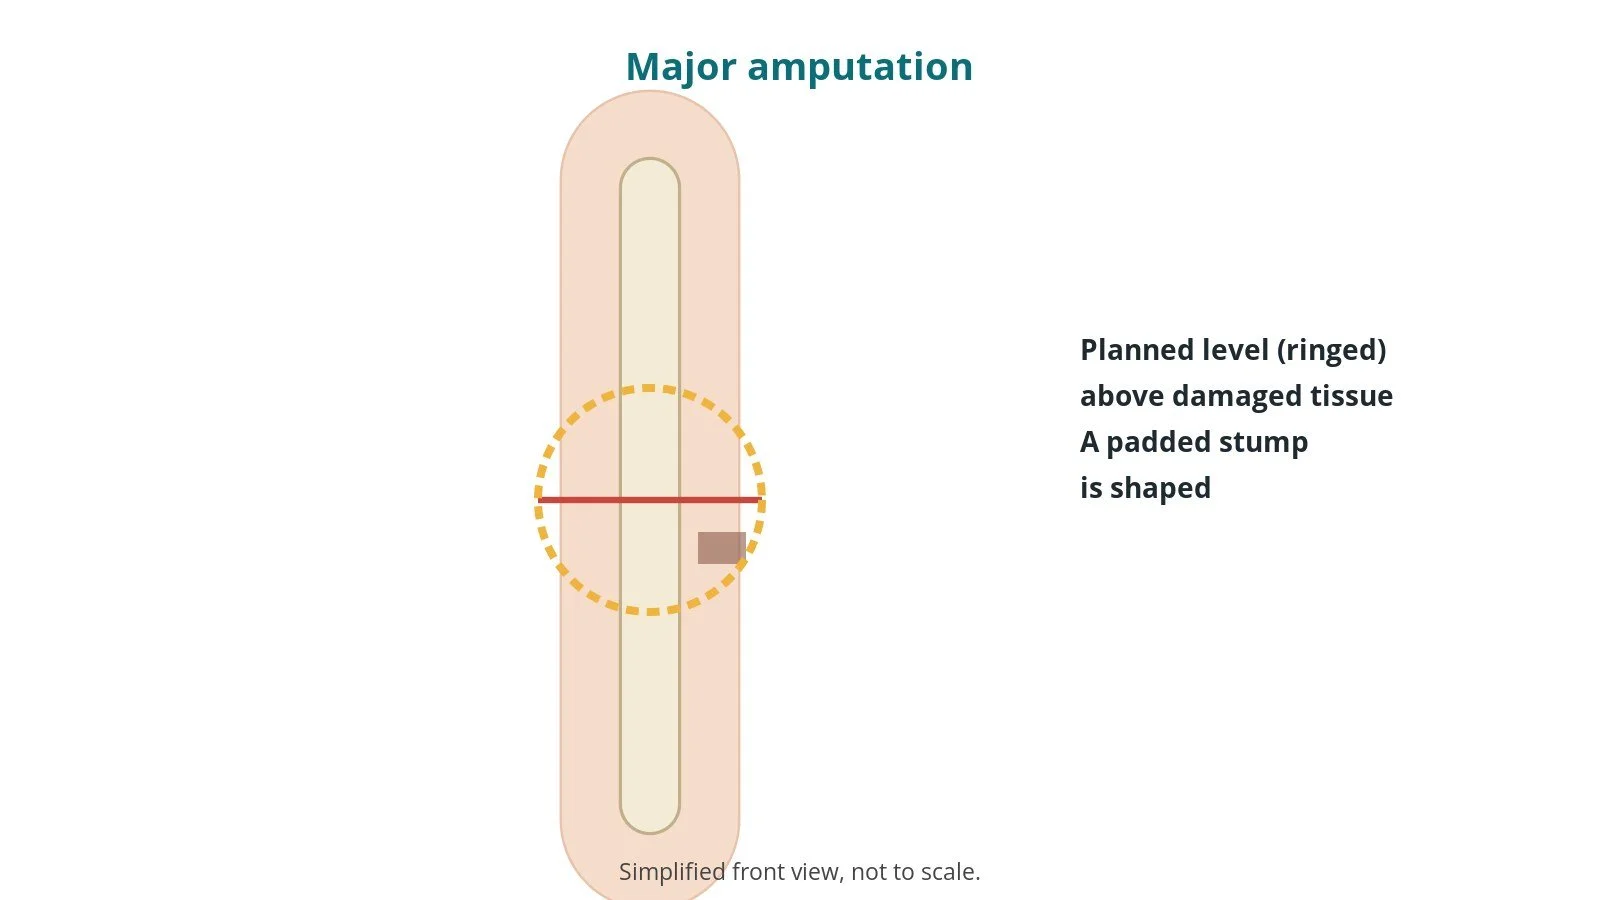
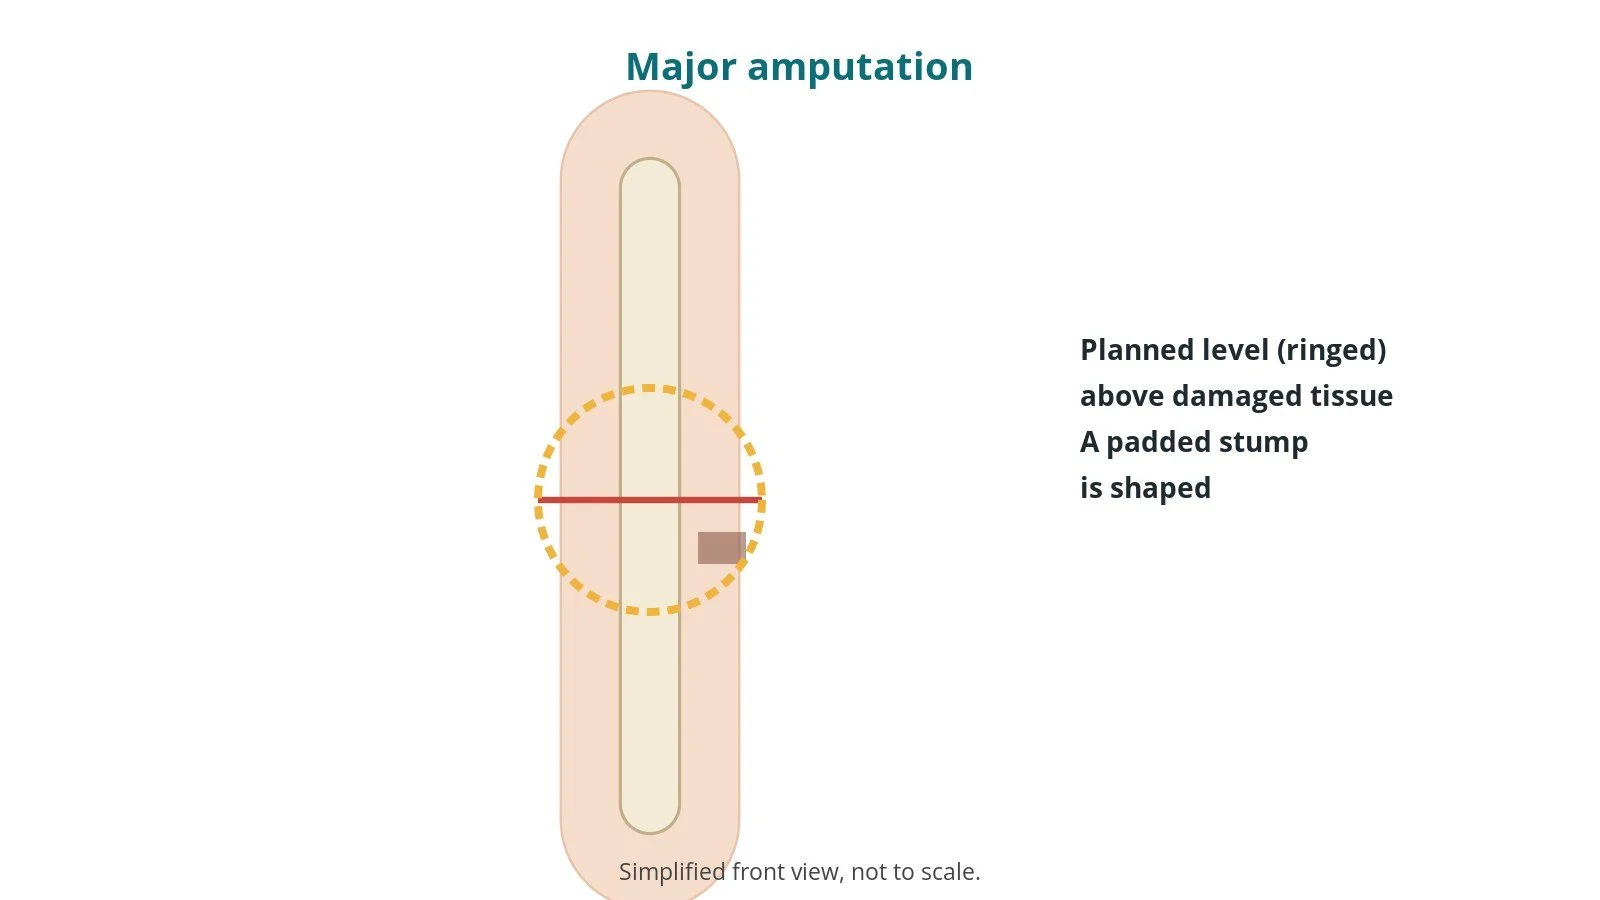
A major amputation removes the leg above the ankle. The level is chosen to balance wound healing with the best chance of walking again:
- below-knee (transtibial): keeps the knee, which makes walking with a prosthesis easier
- through-knee or above-knee (transfemoral): when the blood supply or tissues below the knee are not good enough
The surgeon shapes a stump with a well-padded flap of skin and muscle. Sometimes a two-stage approach is used for severe infection. Rehabilitation and a prosthesis assessment follow.
New to the acronyms? See the Cath Lab Abbreviations A–Z.
Who is it for?
It may be considered for people with:
- severe peripheral arterial disease with tissue loss where revascularisation is not possible or has failed
- severe infection or gangrene, often with diabetes
- major trauma
- some tumours
The decision is made with your vascular and rehabilitation team, who will talk through the reasons, the level, the alternatives and what to expect afterwards.
When is it done?
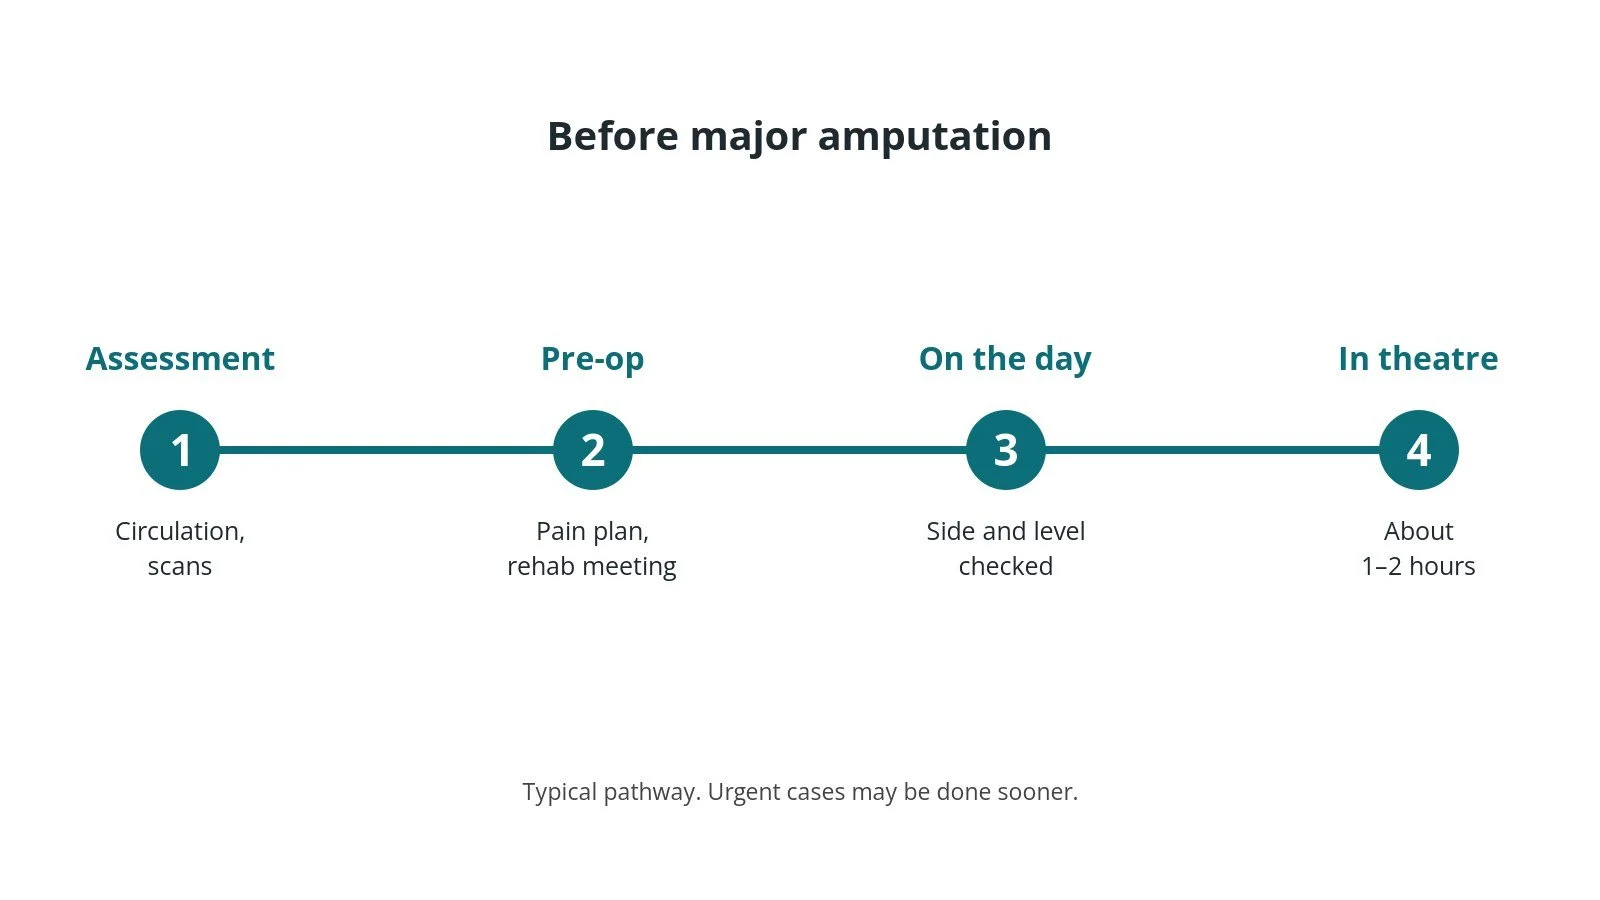
Most operations are planned; some are urgent. Before it, you usually have:
- an assessment of circulation, often with scans
- blood tests and an ECG
- a review of medicines and diabetes control, as per centre protocol
- a pain plan, often with a nerve catheter
- a meeting with the rehabilitation team where possible
- a chance to ask questions and give consent
Step by step
1. Getting ready
Team brief and WHO checklist first, including the side and site marking. The anaesthetic team and ODP give the anaesthetic (general, spinal or regional, often with a nerve catheter, as per centre protocol) and place an arterial line and other lines as needed; antibiotics and clot prevention are given as per centre protocol. The circulating practitioner checks positioning, pressure areas, the diathermy plate and warming. The scrub practitioner sets up the vascular trolley with the amputation set and saw, and does the first count. The side and level are marked and double-checked.
2. Access
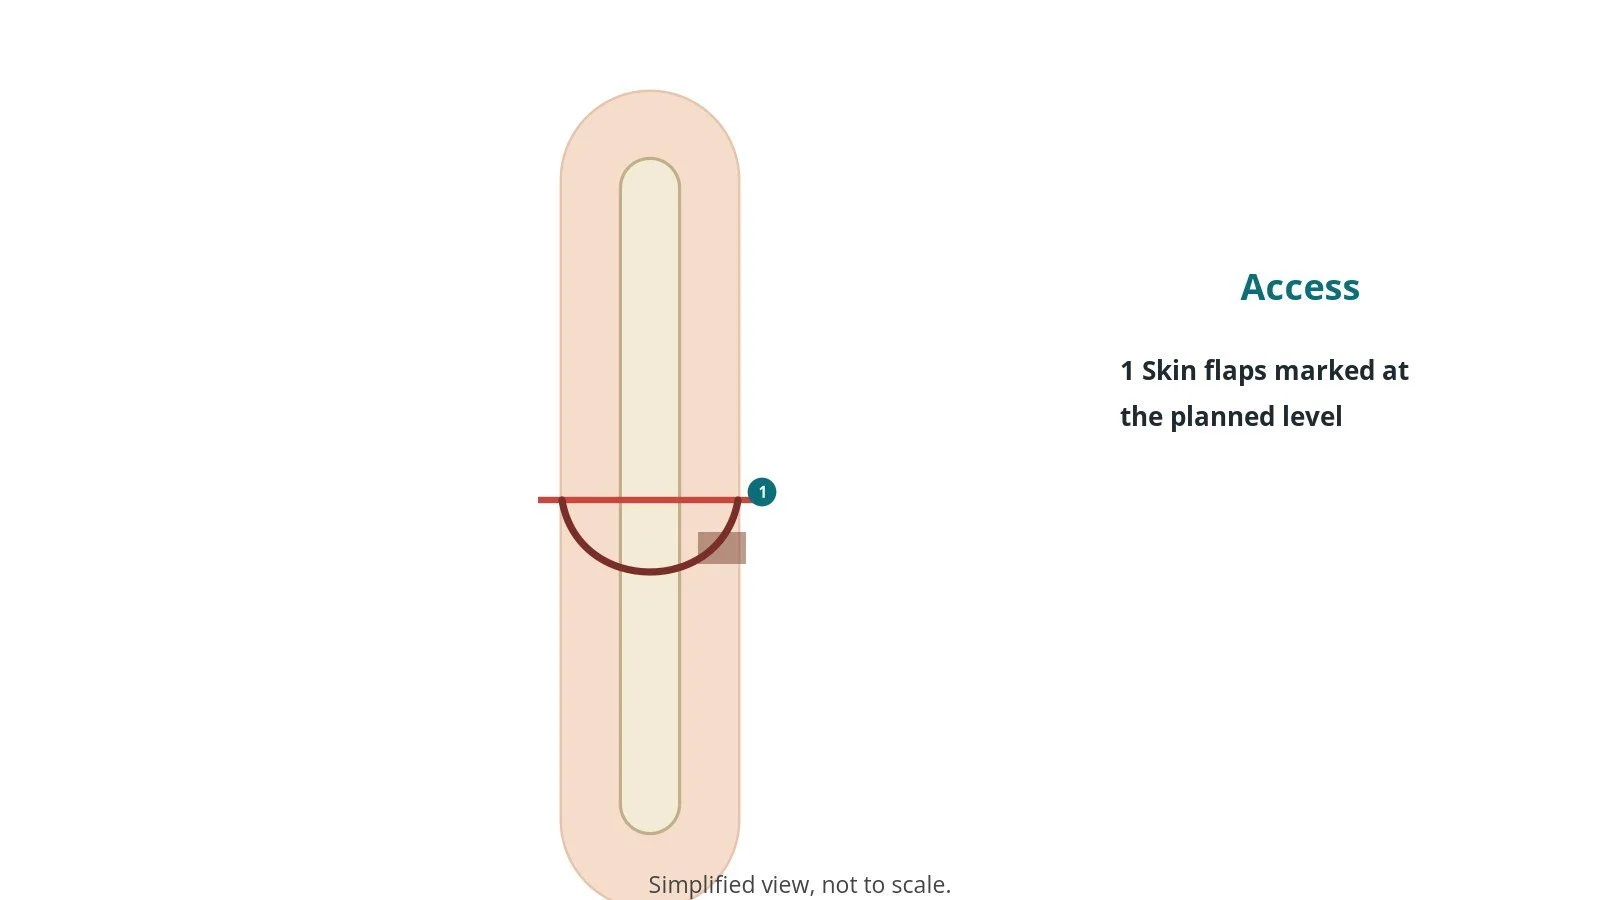
Skin flaps are marked at the planned level, for example a long posterior flap for below-knee amputation, per surgeon.
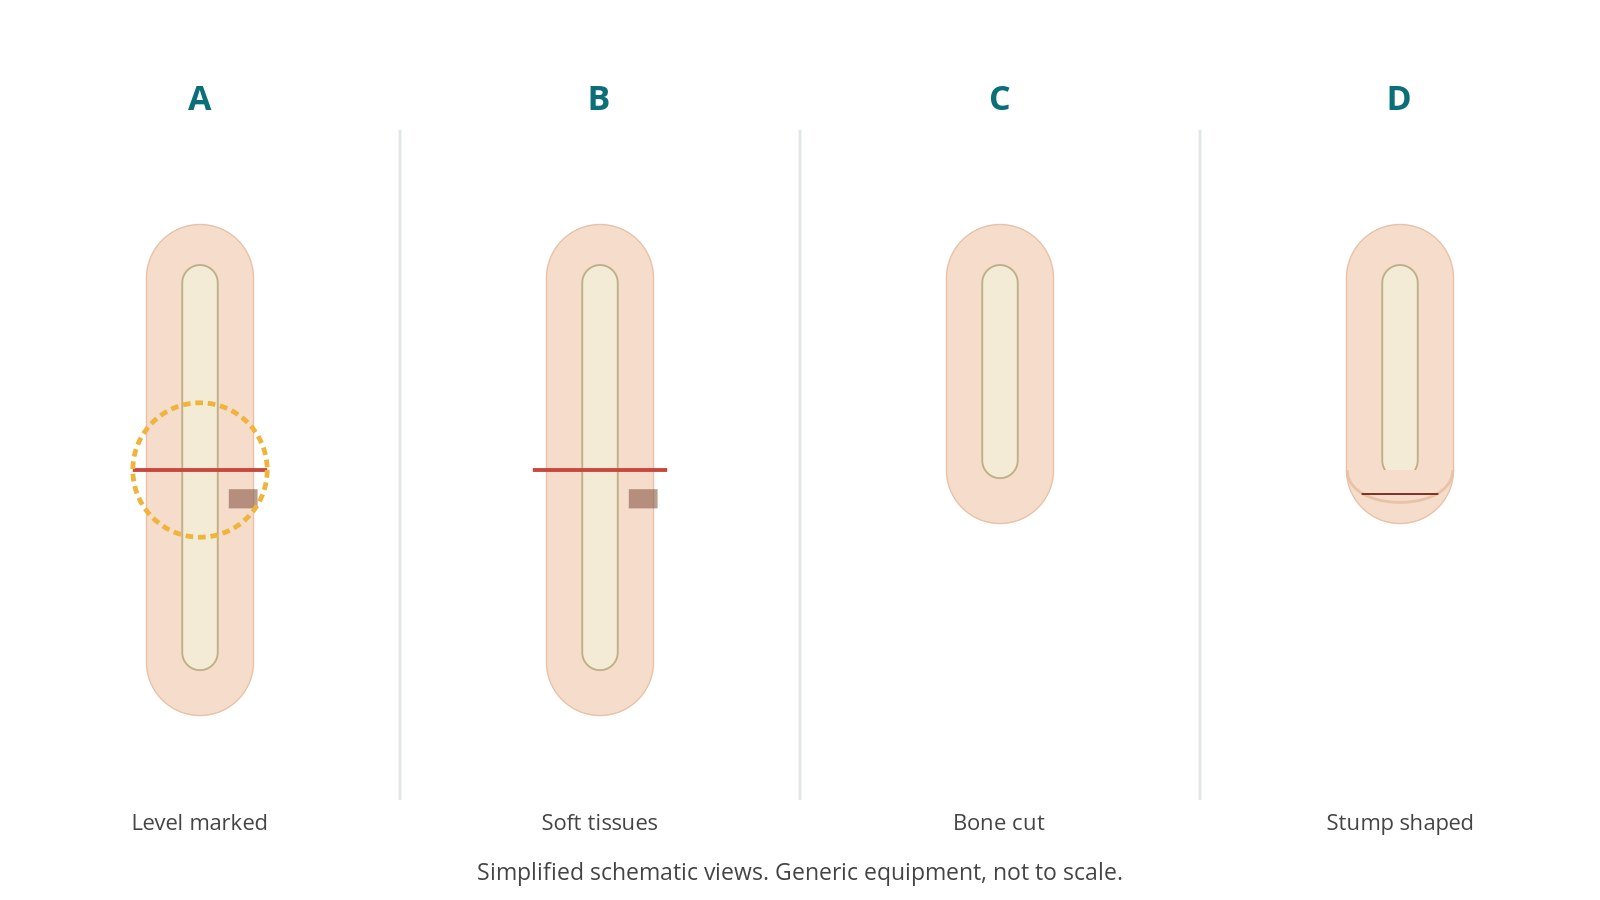
3. The amputation
- A. Level marked. The level and skin flaps are marked and checked.
- B. Soft tissues. Skin and muscles are divided; blood vessels are tied and nerves cut cleanly to reduce pain.
- C. Bone cut. The bone is cut with a saw and the edges smoothed.
- D. Stump shaped. The muscle and skin flap are closed over the bone end.
The limb is handled respectfully and sent for disposal or examination as per centre protocol.
4. Finishing
A drain may be placed, per surgeon, and a padded dressing applied. Final counts are confirmed and the patient goes to recovery with a pain plan and a full handover.
Recovery and aftercare
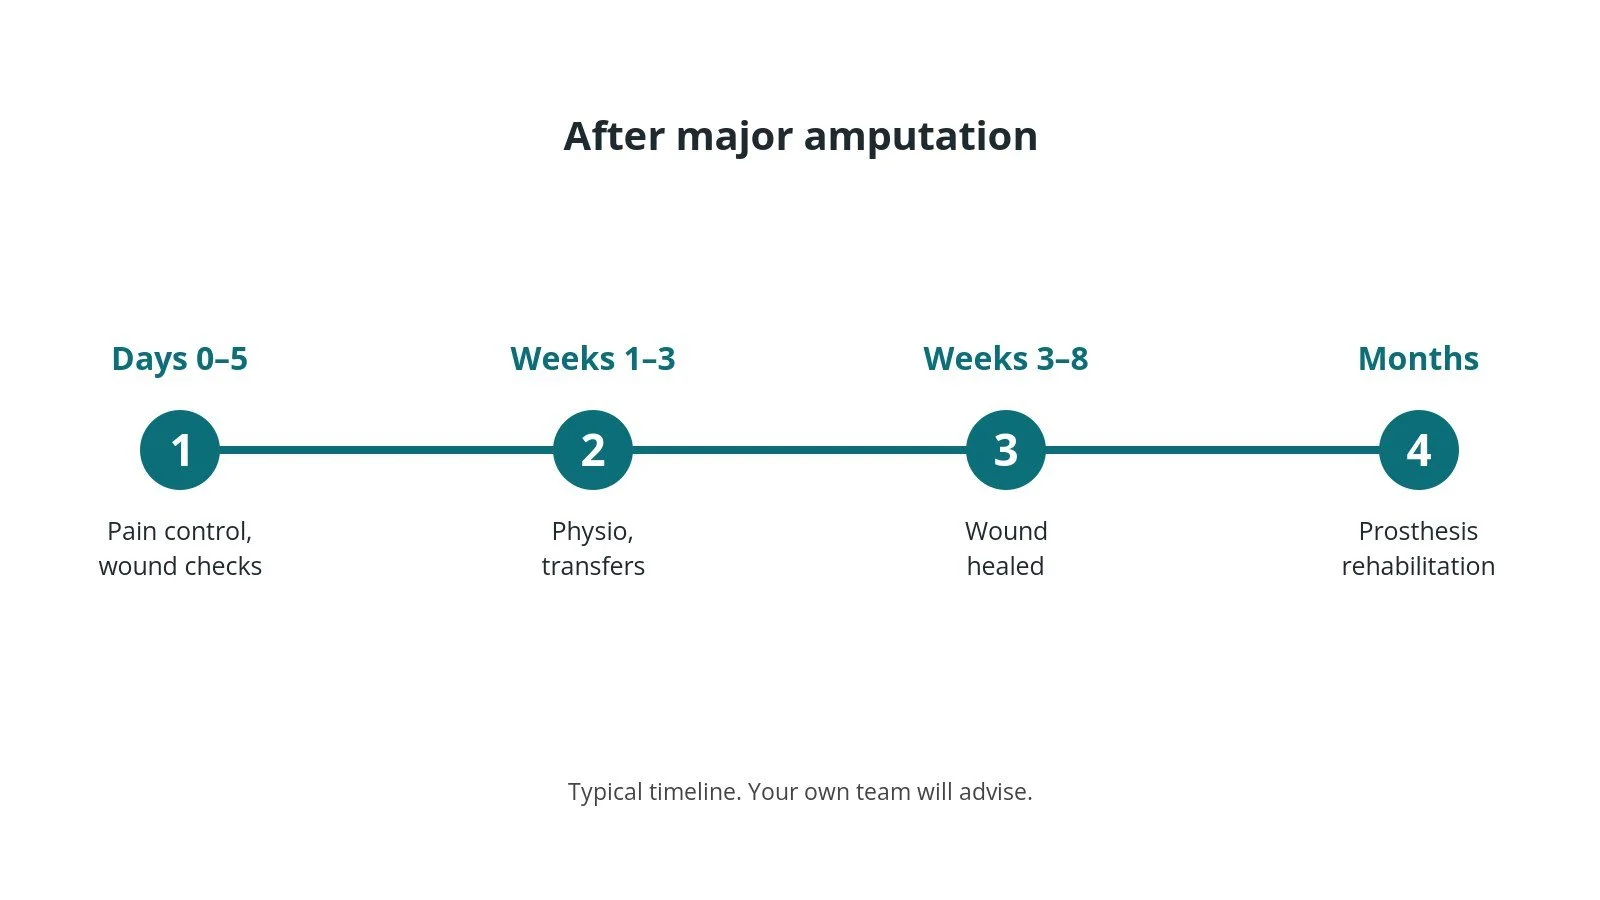
- First days: pain control, wound checks and preventing knee contractures by positioning, as advised.
- Physiotherapy: early exercises, transfers and wheelchair skills.
- Wound: healing takes weeks; stitches or clips are removed when healed.
- Phantom sensations: common; tell your team about pain.
- Prosthesis: assessment once the stump has healed and swelling settled.
- Support: psychological and peer support, and help at home.
Call 999 if you have chest pain, sudden breathlessness, signs of a stroke (face drooping, arm weakness, speech problems), sudden severe pain, or a cold, pale or numb leg. Contact your team if a wound becomes red, hot, leaky or swollen.
Risks and complications
Your team will explain the risks that apply to you. Possible problems include:
- wound healing problems, sometimes needing a higher amputation
- infection
- phantom limb pain
- blood clots in the legs or lungs
- heart attack, stroke or chest infection
- joint contracture
- falls during rehabilitation
Theatre kit list (printable)
Example kit list
Every theatre has its own protocol, and sizes and doses vary.
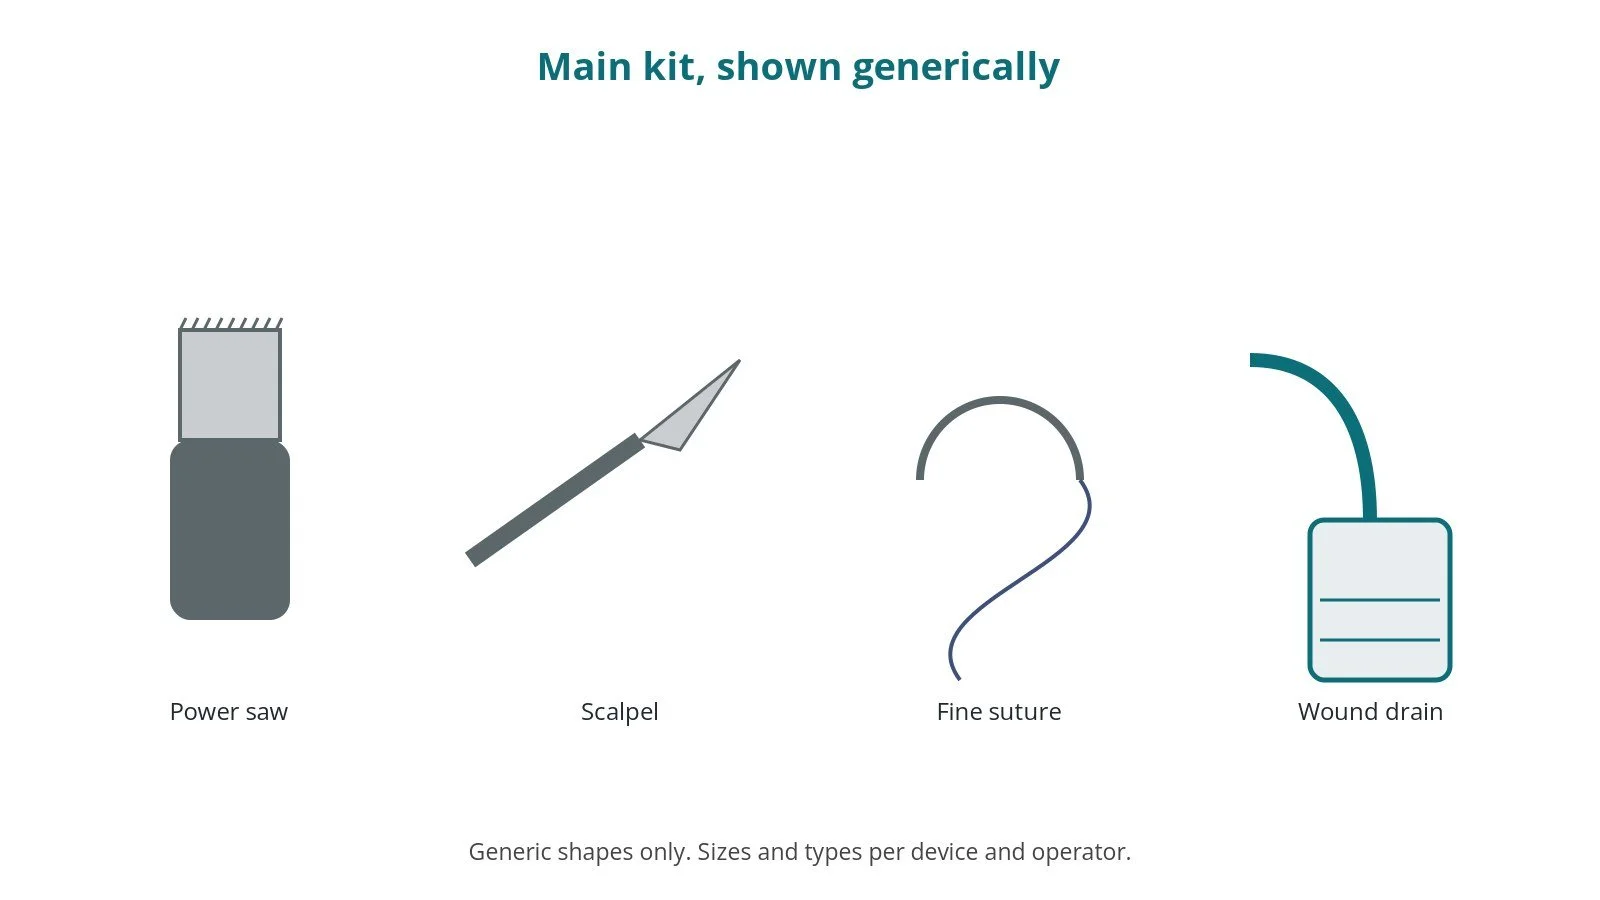
- amputation instrument set with amputation knife and saw (power or manual)
- bone file or rasp
- ties and haemostatic sutures, per surgeon
- nerve catheter for pain relief, per centre
- drain, per surgeon
- closure sutures or clips
- padded stump dressing
Procedural steps
- Team brief, WHO sign in; side and level marked and checked; anaesthesia
- Positioning; prep and drape (limb isolated if infected); count
- Flaps marked and raised
- Vessels tied; nerves divided; bone cut and smoothed
- Haemostasis; drain if used; myoplasty and closure
- Dressing; counts; limb handling per protocol; sign out and handover
First time in theatre?
💡 First-time tip
- Know your role. Scrub, circulating, anaesthetic and ODP each have their own checks; ask at the team brief.
- Counts matter. Swabs, needles and instruments are counted before, during and at closure; speak up if one is missing.
- Side and level. The side and level are checked repeatedly; join in every check.
- Respect and dignity. Handle the limb respectfully, cover it and follow local protocol for disposal.
- Infection control. Isolate infected tissue and follow local rules for contaminated cases.
FAQ
Will I walk again?
Many people walk with a prosthesis; it depends on the level and overall health.
What is phantom limb pain?
Pain or sensations felt in the missing part; treatments are available.
How long until a prosthesis?
Often weeks to months, once the stump has healed.
Related guides
Sources
All checked on 14 October 2026. Each page's own date is shown where it gives one.
- NHS. Amputation. nhs.uk/conditions/amputation
- Vascular Society of Great Britain and Ireland. A best practice clinical care pathway for major amputation surgery. vascularsociety.org.uk
- StatPearls (NCBI Bookshelf), search: below knee amputation. ncbi.nlm.nih.gov/books
- StatPearls (NCBI Bookshelf), search: above knee amputation. ncbi.nlm.nih.gov/books
- World Health Organization. Surgical Safety Checklist. who.int
Disclaimer
Education only. This page is for general education for healthcare students, theatre staff and curious readers. It isn't medical advice and doesn't replace advice from your own doctor, surgical team or local unit protocols. Equipment and medicines are described generically. No product or manufacturer is recommended. If you think someone is having a medical emergency, call 999.
Disclosure: I work in the medical device industry. This page is independent education and isn't sponsored or reviewed by any company.
All diagrams on this page are original illustrations created for rodnieoro.com.