
Peripheral angiography: a Cath Lab 101 guide
Reviewed by Rodnie Oro, cath lab charge nurse · Last reviewed: October 2026 · Education only, not medical advice
Peripheral angiography in one minute
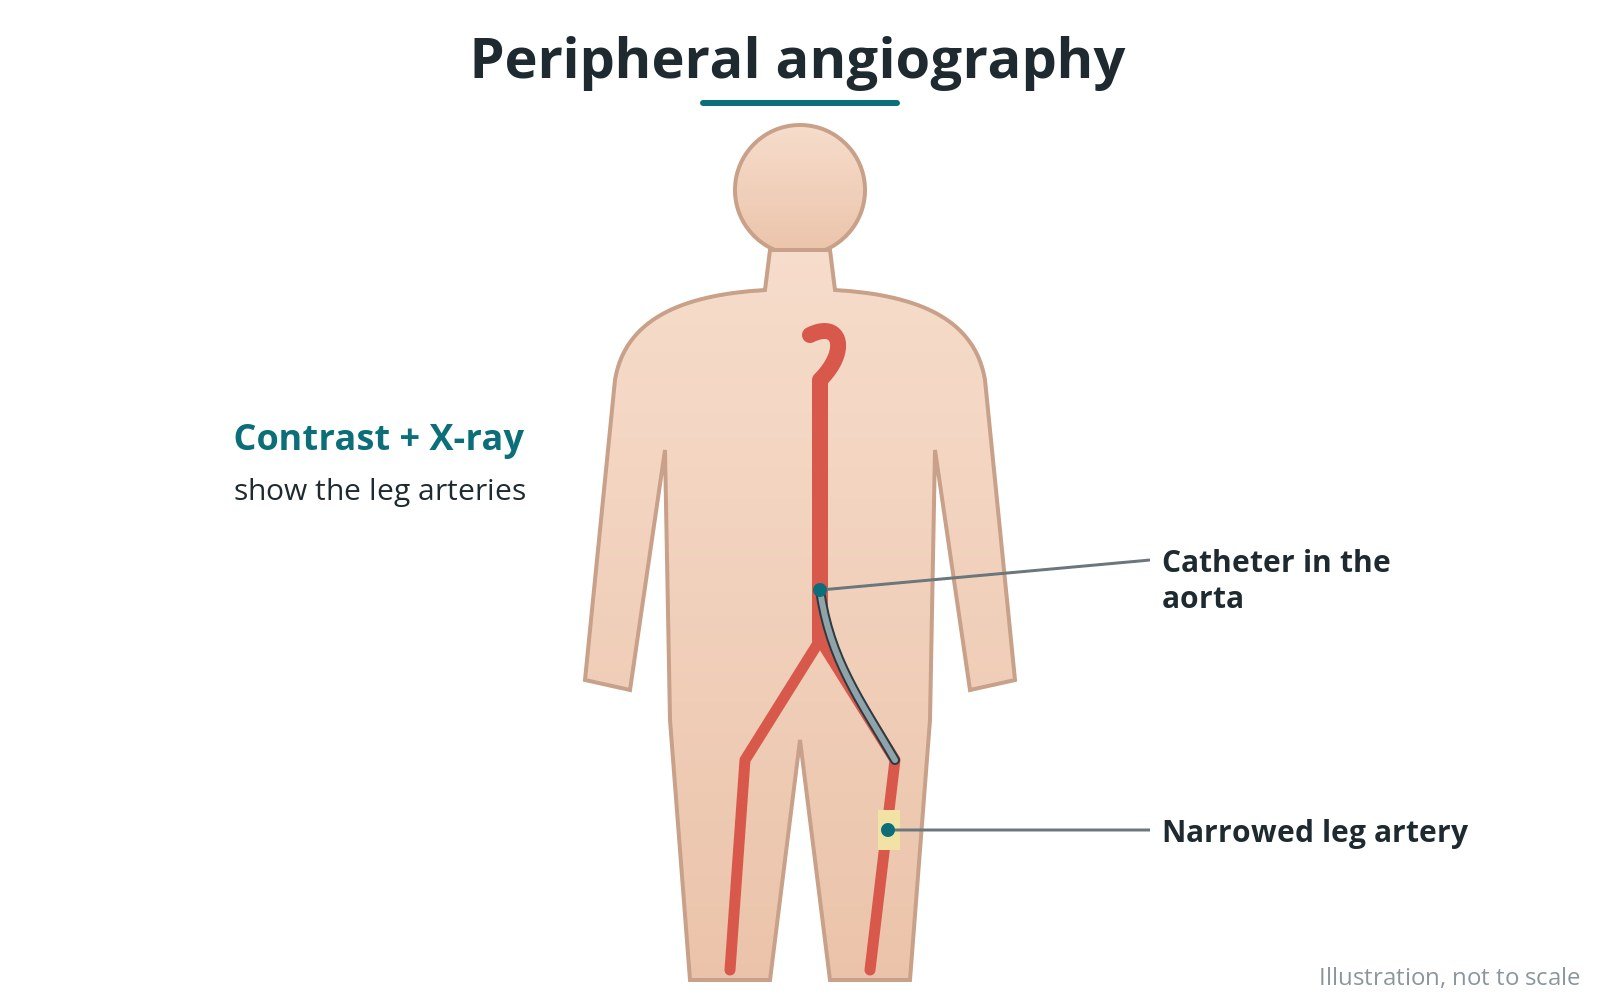
What it is: X-ray pictures of arteries outside the heart, such as those in the legs, kidneys or arms, taken while contrast dye is injected through a catheter.
Who it is for: people with peripheral arterial disease, such as leg pain on walking, non-healing wounds or poor circulation, often to plan treatment.
Main risks: bruising at the groin or wrist, reactions to the dye, kidney effects and, rarely, damage to the artery.
Usually: under local anaesthetic, 30–60 minutes, home the same day.
On this page: What is peripheral angiography? · Who is it for? · When is it done? · Step by step · Recovery · Risks · Kit list · First time in the lab? · FAQ
What is peripheral angiography?
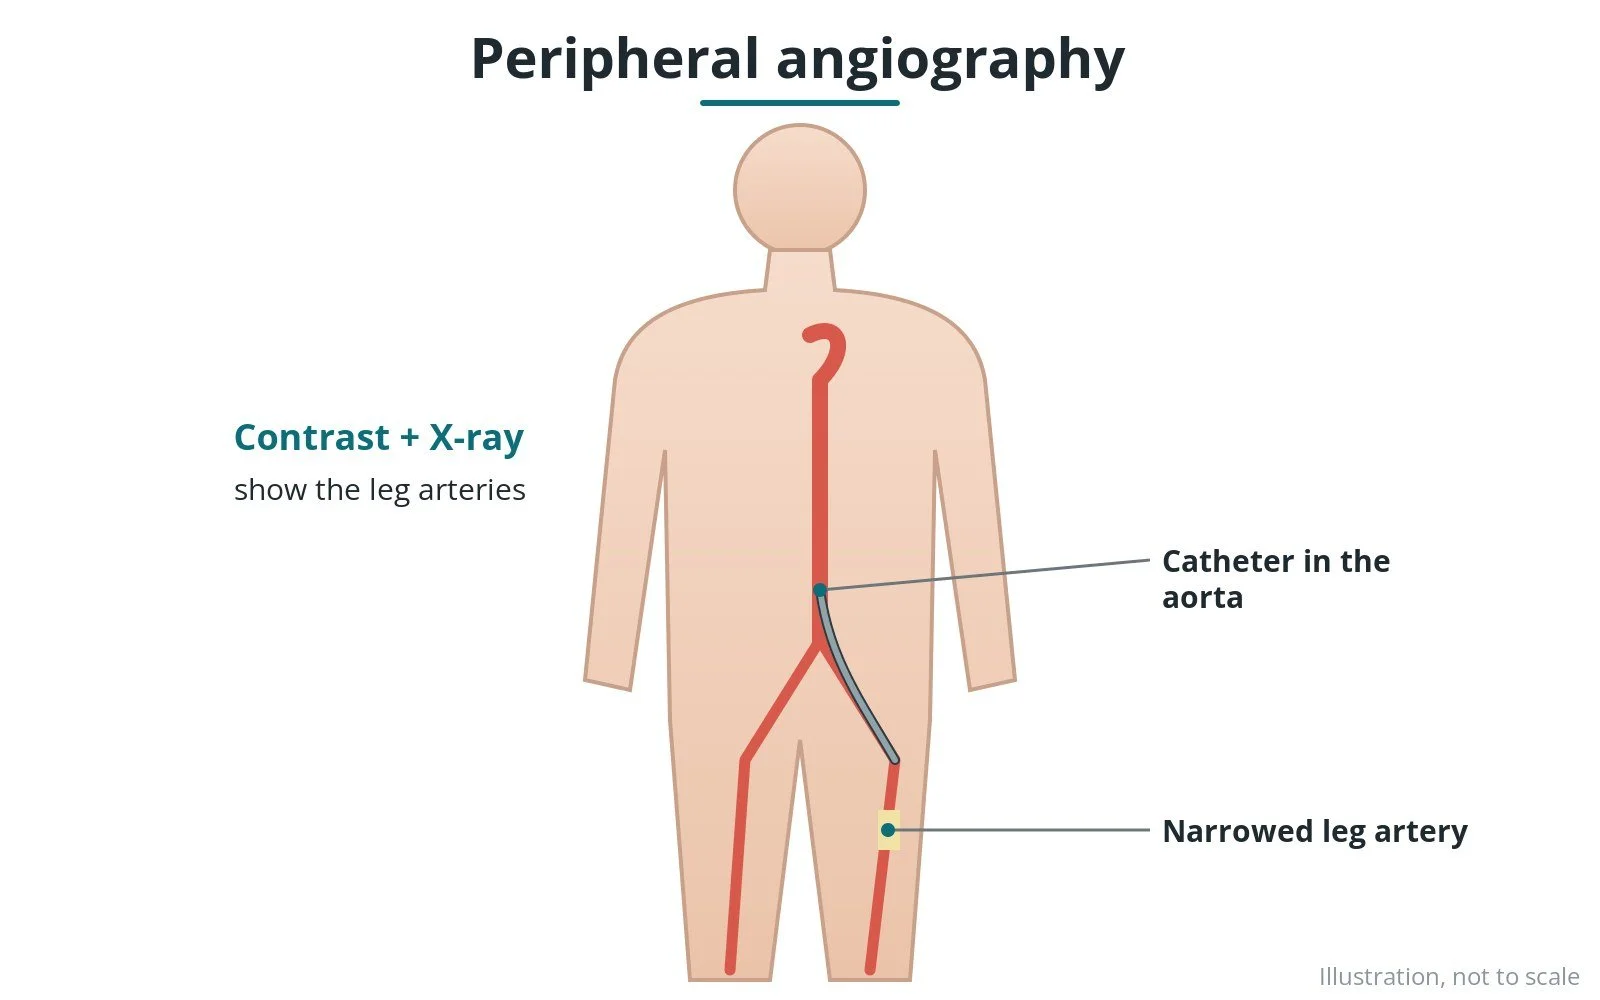
Peripheral arterial disease (PAD) is narrowing of the arteries outside the heart, most often in the legs.
- a catheter is placed in an artery, usually in the groin
- contrast dye is injected while X-ray pictures follow it down the legs
- the pictures show where arteries are narrowed or blocked
Ultrasound, CT and MRI are often done first. The angiogram may be followed by treatment, such as angioplasty, in the same session.
New to the acronyms? See the Cath Lab Abbreviations A–Z.
Who is it for?
It may be considered for people with:
- leg pain on walking (claudication) that limits daily life
- pain at rest, ulcers or wounds that won't heal
- planning angioplasty, stenting or surgery
- checking arteries to the kidneys, arms or gut
The decision is made by your heart team, who will talk through the reasons, the alternatives and the risks with you.
When is it done?
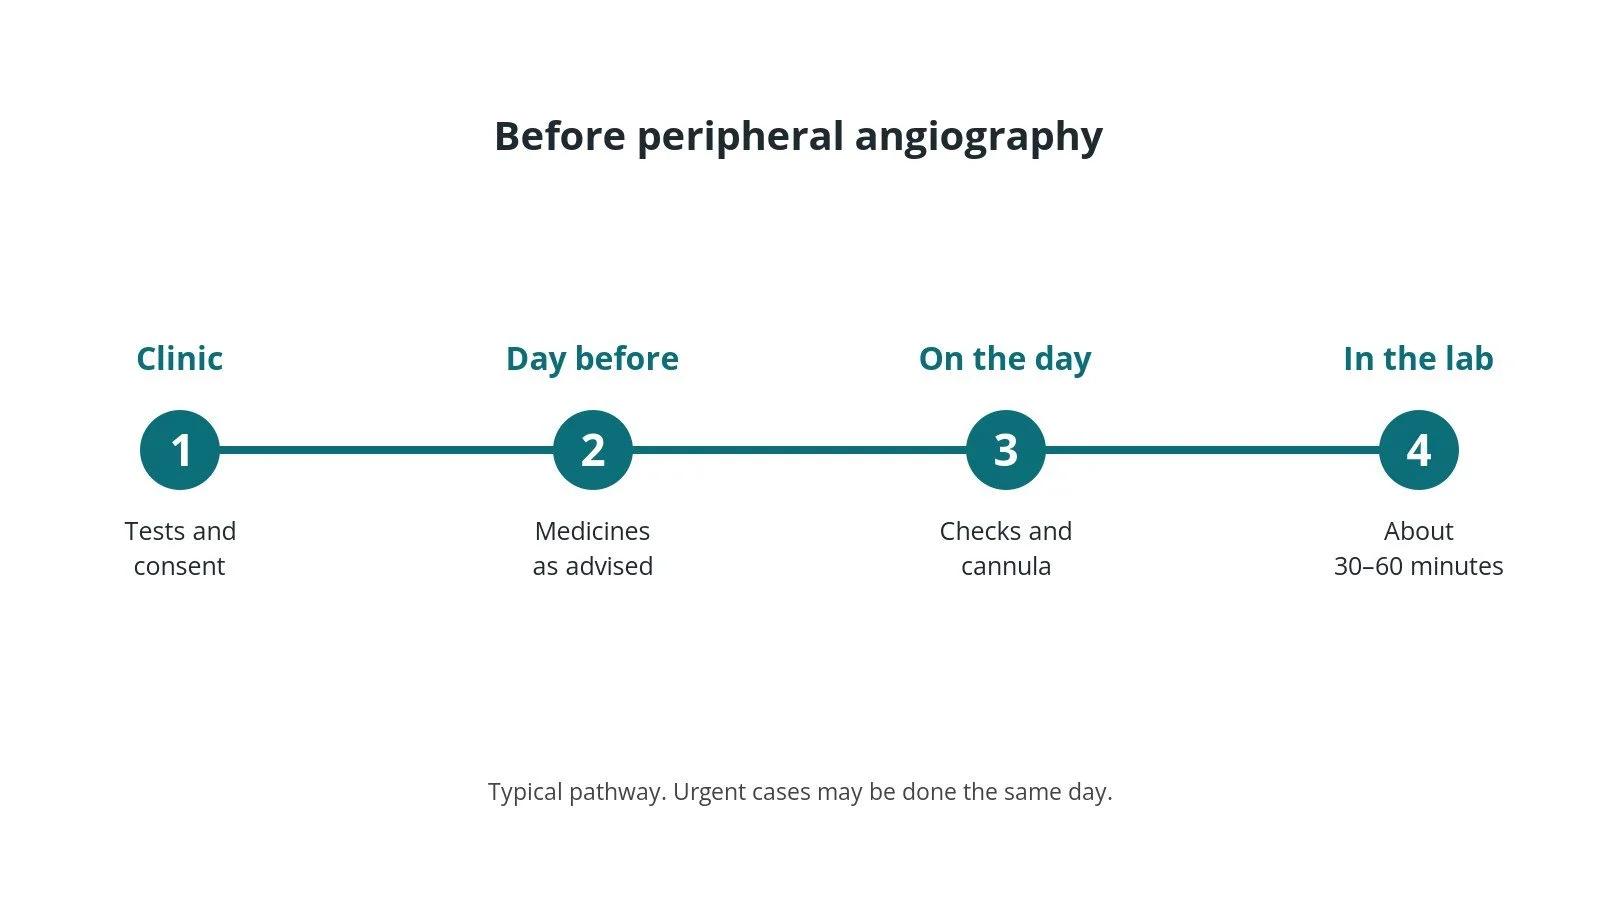
It can be planned in advance or done urgently. Before it, you usually have:
- blood tests, including kidney function and blood count
- an ECG, and often an echo or other scan
- a review of your medicines, especially blood thinners and diabetes medicines, as per centre protocol
- a chance to ask questions and give consent
Step by step
1. Getting ready
You lie on the X-ray table. ECG, blood pressure and oxygen levels are monitored. The skin over the access site is cleaned and numbed with local anaesthetic; some people also have light sedation, as per centre protocol.
2. Access
A sheath is placed in the femoral artery in the groin (sometimes the wrist or the other leg), sizes per device and operator.
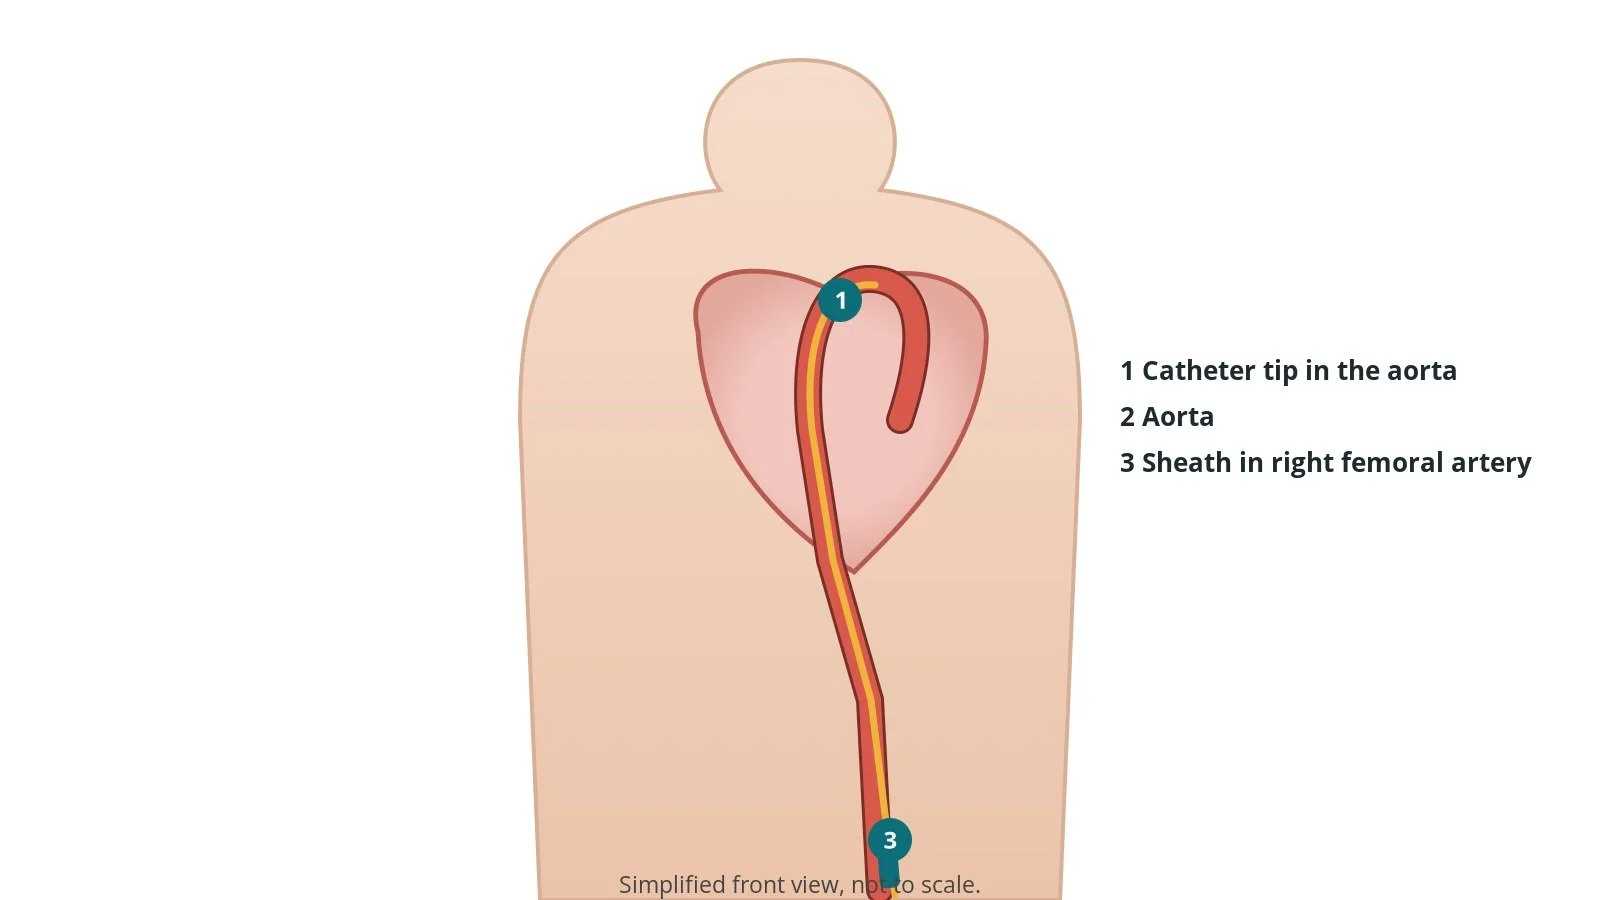
3. Pictures
- A. Catheter in place. The catheter is placed in the lower aorta.
- B. Run-off. Dye is injected and pictures follow it down both legs.
- C. Selective views. The catheter may be moved closer to a problem area.
- D. Plan. The team reviews the pictures and plans treatment.
You may feel warmth in the legs as the dye goes in. Keep still while pictures are taken.
Markdown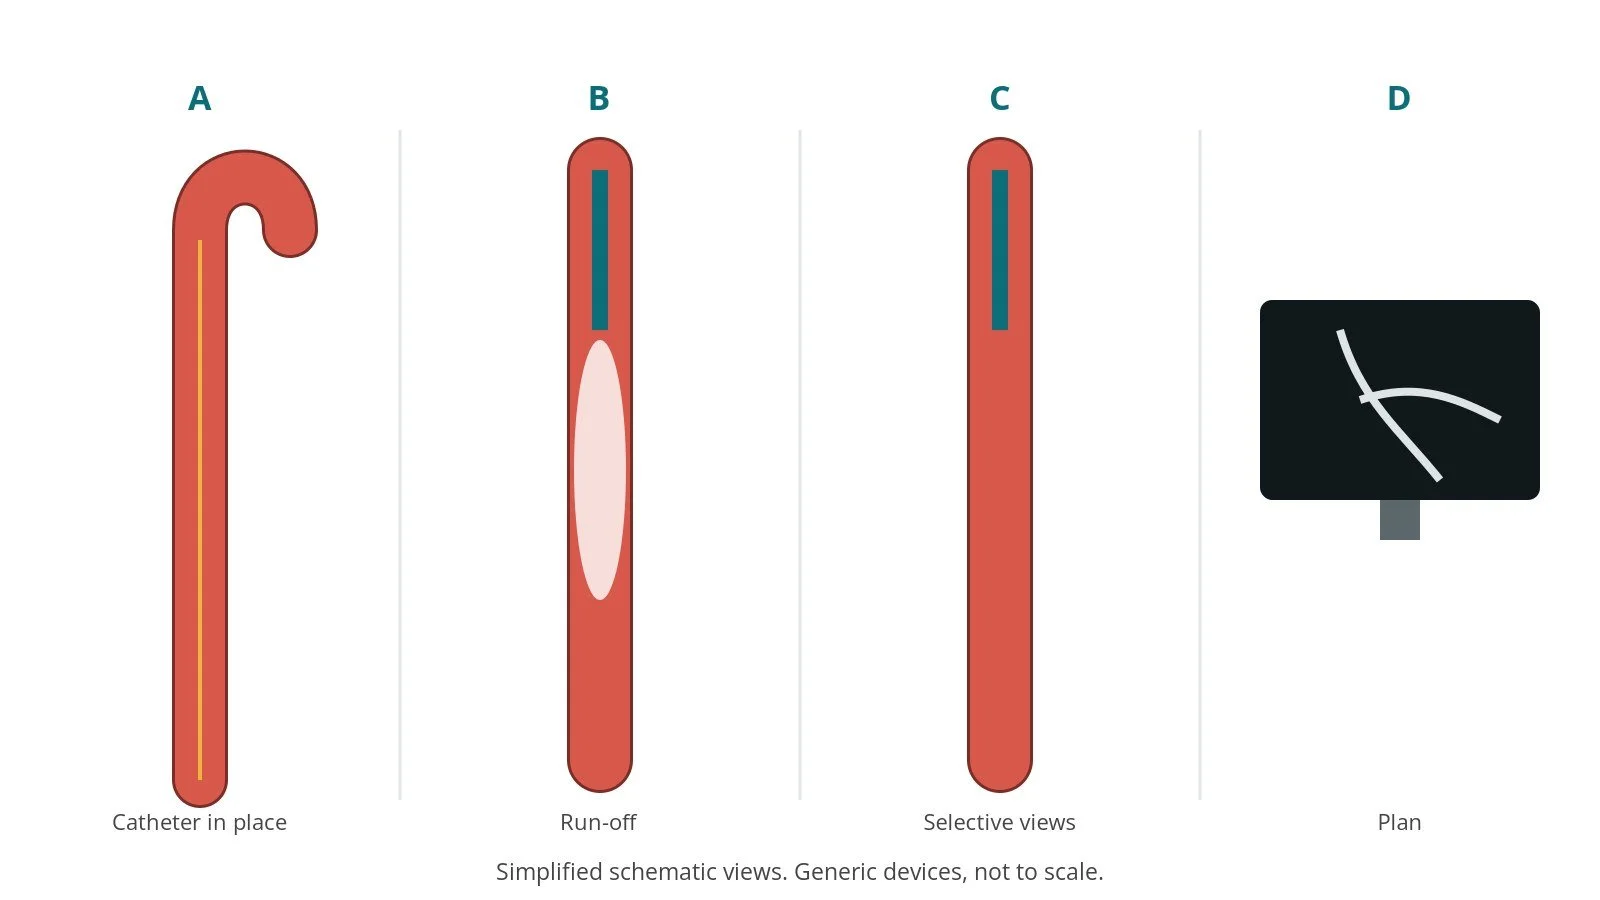
4. Finishing
The catheters are removed. The sheath is taken out and the site closed with pressure, a band or a closure device, per device and operator.
Recovery and aftercare
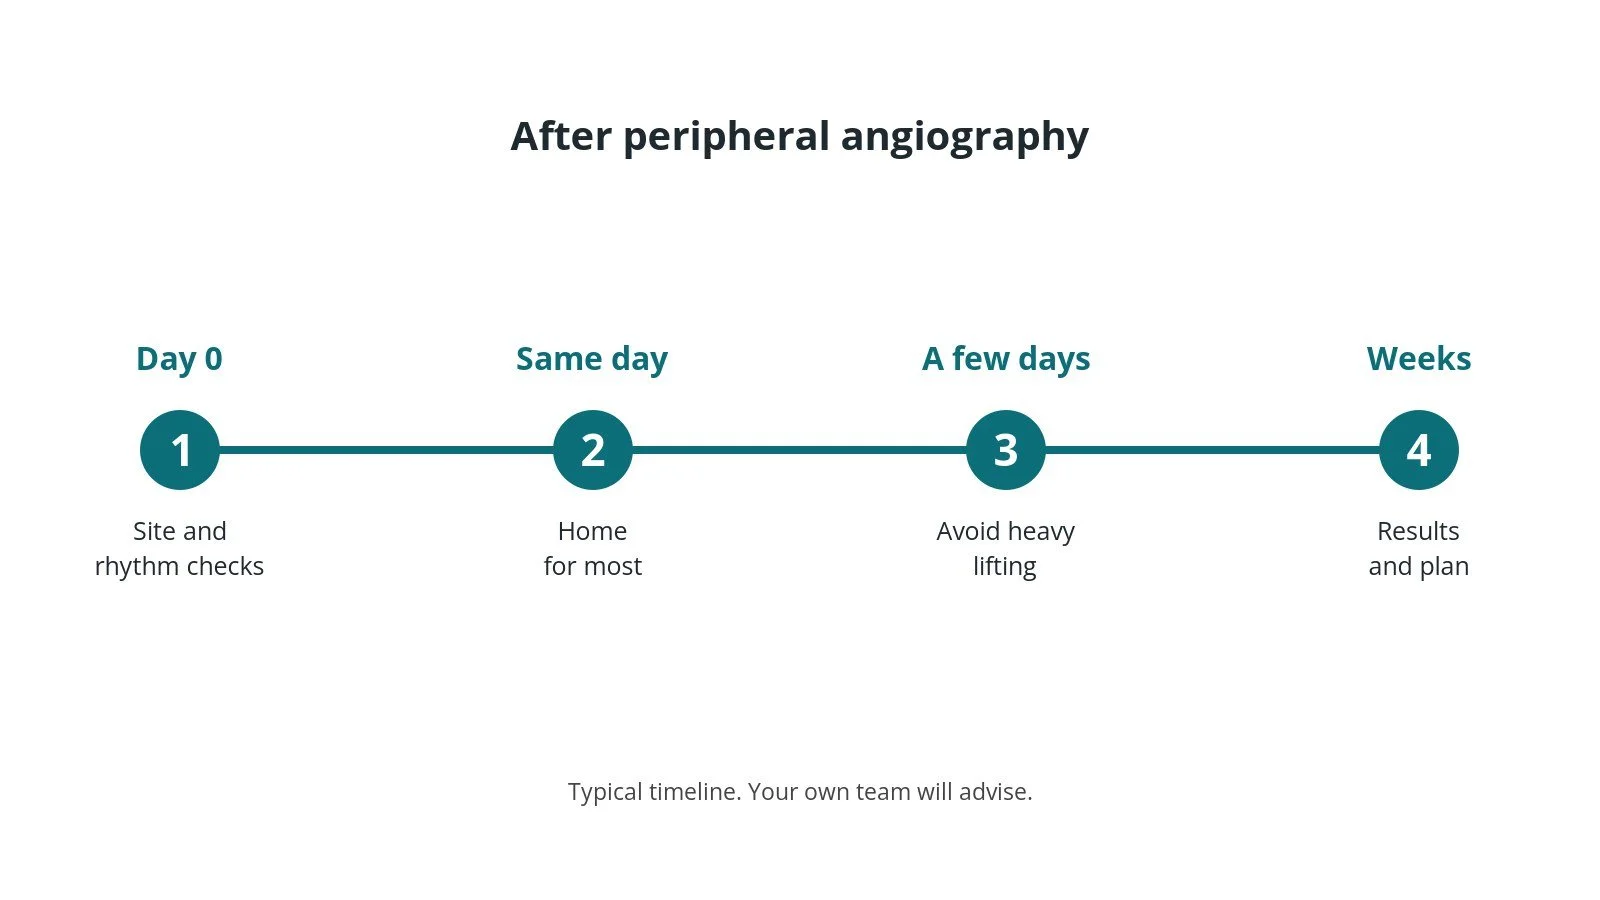
- First hours: you rest while the nurses check the access site, pulse and blood pressure, as per centre protocol.
- Going home: usually the same day, with someone to take you home.
- Access site: avoid heavy lifting and strenuous activity for a few days; a small bruise is common.
- Results: the team will usually explain the findings before you go home, and send a report to your own doctor.
- Driving: ask your team; for a planned test it is often a couple of days, but it depends on your heart condition.
Call 999 if you have chest pain, breathlessness, fainting, signs of a stroke, or heavy bleeding or swelling at the access site.
Risks and complications
Your team will explain the risks that apply to you. Possible problems include:
- bruising or bleeding at the access site (common, usually minor)
- damage to the artery or vein at the access site (uncommon)
- reaction to the contrast dye, or effects on kidney function
- heart rhythm disturbances, usually brief
- heart attack, stroke or serious complications (rare)
- X-ray exposure, kept as low as possible
Cath lab kit list (printable)
Barts example kit list
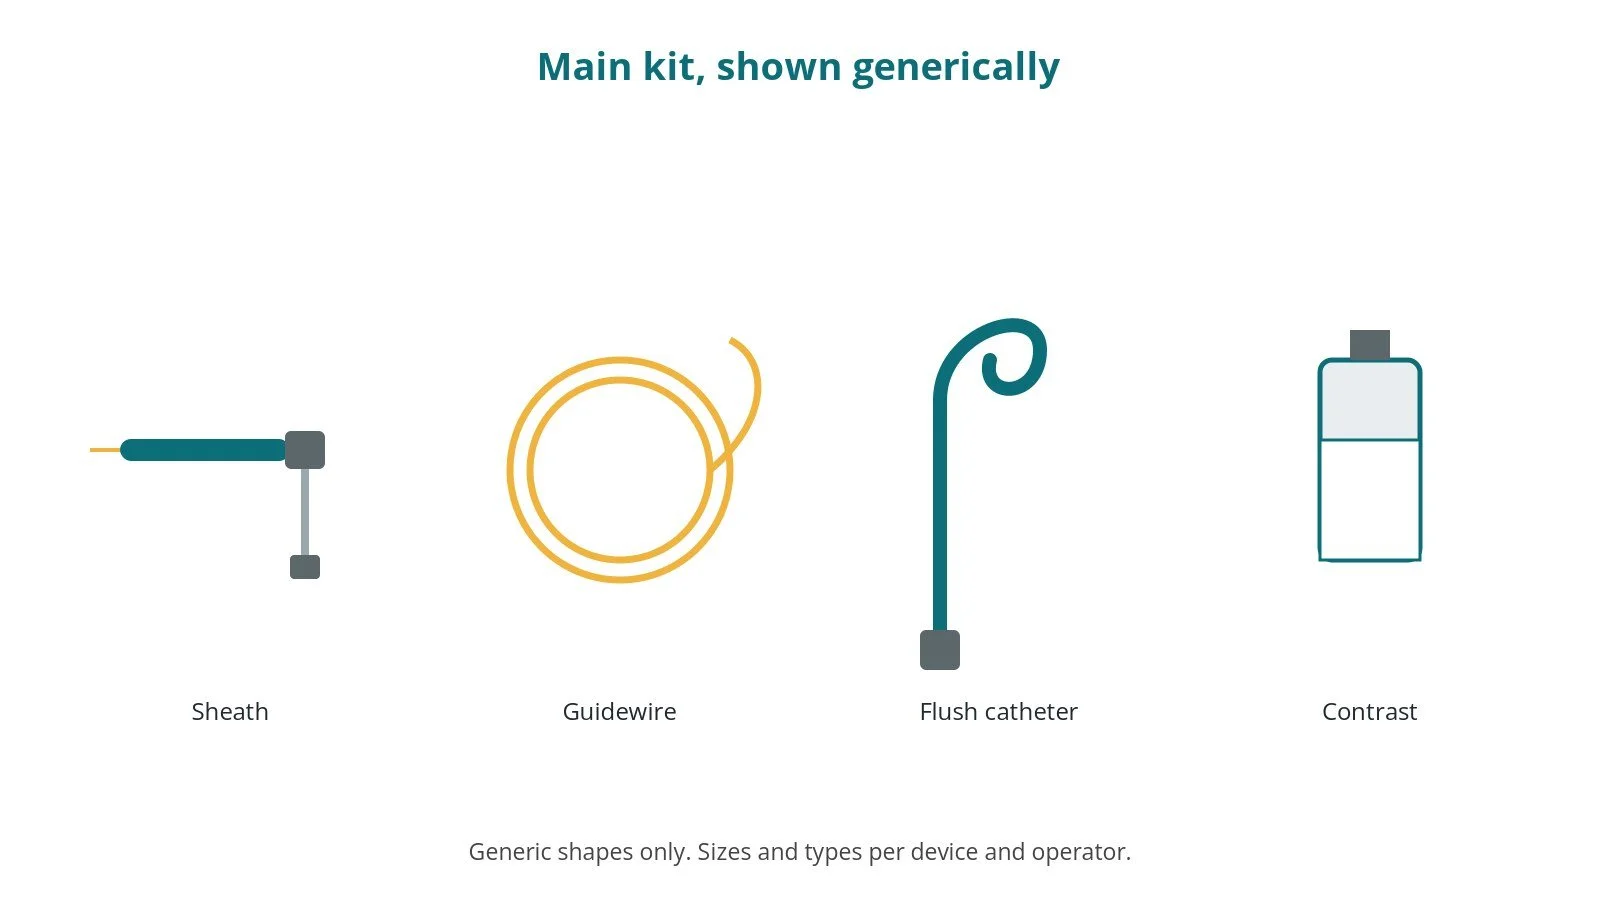
An example from one UK centre, written generically. Every lab has its own protocol, and sizes and doses vary.
- arterial sheath, size per device and operator
- guidewires, per operator
- flush and selective catheters, per operator
- contrast, volume as per centre protocol
- closure device or manual pressure, per device and operator
Procedural steps (Barts example)
- Access
- Aortogram
- Run-off down both legs
- Selective views
- Sheath out; haemostasis
First time in the cath lab?
💡 First-time tip
- Warm legs. Warn the patient about the warmth.
- Table moves. The table steps down the legs; keep lines clear.
- Pulses. Check foot pulses before and after.
- Kidneys. Note kidney function and contrast totals.
FAQ
Is it the same as a heart angiogram?
Similar, but looking at other arteries.
Will treatment be done at the same time?
Sometimes; you will be told beforehand.
Will it hurt?
Usually just the local anaesthetic.
Related Cath Lab 101 guides
Sources
All checked on 10 October 2026. Each page's own date is shown where it gives one.
- NHS. Peripheral arterial disease (PAD). nhs.uk
- NICE. Peripheral arterial disease: diagnosis and management (CG147). nice.org.uk
- StatPearls (NCBI Bookshelf), search: peripheral angiography. ncbi.nlm.nih.gov/books
Disclaimer
Education only. This page is for general education for healthcare students, cath lab staff and curious readers. It isn't medical advice and doesn't replace advice from your own doctor, heart team or local unit protocols. Equipment and medicines are described generically. No product or manufacturer is recommended. If you think someone is having a heart emergency, call 999.
Disclosure: I work in the medical device industry. This page is independent education and isn't sponsored or reviewed by any company.
All diagrams on this page are original illustrations created for rodnieoro.com.